Resize Images Online Free – Maintain Quality While Changing Dimensions: The Complete Guide to Professional Photo Resizing
Need to make your photos smaller or bigger without making them look blurry? You’ve come to the right place! Whether you’re preparing images for social media, your website, or email, knowing how to resize image online properly can save you time and keep your pictures looking sharp and professional.
The secret to successful image resizing lies in understanding the balance between file size and visual quality. When you change image size correctly, you can reduce file sizes for faster loading times while preserving the crisp, clear appearance that makes your photos stand out. Modern image resizer tools use smart technology to maintain picture quality even when you scale images up or down significantly.
Why Image Resizing Matters More Than Ever
Today’s digital world demands images that work perfectly across different platforms and devices. Your smartphone might capture photos at 12 megapixels, but that massive file won’t work well for web use. Here’s where a reliable photo resizer free tool becomes essential.
Large image files create several problems:
- Websites load slowly, frustrating visitors
- Email attachments get rejected for being too big
- Social media platforms compress your photos poorly
- Storage space fills up quickly on devices and cloud services
When you scale images online properly, you solve all these issues while keeping your pictures looking great. The key is choosing the right dimensions and using quality tools that preserve important details.
Understanding Image Dimensions and Quality
What Happens When You Resize Images
Image resizing works by changing the number of pixels in your photo. Think of pixels like tiny colored squares that make up the complete picture. When you make an image smaller, the software removes some pixels. When you make it bigger, it adds new pixels by guessing what they should look like.
Downscaling (making images smaller) usually works well because you’re simply removing extra detail. Upscaling (making images bigger) is trickier because the software has to create new information that wasn’t there before.
Types of Image Formats and Their Best Uses
Different file types work better for different purposes:
- JPEG: Best for photos with lots of colors and smooth gradients
- PNG: Perfect for images with text, logos, or transparent backgrounds
- WebP: Modern format that’s smaller than JPEG with similar quality
- GIF: Good for simple animations but limited color range
How to Choose the Right Dimensions
Common Image Sizes for Different Platforms
| Platform | Recommended Size | Aspect Ratio | File Size Limit |
|---|---|---|---|
| Facebook Post | 1200 x 630 px | 1.91:1 | 8 MB |
| Instagram Post | 1080 x 1080 px | 1:1 | 30 MB |
| Twitter Header | 1500 x 500 px | 3:1 | 5 MB |
| Website Hero Image | 1920 x 1080 px | 16:9 | 1-2 MB |
| Email Newsletter | 600 x 400 px | 3:2 | 1 MB |
| Profile Picture | 400 x 400 px | 1:1 | 500 KB |
| Blog Thumbnail | 800 x 600 px | 4:3 | 200 KB |
| YouTube Thumbnail | 1280 x 720 px | 16:9 | 2 MB |
Calculating the Perfect Size
Start by thinking about where people will see your image. A photo for Instagram stories needs different dimensions than one for your website header. Consider these factors:
- Screen size: Mobile users see smaller images than desktop users
- Loading speed: Smaller files load faster, especially on slower connections
- Print quality: If someone might print your image, keep it larger
- Zoom functionality: Some platforms let users zoom in, requiring more detail
Step-by-Step Guide to Resizing Images Online
Getting Started with Online Tools
Using an image resizer tool online is straightforward once you know the basic steps:
- Choose your tool: Look for one that maintains quality during resizing
- Upload your image: Drag and drop or browse to select your file
- Set new dimensions: Enter width and height or choose from presets
- Preview the result: Check how your image looks before downloading
- Download: Save your newly resized image to your device
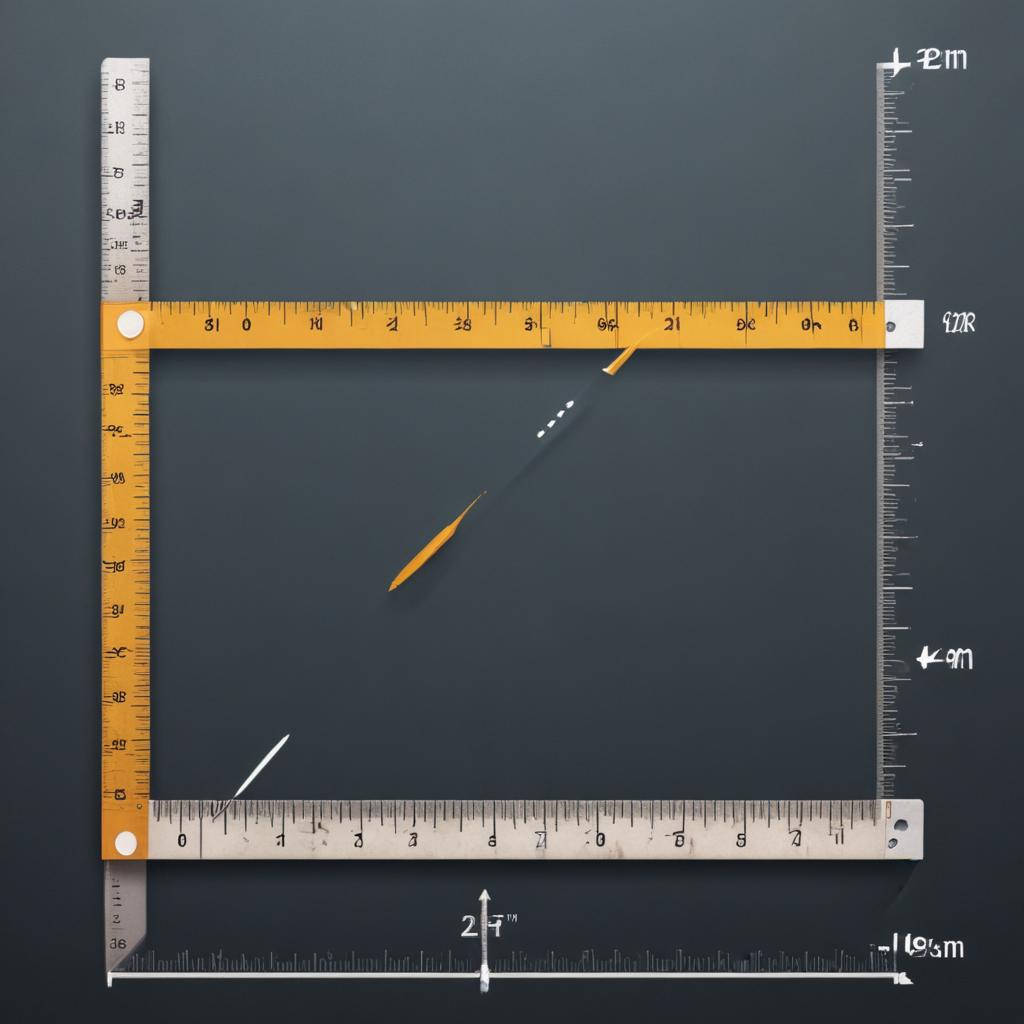
Maintaining Aspect Ratio
“The aspect ratio is the relationship between width and height. Keeping it consistent prevents your images from looking stretched or squished.”
Most good resizing tools automatically maintain aspect ratio when you change one dimension. This feature prevents distortion that makes people or objects look unnaturally wide or tall.
Advanced Resizing Techniques
Batch Processing: When you need to resize multiple images with the same dimensions, look for tools that handle batch uploads. This feature saves enormous amounts of time for photographers and website managers.
Smart Cropping: Some tools can automatically crop images to fit specific dimensions while keeping the most important parts visible. This works well when you need to change aspect ratios significantly.
Quality Settings: Premium resizing tools let you adjust compression levels. Higher quality means larger file sizes, while lower quality creates smaller files that might look pixelated.
Quality Preservation Techniques
Understanding Interpolation Methods
When you scale images online, the software uses mathematical formulas called interpolation methods to determine what the new pixels should look like:
- Bicubic: Creates smooth gradients, perfect for photos
- Bilinear: Faster processing, good for simple images
- Lanczos: Maintains sharp edges, excellent for detailed images
- Nearest Neighbor: Preserves hard edges, best for pixel art
Avoiding Common Quality Loss Issues
Blurriness happens when you upscale images too much or use poor interpolation methods. Pixelation occurs when you make images too small and then enlarge them again. Color banding appears when you compress images with smooth color gradients too aggressively.
To avoid these problems:
- Never upscale beyond 150% of the original size
- Keep original files as backups
- Use lossless formats when possible
- Resize in steps rather than making dramatic size changes
Best Practices for Different Use Cases
Web Optimization
Website images need to balance quality with loading speed. Follow these guidelines:
- Keep most images under 1 MB
- Use responsive images that scale with screen size
- Consider using modern formats like WebP
- Optimize for both mobile and desktop viewing
Social Media Preparation
Each social platform has its own preferences:
Instagram compresses images heavily, so start with high quality. Facebook works well with moderate compression. Twitter handles smaller file sizes better. LinkedIn prefers professional-looking, crisp images.
Print Preparation
Printed materials need higher resolution than digital displays. Aim for at least 300 DPI (dots per inch) for professional printing. This means a 4×6 inch print needs an image that’s at least 1200 x 1800 pixels.
Troubleshooting Common Issues
When Images Look Blurry After Resizing
Blurriness usually means the resizing algorithm isn’t preserving enough detail. Try using a different tool or adjusting quality settings. Sometimes, sharpening filters can help restore crisp edges after resizing.
Dealing with Large File Sizes
If your resized images are still too large:
- Reduce quality settings slightly
- Convert to a more efficient format
- Remove unnecessary metadata
- Consider cropping to focus on the most important parts
Fixing Distorted Images
Stretched or squished images happen when aspect ratios change incorrectly. Always use tools that maintain proportions automatically, or calculate new dimensions carefully before resizing.
Advanced Tips for Professional Results
Color Profile Management
Professional images often include color profiles that ensure consistent appearance across different devices. When resizing, make sure your tool preserves these profiles for the best color accuracy.
Metadata Preservation
Photos contain hidden information like camera settings, location data, and copyright information. Decide whether you want to keep this metadata or remove it for privacy and file size reasons.
Batch Processing Strategies
When handling multiple images:
- Group similar images together
- Use consistent naming conventions
- Create different size variants for different uses
- Keep organized folders for different dimensions
FAQ Section
Q: Can I resize images without losing quality? A: Yes, when making images smaller, you can maintain excellent quality. Making images larger always involves some quality loss, but good tools minimize this effect.
Q: What’s the best file format for resized images? A: JPEG works best for photographs, PNG for images with text or transparent areas, and WebP offers the best compression for web use.
Q: How small can I make an image before it looks bad? A: This depends on the original image and intended use. Generally, don’t reduce images to less than 25% of their original size for best quality.
Q: Why do my images look different after uploading to social media? A: Social platforms automatically compress uploaded images. Starting with higher quality gives better results after their compression.
Q: Can I resize images on my phone? A: Yes, many mobile apps and web tools work on smartphones. However, desktop tools often offer more precise control.
Q: What’s the difference between resizing and compressing? A: Resizing changes dimensions (width and height), while compressing reduces file size by removing data. You can do both simultaneously.
Q: How do I know what size to make my images? A: Check the platform’s recommended dimensions, consider your audience’s devices, and balance quality with loading speed.
Q: Are free online image resizers safe to use? A: Reputable tools are generally safe, but avoid uploading sensitive or copyrighted images to unknown websites.
Q: Can I resize animated GIFs? A: Yes, but the process is more complex because each frame needs resizing. Look for tools that specifically support animated images.
Q: What happens if I resize an image multiple times? A: Each resize operation can reduce quality slightly. It’s better to resize once from the original high-quality image rather than making multiple adjustments.