How to Create Stunning Before and After Image Comparisons Online with a Before After Slider (Free Tool)
Have you ever wanted to showcase amazing transformations but struggled to display them in an eye-catching way? Whether you’re a photographer showing photo edits, a fitness coach displaying client results, or a business owner highlighting product improvements, before after photos online can tell powerful stories that grab attention instantly.
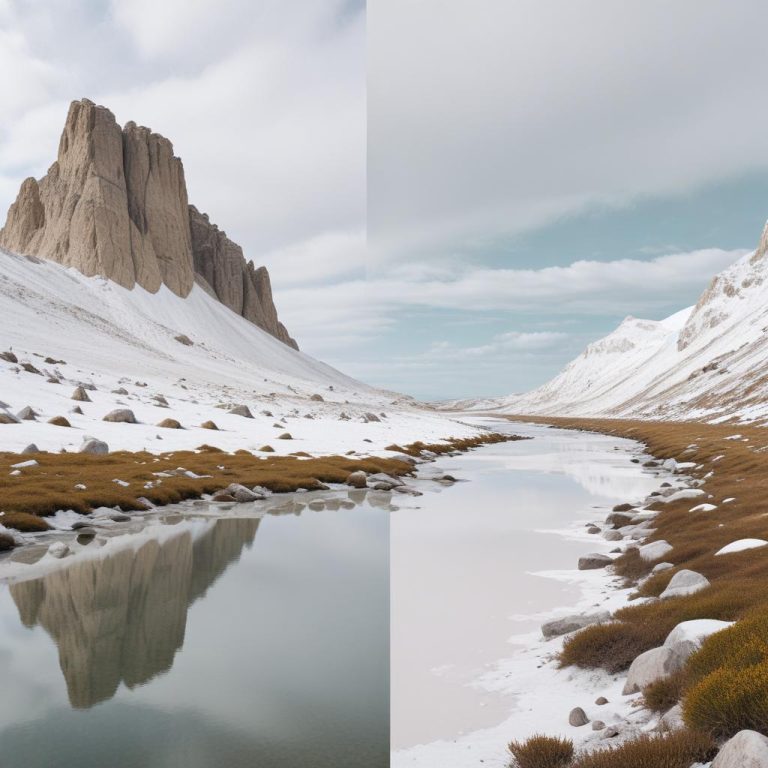
Creating professional-looking before and after image comparisons doesn’t require expensive software or design skills anymore. With the right image comparison tool, you can build interactive sliders that let viewers drag between your before and after photos, creating an engaging experience that static images simply can’t match. These transformation sliders work perfectly for websites, social media, and presentations, helping you showcase your work in the most compelling way possible.
Why Before and After Comparisons Are So Powerful
Before and after images work because they show real results. People love seeing transformations – it’s human nature to be curious about change and improvement. When someone can slide between your before and after photos, they become active participants in discovering the transformation rather than passive viewers.
The Psychology Behind Visual Comparisons
Our brains are wired to notice differences and changes. When you use a before after slider, you’re tapping into this natural tendency. The interactive element makes people spend more time engaging with your content, which means they’re more likely to remember your message and take action.
Studies show that interactive content gets 300% more engagement than static content. That’s why smart marketers, photographers, and business owners are switching to dynamic side by side image comparison tools instead of boring static photos.
What Makes a Great Before After Slider
Not all comparison tools are created equal. The best image comparison tool should be easy to use, mobile-friendly, and produce professional results without requiring technical knowledge.
Key Features to Look For
When choosing a platform for your before after photos online, consider these essential features:
- Drag-and-drop simplicity – You shouldn’t need a manual to figure out how to upload your images
- Mobile responsiveness – Your sliders must work perfectly on phones and tablets
- Customization options – Control colors, labels, and styling to match your brand
- Fast loading – Nobody waits for slow-loading comparisons
- No watermarks – Professional results without annoying branding
Step-by-Step Guide to Creating Your First Transformation Slider
Creating stunning before and after image comparisons is easier than you might think. Follow these simple steps to get professional results in minutes.
Step 1: Prepare Your Images
Start with high-quality photos that tell a clear story. Your before and after images should be:
- Same dimensions – This prevents awkward cropping or stretching
- Similar angles – Consistent positioning makes comparisons more effective
- Good lighting – Clear, well-lit photos show details better
- Focused subject – Keep the main transformation element centered
Pro tip: Take your “before” photo first, then mark the exact spot where you stood. This helps you recreate the same angle for your “after” shot.
Step 2: Choose Your Comparison Tool
Visit a reliable image comparison tool website that offers free slider creation. Look for platforms that don’t require registration for basic features and provide instant results.
Step 3: Upload Your Images
Most tools use a simple drag-and-drop interface:
- Upload your “before” image first
- Add your “after” image second
- The tool automatically aligns them for comparison
Step 4: Customize Your Slider
Adjust settings to match your needs:
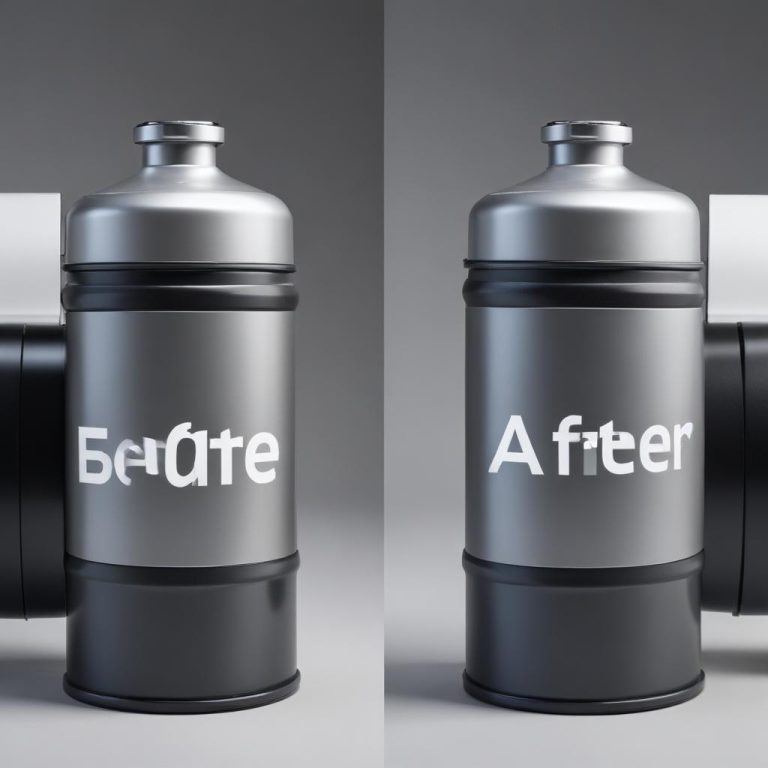
- Add labels like “Before” and “After” or custom text
- Choose colors that complement your images
- Set starting position – where the slider begins
- Pick slider style – vertical or horizontal division
Step 5: Generate and Share
Once you’re happy with your preview, generate your before after slider. Most tools provide:
- Embed codes for websites
- Direct links for social media
- Download options for presentations
Creative Ways to Use Before After Sliders
Transformation sliders work for more than just weight loss photos. Here are creative applications that get results:
Photography and Photo Editing
Show your editing skills by comparing raw photos with finished masterpieces. Photographers use this technique to:
- Demonstrate editing capabilities to potential clients
- Create portfolio pieces that stand out
- Teach photography techniques through visual examples
Home Renovation Projects
Contractors and DIY enthusiasts love side by side image comparison for showcasing:
- Room makeovers and renovations
- Landscaping transformations
- Furniture restoration projects
- Cleaning and organizing results
Beauty and Fashion
The beauty industry thrives on transformation content:
- Makeup tutorials and looks
- Hair styling changes
- Skincare treatment results
- Fashion styling comparisons
Business and Marketing
Smart businesses use before after photos online to:
- Show product effectiveness
- Demonstrate service quality
- Highlight company growth
- Display process improvements
Technical Tips for Better Results
Creating professional before and after image comparisons requires attention to detail. These technical tips help ensure your sliders look polished and professional.
Image Optimization
File size matters for web performance. Optimize your images by:
- Compressing photos without losing quality
- Using appropriate file formats (JPEG for photos, PNG for graphics)
- Keeping dimensions reasonable (1200px width is usually sufficient)
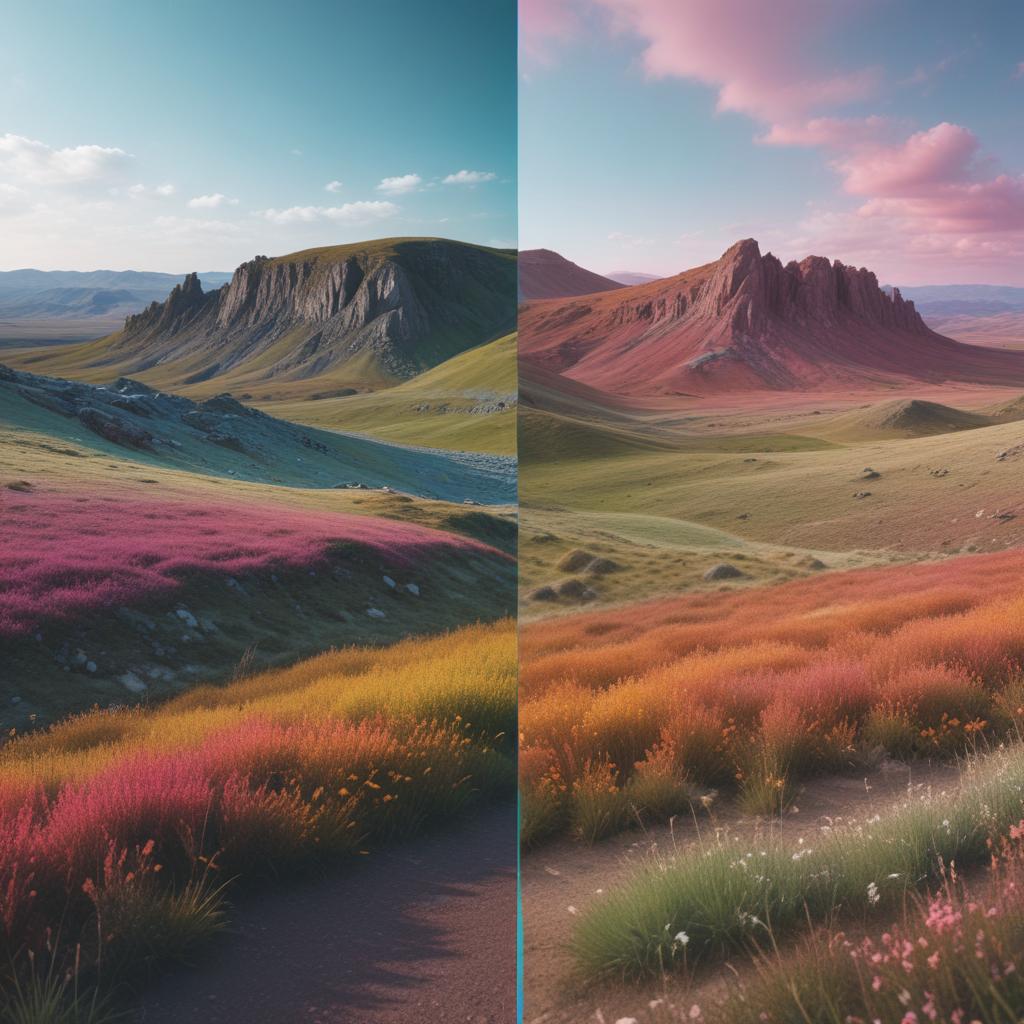
Color and Lighting Consistency
Matching colors between your before and after shots creates seamless transitions:
- White balance both images similarly
- Adjust brightness to similar levels
- Maintain color temperature consistency
Alignment Precision
Perfect alignment makes your transformation slider look professional:
- Use reference points in both images
- Crop to identical aspect ratios
- Center important elements consistently
Common Mistakes to Avoid
Even with the best image comparison tool, certain mistakes can ruin your results. Here’s what to watch out for:
Poor Image Quality
Blurry, dark, or pixelated photos kill the impact of any comparison. Always start with the highest quality images possible.
Inconsistent Timing
For fitness transformations or skin improvements, maintain consistent timing between shots. Taking your “after” photo at a different time of day can create misleading lighting differences.
Over-Processing
While editing can enhance your images, don’t go overboard. Obvious filters or unrealistic modifications can backfire and hurt credibility.
Ignoring Mobile Users
Over 60% of web traffic comes from mobile devices. Always preview your before after slider on phones and tablets before publishing.
Comparison of Popular Tools
| Feature | Free Tools | Premium Tools | Professional Software |
|---|---|---|---|
| Cost | $0 | $10-30/month | $50-200+ one-time |
| Ease of Use | Very Easy | Easy | Moderate to Complex |
| Customization | Basic | Advanced | Full Control |
| Watermarks | Sometimes | Usually None | None |
| Mobile Friendly | Usually | Always | Depends |
| Support | Limited | Good | Extensive |
| Export Options | Basic | Multiple Formats | All Formats |
Advanced Techniques for Professional Results
Once you’ve mastered basic side by side image comparison creation, try these advanced techniques to make your content stand out even more.
Adding Animation Effects
Some tools allow subtle animations that draw attention to your slider without being distracting. Use these sparingly for maximum impact.
Creating Series Comparisons
Instead of just before and after, show progress through multiple stages. This works especially well for long-term transformation projects.
Incorporating Branding Elements
Add your logo, website URL, or brand colors to create consistent branding across all your before after photos online.
Measuring Success and Engagement
Track how well your transformation sliders perform:
- View duration – How long people interact with your comparison
- Click-through rates – If linking to other content
- Social shares – How often people share your sliders
- Conversion rates – If using for business purposes
FAQ Section
Q: Are free before after slider tools really free? A: Yes, many tools offer completely free basic versions. However, premium features like custom branding, advanced export options, and priority support usually require payment.
Q: Can I use before after sliders on social media? A: Absolutely! Most image comparison tools provide direct links and embed codes that work perfectly on Facebook, Instagram stories, Twitter, and LinkedIn.
Q: Do I need technical skills to create a transformation slider? A: Not at all. Modern tools are designed for beginners. If you can upload photos to social media, you can create professional before and after image comparisons.
Q: Will my before after slider work on mobile phones? A: Yes, reputable tools automatically create mobile-responsive sliders that work smoothly on all devices and screen sizes.
Q: How do I make sure my images align perfectly? A: Use consistent camera angles, lighting, and positioning. Most tools also provide alignment guides to help you position images correctly.
Q: Can I customize the appearance of my slider? A: Most platforms allow customization of colors, labels, starting positions, and slider styles to match your brand or preferences.
Q: Is there a limit to image file sizes? A: This varies by tool, but most accept standard photo sizes. For best performance, keep images under 5MB each.
Q: Can I create vertical before after comparisons? A: Yes, many image comparison tools support both horizontal and vertical slider orientations depending on your image content.
Creating stunning before after photos online has never been easier or more accessible. With the right tools and techniques, you can create professional-quality transformation sliders that captivate audiences and showcase your work effectively. Start experimenting with these techniques today, and watch how interactive comparisons transform the way people engage with your content.