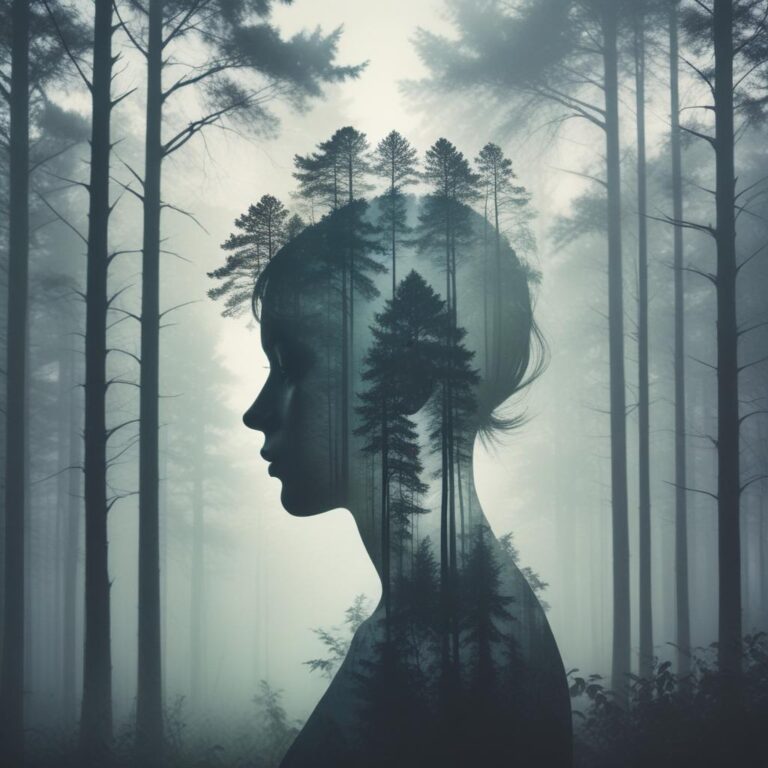
Dreamlike Fog & Mist Editing Ideas for Soft Atmosphere
You know that feeling when you wake up from a beautiful, hazy dream and wish you could capture its soft, magical quality? Well, you can—with your photos.
Ever looked at a professional photographer’s work and wondered how they create those soft, ethereal scenes that feel like something out of a fairy tale? That dreamy look often comes from cleverly adding or enhancing fog and mist during the editing process. It’s easier than you might think, and you don’t need to be a pro to pull it off.
This guide will walk you through simple ways to add that soft, misty atmosphere to your pictures, making them look more magical and emotionally powerful.
Creating Your Own Digital Mist: A Beginner’s Guide
The goal here isn’t to make your photo look like a bad special effect. It’s about subtly adding depth, mood, and a touch of softness. Think of it as giving your image a gentle, luminous glow.
What Tools Do You Need to Create Fog?
Almost any photo editing software has the basic tools you need. The key players are:
- Layers: Think of these as clear sheets of plastic you stack on top of your original photo. You paint the mist on a new layer, so you’re not damaging your original picture.
- Layer Blending Modes: This is the magic switch! It controls how your new “mist layer” interacts with the photo underneath. Modes like Screen or Soft Light are your best friends here.
- Brush Tool: You’ll use this to literally paint the fog onto your image. The secret is to use a very soft, low-opacity brush.
- Gradient Tool: This is perfect for creating smooth, sweeping mist that fades beautifully across the scene.
- Gaussian Blur: Real mist isn’t sharp. This filter helps soften your created fog, making it look natural and believable.
A Simple Step-by-Step Mist Effect
Let’s create a basic mist effect that you can try right now. This works in programs like Adobe Photoshop, Affinity Photo, and even free alternatives like GIMP or Photopea.
- Open Your Photo & Create a New Layer. Always start by duplicating your background layer. This way, your original photo is safe.
- Fill the New Layer with White. Use the paint bucket tool to fill this entire new layer with pure white. It will completely cover your photo—don’t panic!
- Change the Blending Mode. In the layers panel, find the dropdown that says “Normal” and change it to “Soft Light” or “Screen”. Watch as the white layer disappears, but your image gets brighter and softer.
- Add a Layer Mask. Click the “Add Layer Mask” icon (it looks like a rectangle with a circle inside) at the bottom of the layers panel. This lets you control where the effect is visible.
- Paint with Black to Reveal. Select the layer mask, grab a soft, large brush, and set your color to black. Now, paint over the areas where you don’t want the mist. As you paint with black on the mask, you’ll erase the white mist effect, revealing the sharper parts of your photo underneath. The key is to leave the mist in the background and around the edges to create depth.
And just like that, you’ve added a soft, atmospheric haze!
Applying Mist to Different Types of Photos
This technique isn’t just for forests and mountains. You can use it to elevate all sorts of images.
- Portraits: Add a very subtle mist in the background to make your subject pop and give the photo a romantic, soft-focus quality.
- Cityscapes: Mist can soften harsh building lines and add a moody, cinematic feel to urban shots.
- Landscapes: This is the classic use. Enhance the natural depth of a scene by making the background layers progressively lighter and softer, mimicking how our eyes see real fog.
Which Software is Best for Atmospheric Editing?
You don’t need expensive software to get started. Here’s a quick comparison of popular options:
| Tool/Technique | Best For | Difficulty | Cost |
|---|---|---|---|
| Adobe Photoshop | Ultimate control & professional features | Intermediate | Subscription |
| Lightroom | Subtle, natural-looking haze & color grading | Beginner | Subscription |
| GIMP | Free & powerful alternative to Photoshop | Intermediate | Free |
| Canva | Quick, one-click fog overlays & textures | Beginner | Freemium |
| Mobile Apps (e.g., Snapseed) | Editing on-the-go with brush tools | Beginner | Free |
As you can see, there’s a tool for every skill level and budget. The best one is the one you’re most comfortable using.
Many people are curious about what tools others prefer for this kind of creative work. The chart below breaks down the popularity of different software for creating these dreamy effects, based on a survey of photography hobbyists.
Frequently Asked Questions
What’s the difference between adding fog and just lowering the clarity?
Lowering clarity reduces sharpness overall, while adding fog with a layer gives you precise control over its placement, density, and color, creating much more realistic depth.
Can I do this in free software?
Absolutely! Programs like GIMP and Photopea have all the necessary tools—layers, masks, and brushes—to create beautiful mist effects for free.
How do I make the fog look realistic?
The trick is to vary its density. Use a soft brush with low opacity (try 10-20%) and build the effect up slowly. Fog is rarely uniform; it’s thicker in some areas and thinner in others.
Will this work on any photo?
It works best on photos that already have a hint of atmosphere or a soft background. It’s harder to make it look natural on a harshly lit, midday shot with sharp shadows.
What color should my fog be?
It’s not always white! Try a very pale blue, gray, or even a warm off-white to match the lighting and mood of your original photo.
The best photo edits are the ones you don’t even notice; they simply make the image feel more real and vibrant.
Now here’s the fun part: playing with these tools is how you discover your own style. Don’t be afraid to experiment. Slide those opacity settings, try different blending modes, and see what speaks to you.
What’s the first photo you’re going to transform with a dreamy, misty atmosphere? Share your before-and-after stories in the comments below—we’d love to see your magic!