Correct White Balance Indoor Photography: White Balance Correction Guide
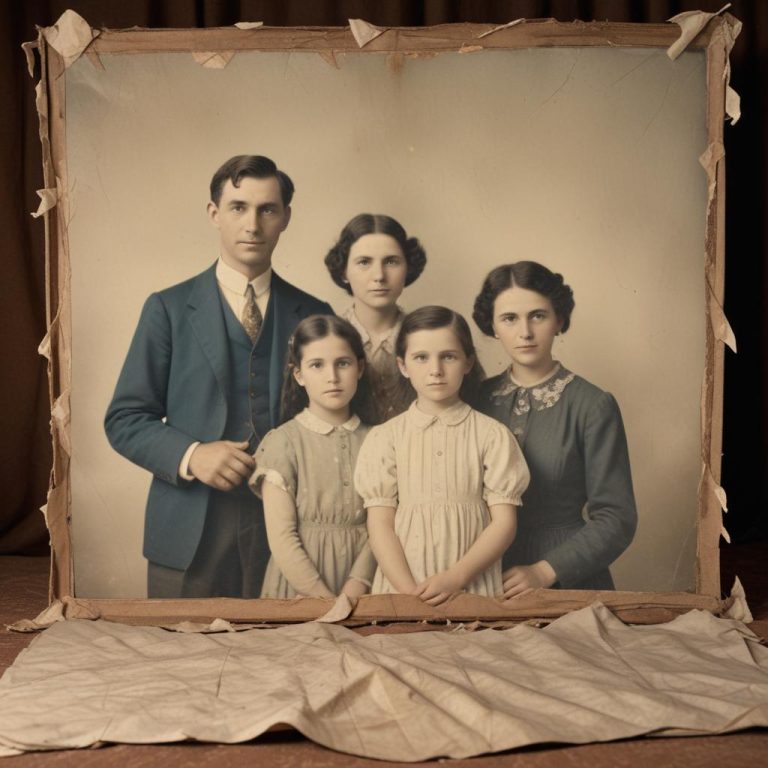
Indoor photography can be tricky, especially when your pictures come out with strange orange, blue, or green color casts. You take what looks like a perfect shot, but when you review it later, the colors look completely wrong. Your white shirt appears yellow, or your family’s skin tones look sickly green under fluorescent lights.
White balance correction is the process of adjusting color temperature in your photos to make whites appear truly white and ensure all colors look natural and accurate. Indoor lighting creates color casts because different light sources emit different color temperatures. By understanding how to identify and fix these issues, you can transform disappointing indoor photos into properly balanced, professional-looking images that accurately represent what you saw with your eyes.
Understanding White Balance in Photography
White balance determines how your camera interprets colors under different lighting conditions. Think of it as your camera’s way of understanding what “white” should look like in any given situation.
What Is Color Temperature?
Every light source has a color temperature, measured in Kelvin (K). Sunlight at noon measures around 5500K and appears neutral white. Indoor lights vary dramatically – incandescent bulbs run around 2700K (warm/orange), while fluorescent lights range from 3000K to 6500K (cool/blue-green).
Your eyes automatically adjust to different lighting conditions, but cameras need help. When white balance is wrong, your entire photo shifts toward whatever color cast the lighting creates.
Common Indoor Lighting Problems
Tungsten/incandescent bulbs create warm, orange-tinted light that makes everything look yellow or amber. Fluorescent lights often produce green or blue-green casts, making skin tones appear sickly. LED lights vary widely in color temperature, sometimes creating unexpected color shifts.
Mixed lighting presents the biggest challenge. When you have window light (daylight) mixing with indoor lamps (tungsten), your camera can’t correctly balance both light sources simultaneously.
Why Indoor White Balance Goes Wrong
Indoor environments present unique challenges that outdoor photography doesn’t face. Understanding these problems helps you prevent them or fix them more effectively.
Multiple Light Sources
Most indoor spaces combine several lighting types. You might have natural window light (5500K), overhead fluorescent fixtures (4000K), and table lamps (2700K) all illuminating the same scene. Your camera’s auto white balance gets confused trying to compensate for multiple color temperatures.
Reflected Light Color Contamination
Indoor walls, furniture, and decorations reflect light and add their own color casts. Red walls will tint your photos warm, while blue walls create cool color shifts. Even white walls can reflect colored light from other sources, compounding white balance problems.
Low Light Conditions
Indoor spaces typically have less light than outdoors, forcing your camera to work harder. In challenging lighting, auto white balance systems become less accurate and may make incorrect assumptions about the scene’s color temperature.
Identifying White Balance Issues
Learning to spot white balance problems helps you address them quickly and effectively.
Visual Clues to Watch For
Look for these telltale signs of incorrect white balance:
- Skin tones appearing orange, yellow, blue, or green
- White objects (paper, shirts, walls) showing obvious color casts
- Overall image appearing too warm (orange/yellow) or too cool (blue)
- Colors that don’t match what you remember seeing
“The easiest way to check white balance is to look at something that should be white or neutral gray in your photo. If it shows a color cast, your white balance needs adjustment.” – Professional Photography Instructor
Using Your Phone’s Screen
View your photos on your phone immediately after taking them. Phone screens are generally well-calibrated, so obvious color problems will be apparent right away. Zoom in on white or gray areas to check for color casts more easily.
Methods for Correcting White Balance
| Method | Difficulty Level | Cost | Best For | Time Required |
|---|---|---|---|---|
| Camera Presets | Beginner | Free | Quick shooting | Instant |
| Custom White Balance | Intermediate | Free | Consistent lighting | 2-3 minutes |
| Auto Bracket | Beginner | Free | Uncertain conditions | Instant |
| Mobile Apps | Beginner-Intermediate | Free-$10 | Post-processing | 2-5 minutes |
| Desktop Software | Advanced | $10-$50/month | Professional results | 5-15 minutes |
| Color Checker Cards | Intermediate | $20-$50 | Precise accuracy | 3-5 minutes |
Using Camera White Balance Presets
Most cameras and smartphones include preset white balance modes designed for common lighting situations.
Tungsten/Incandescent mode compensates for warm, orange light from traditional bulbs. Fluorescent mode corrects for the green-blue cast of office lighting. Auto mode attempts to analyze the scene and adjust accordingly, but often struggles with mixed lighting.
When to Use Each Preset
- Tungsten: Indoor evening shots with lamp lighting
- Fluorescent: Office environments, grocery stores, schools
- Daylight: Near windows with natural light
- Shade: Indirect natural light indoors
- Flash: When using camera flash as primary light source
Manual White Balance Adjustment
For more control, many cameras allow manual color temperature adjustment. You input the Kelvin value directly, giving you precise control over white balance correction.
Common indoor Kelvin values:
- Candlelight: 1000K-2000K
- Incandescent bulbs: 2700K-3000K
- Fluorescent lights: 3000K-6500K
- Natural window light: 5000K-6500K
Custom White Balance Setup
Professional photographers often use custom white balance for critical color accuracy. This technique involves photographing a white or gray reference card under your specific lighting conditions, then setting that as your white balance reference.
Steps for custom white balance:
- Place a white paper or gray card in your scene
- Fill your camera’s frame with the reference card
- Use your camera’s custom white balance function to measure the card
- Apply this setting to subsequent photos in the same lighting
Post-Processing White Balance Correction
Sometimes you can’t get white balance right in-camera, or you need to fine-tune colors after shooting. Post-processing offers powerful correction tools.
Mobile App Solutions
Adobe Lightroom Mobile provides professional-grade white balance tools. The temperature and tint sliders let you adjust color balance precisely. The eyedropper tool automatically sets white balance by clicking on something that should be white or neutral gray.
VSCO and Snapseed offer simpler but effective white balance correction. These apps work well for basic adjustments without overwhelming casual users with complex controls.
Using the Eyedropper Tool
The eyedropper (white balance picker) tool offers the easiest correction method. Simply tap on something in your photo that should appear white or neutral gray. The app automatically adjusts temperature and tint to neutralize that area.
Choose your reference point carefully – avoid areas with specular highlights or deep shadows, which can throw off the adjustment.
Advanced Correction Techniques
For challenging lighting situations, you might need more sophisticated approaches.
Split-Toning for Mixed Lighting
When dealing with multiple light sources, consider split-toning techniques. This allows you to adjust highlights and shadows with different color temperature corrections. For example, you might warm up tungsten-lit shadows while cooling down daylight-lit highlights.
Selective Color Adjustment
Some apps allow you to adjust specific color ranges independently. This technique helps when certain colors still look off after overall white balance correction. You can tweak just the skin tones, for instance, without affecting other colors in the scene.
Prevention Strategies
The best white balance correction is preventing problems in the first place. These shooting techniques help you capture better color from the start.
Lighting Preparation
Turn on all lights before shooting to see the complete lighting situation. Mixed lighting becomes more apparent when everything is illuminated. Consider turning off problematic lights if possible – sometimes removing one conflicting light source solves the whole problem.
Camera Settings for Indoor Shooting
Switch off auto white balance when you know your lighting situation. If you’re shooting entirely under tungsten lights, set tungsten mode and leave it there. Consistent camera settings produce more consistent results than letting auto mode guess repeatedly.
Using Additional Light Sources
Consider bringing portable LED lights with adjustable color temperature. These relatively inexpensive tools let you add properly balanced light to your scene. Reflectors can also help by bouncing existing light to fill shadows without adding new color casts.
Common White Balance Mistakes
Understanding frequent errors helps you avoid frustration and achieve better results faster.
Over-Correcting Colors
The biggest mistake is pushing white balance adjustments too far. Subtle corrections usually work better than dramatic changes. If your adjustment makes the image look obviously processed, you’ve probably gone too far.
Ignoring Mixed Lighting
Trying to correct complex mixed lighting with simple overall adjustments rarely works well. Accept some compromise in challenging lighting, or consider selective corrections for different areas of your photo.
Forgetting About Mood
Sometimes a slight color cast actually enhances your photo’s mood. Warm evening light might look better with a touch of orange warmth rather than clinically neutral colors. Don’t automatically correct every color cast – consider whether it adds to or detracts from your image.
Professional Tips for Better Indoor Photos
These advanced techniques can elevate your indoor photography beyond basic white balance correction.
Working with Window Light
Position subjects near windows when possible – natural light generally provides the most pleasing and accurate colors. Use sheer curtains to diffuse harsh direct sunlight while maintaining good color temperature.
When mixing window light with indoor lighting, consider which light source is stronger and set your white balance accordingly. The dominant light source should guide your color temperature choice.
Understanding Skin Tone Preferences
People generally prefer skin tones that are slightly warm rather than cool. If you must choose between slightly orange or slightly blue skin tones, lean toward the warm side. This applies especially to portraits and family photos.
Frequently Asked Questions
Q: Should I shoot in RAW format for better white balance control? A: Absolutely, if your camera supports it. RAW files contain much more color information, allowing extensive white balance adjustments without quality loss. JPEG files have limited adjustment range before showing artifacts.
Q: Can I fix white balance on photos I took months ago? A: Yes, as long as you have the original files. However, heavily compressed or low-quality images have less adjustment latitude. RAW files from any time period can usually be corrected effectively.
Q: Why do my photos look different on different devices? A: Screen calibration varies between devices. Your phone, computer, and TV all display colors differently. Focus on making your photos look good on your primary viewing device, usually your phone or computer.
Q: Is auto white balance ever reliable indoors? A: Modern cameras have improved auto white balance, but it still struggles with mixed lighting. Auto works reasonably well under single, consistent light sources like all-LED or all-tungsten lighting.
Q: How do I handle colored walls affecting my white balance? A: Colored walls reflect their color onto your subject. You can either embrace this as part of the scene’s character or move your subject away from strongly colored surfaces. Neutral walls (white, gray, beige) cause fewer color contamination problems.
Q: Can I use white balance creatively? A: Definitely! Intentionally “wrong” white balance can create mood and atmosphere. Cool blue tones suggest early morning or clinical environments, while warm orange tones create cozy, intimate feelings.
Q: What’s the difference between temperature and tint adjustments? A: Temperature controls the blue-orange balance (cool to warm), while tint handles the green-magenta balance. Most indoor lighting problems require primarily temperature adjustment, with minor tint tweaking for fluorescent lights.
Q: Do expensive cameras have better white balance? A: Generally yes, but the difference isn’t dramatic. Professional cameras often have more white balance presets and better low-light performance, but good technique matters more than expensive equipment.