Sharpen Blurry Photos Taken on Phone: Photo Sharpening Made Simple
We’ve all been there – you take what seems like the perfect shot on your phone, only to discover later that it’s disappointingly blurry. Whether it’s a precious family moment, a stunning sunset, or an important document, blurry photos can be frustrating. The good news? You don’t have to accept fuzzy pictures as your final result.
Photo sharpening is the process of enhancing image clarity by increasing contrast along edges and fine details. Modern smartphones and photo editing apps use sophisticated algorithms to analyze your blurry images and restore sharpness. While you can’t completely fix severely out-of-focus photos, most slightly blurry pictures can be dramatically improved using the right techniques and tools. The key is understanding what causes blur and choosing the appropriate sharpening method for your specific situation.
Why Do Phone Photos Turn Out Blurry?
Understanding the root cause of your blurry photos helps you choose the best sharpening approach. Phone cameras face unique challenges that traditional cameras don’t encounter as frequently.
Camera Shake and Motion Blur
Camera shake happens when your phone moves during the shot, creating streaky blur patterns. This often occurs in low light situations when your camera uses slower shutter speeds. Motion blur affects moving subjects – like kids running or cars driving by – even when your phone stays perfectly still.
Modern phones include image stabilization features, but they can’t eliminate all movement. Windy conditions, unsteady hands, or trying to capture action shots can still result in blurry images.
Focus Issues
Sometimes your phone’s autofocus system gets confused, especially in challenging lighting conditions or when photographing subjects with low contrast. The camera might focus on the wrong area, leaving your intended subject blurry while the background stays sharp.
Macro photography (extreme close-ups) presents particular challenges. Phone cameras have limited depth of field when shooting very close subjects, making it easy to miss perfect focus.
Low Light Conditions
Poor lighting forces your phone camera to make compromises. It might use higher ISO settings (which create grain) or slower shutter speeds (which increase blur risk). Indoor photos and evening shots frequently suffer from these issues.
How Photo Sharpening Works
Photo sharpening isn’t magic – it’s mathematics applied to your image data. Understanding the basic principles helps you get better results.
Edge Detection Technology
Sharpening algorithms scan your photo looking for edges – areas where light and dark pixels meet. These boundaries typically represent important details like facial features, text, or object outlines. The software then increases contrast along these edges, making them appear more defined.
“Sharpening works by identifying transitions between different tones and making the light side lighter and the dark side darker.” – Digital Photography Expert
Unsharp Mask Technique
Despite its confusing name, “unsharp mask” is the most common sharpening method. It creates a slightly blurred copy of your image, then compares it to the original. Areas that differ significantly get enhanced contrast, while smooth areas (like skin or sky) remain untouched.
This technique prevents over-sharpening smooth surfaces while enhancing important details.
Best Methods to Sharpen Phone Photos
| Method | Difficulty Level | Cost | Best For | Time Required |
|---|---|---|---|---|
| Built-in Phone Editing | Beginner | Free | Quick fixes | 1-2 minutes |
| Dedicated Apps | Beginner-Intermediate | Free-$5 | Detailed control | 3-5 minutes |
| Online Tools | Beginner | Free-$10/month | No downloads needed | 2-4 minutes |
| Desktop Software | Advanced | $10-$50/month | Professional results | 5-15 minutes |
| AI Enhancement | Beginner | Free-$20/month | Severe blur cases | 1-3 minutes |
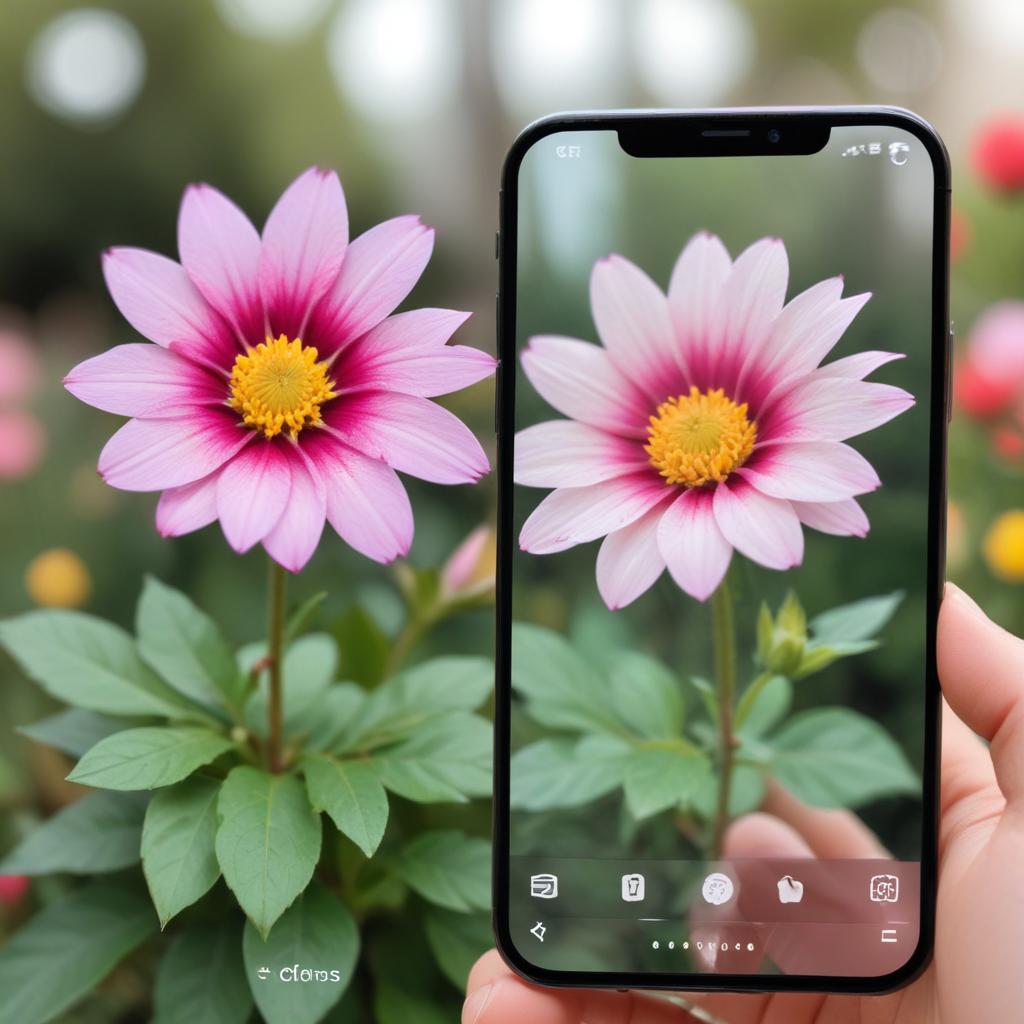
Using Built-in Phone Editing Tools
Most smartphones include basic sharpening features in their default photo apps. These tools offer the quickest solution for minor blur issues.
iPhone users can access sharpening through the Photos app. Open your blurry image, tap “Edit,” then adjust the “Sharpness” slider under the exposure tools. Start with small adjustments – usually between 25-50% works best.
Android users have similar options in Google Photos or their manufacturer’s camera app. Samsung phones include particularly robust editing features with multiple sharpness adjustment options.
The advantage of built-in tools is convenience and speed. However, they offer limited control compared to dedicated editing apps.
Dedicated Photo Sharpening Apps
Specialized apps provide much more control over the sharpening process. Popular options include VSCO, Snapseed, and Adobe Lightroom Mobile.
Snapseed (Free)
Google’s Snapseed offers excellent sharpening tools without any cost. The “Details” feature provides separate controls for structure and sharpening intensity. This allows you to enhance textures without creating harsh, artificial-looking edges.
Adobe Lightroom Mobile (Free/Premium)
Lightroom Mobile includes professional-grade sharpening tools. The free version offers basic adjustments, while the premium subscription unlocks advanced masking features. You can sharpen specific areas of your photo while leaving others untouched.
Online Photo Enhancement Tools
Web-based sharpening tools work directly in your browser, requiring no app downloads. Services like photo-editor.shop provide user-friendly interfaces with powerful sharpening algorithms.
Online tools typically upload your photo, process it on remote servers, then send back the enhanced version. This approach allows access to sophisticated processing power regardless of your phone’s capabilities.
Privacy consideration: Always check an online service’s data policy before uploading personal photos.
Advanced Sharpening Techniques
Once you master basic sharpening, these advanced methods can further improve your results.
Selective Sharpening
Rather than sharpening your entire photo uniformly, focus on specific areas. Portraits benefit from sharpening eyes and hair while leaving skin smooth. Landscape photos might need enhanced foreground details with softer background treatment.
Most advanced apps allow you to mask certain areas, protecting them from sharpening effects.
Multi-Pass Sharpening
Sometimes one sharpening adjustment isn’t enough. Try applying moderate sharpening in multiple stages rather than one heavy adjustment. This approach reduces artifacts while building up detail gradually.
Noise Reduction First
Blurry photos often include digital noise (grain). Always reduce noise before sharpening – otherwise, you’ll enhance both details and unwanted grain. Most professional apps include noise reduction tools alongside sharpening features.
Common Mistakes to Avoid
Learning what not to do is just as important as mastering proper techniques.
Over-Sharpening
The most common error is applying too much sharpening. Over-sharpened images develop ugly halos around edges and harsh, artificial textures. Start with subtle adjustments and gradually increase intensity if needed.
Signs of over-sharpening include:
- White or dark outlines around objects
- Grainy, harsh-looking textures
- Unnatural contrast in smooth areas
Ignoring Image Quality
Severely blurry photos cannot be completely fixed through sharpening. If your subject is completely out of focus, sharpening will only make the blur more obvious. Consider these images candidates for creative effects rather than realistic enhancement.
Wrong Tool Selection
Different types of blur require different approaches. Motion blur needs different treatment than focus blur. Using the wrong sharpening method can actually make your photos look worse.
Tips for Prevention
The best blurry photo is one you never take in the first place. These shooting techniques help ensure sharp images from the start.
Proper Hand Position
Hold your phone with both hands, keeping your elbows close to your body for stability. Tap the shutter gently rather than jabbing it forcefully, which can cause camera shake.
Use Phone Features
Enable image stabilization if your phone offers it. Burst mode helps with moving subjects – take multiple shots and choose the sharpest one later. The built-in timer eliminates shake from pressing the shutter button.
Lighting Considerations
Good lighting is crucial for sharp photos. Move toward windows for indoor shots, or use your phone’s built-in flash when appropriate. Better lighting allows faster shutter speeds, reducing blur risk.
Frequently Asked Questions
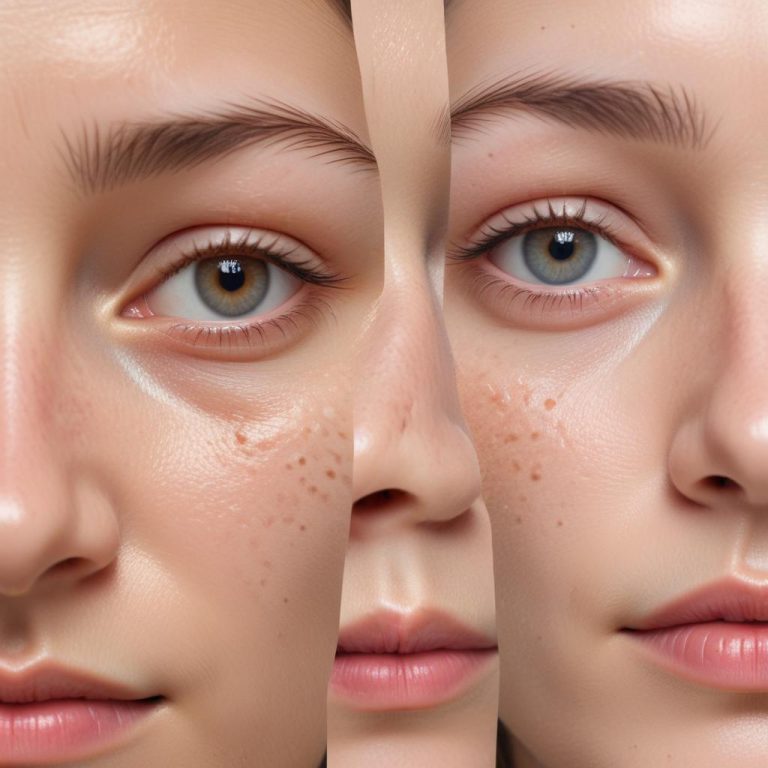
Q: Can I completely fix a very blurry photo? A: Unfortunately, no. Sharpening can improve slightly blurry images significantly, but severely out-of-focus photos cannot be completely restored. The quality of your starting image determines how much improvement is possible.
Q: Will sharpening make my photos look fake? A: Only if you overdo it. Subtle sharpening enhances natural detail, while excessive sharpening creates artificial-looking halos and harsh textures. Always start with small adjustments and increase gradually.
Q: Should I sharpen every photo I take? A: Not necessarily. Many modern phone cameras produce adequately sharp images straight from the camera. Only sharpen photos that actually appear soft or blurry on your screen.
Q: Which file format is best for sharpening? A: If your phone captures in RAW format, use those files for best results. RAW files contain more image data, allowing better sharpening without quality loss. JPEG files work too, but with slightly less flexibility.
Q: Can I sharpen photos that have already been edited? A: Yes, but be cautious. Previously edited photos might already include some sharpening. Adding more can quickly lead to over-sharpening. Check your photo’s edit history if possible.
Q: How do I know when I’ve sharpened enough? A: View your photo at 100% zoom on your phone screen. The image should look crisp and detailed without harsh edges or halos. If you notice artificial-looking contrasts, reduce the sharpening amount.
Q: Are paid sharpening apps worth the money? A: For casual users, free apps usually provide sufficient functionality. Professional photographers or those frequently working with challenging photos might benefit from paid apps’ advanced features and better algorithms.
Q: Can sharpening fix old, scanned photos? A: Yes, but old photos often need both sharpening and noise reduction. Scanned images frequently include dust, scratches, and grain that sharpening alone won’t address.