How to Fix Overexposed Photos on iPhone and Android Devices – The 2026 Pocket Guide
You snap what you think is the perfect shot of your friends at the beach or your dog doing something cute, but when you look at your screen, the whole image looks like someone turned the brightness to maximum and never looked back. The sky is just a white blob. Your friend’s face is washed out. The colors look like they’ve been through the laundry one too many times. Don’t delete that photo just yet. Fixing overexposed photos directly on your iPhone or Android in 2026 is incredibly easy, and you probably already have everything you need right in your pocket. Whether you’re a casual snapper or someone who loves posting to social media, you can rescue those too-bright memories in just a few taps.
Fixing an overexposed photo on your phone means using built-in editing tools or simple apps to bring back the details that got lost in the brightness . You can do this by adjusting a few key sliders—like Exposure, Highlights, and Brightness—that every modern phone has in its photo gallery. The goal is to darken just the parts that are too bright while keeping the rest of the photo looking natural. In 2026, with smarter AI tools and more powerful phone processors, this process is faster and more effective than ever .
Why Your Phone Photos Get Washed Out
Before we jump into fixes, let’s quickly understand what’s happening. Your phone’s camera is smart, but it’s not perfect. When there’s too much light—like shooting on a sunny day or pointing at a bright window—the camera sensor gets overwhelmed. It’s like trying to listen to a quiet conversation right next to a loudspeaker. The important details (like the texture of a shirt or clouds in the sky) get “blown out” into pure white .
This often happens when:
- You’re shooting outdoors in direct sunlight
- There’s a bright light source behind your subject (backlighting)
- Your phone’s automatic exposure chooses the wrong setting
- You accidentally tapped a dark area, causing the phone to brighten everything else
The good news? Those details aren’t always gone forever. Modern smartphones capture more information than you can see at first glance, especially if you’ve enabled certain settings .
Your 2026 Toolkit: Built-In vs. App Solutions
Here’s a simple comparison of the tools available to fix overexposed photos on your phone this year.
| Method / App | Best For… | Key Overexposure Fix | Platform | Price |
|---|---|---|---|---|
| iPhone Built-In Editor | Quick, no-download fixes | Exposure, Brilliance, Highlights sliders | iOS | Free |
| Google Photos | Cross-platform consistency | Adjust, Light, and Highlights tools | iOS / Android | Free |
| Snapseed | Selective area fixes | “Selective” tool + “Tune Image” | iOS / Android | Free |
| PixelFixer | AI-powered one-click correction | Automatic exposure + lighting repair | iOS (Android soon) | Free / In-app |
| Adobe Lightroom Mobile | Pro-level control | Highlights, Whites, Exposure sliders | iOS / Android | Free / Subscription |
| VSCO | Stylish filters + exposure fix | Exposure and Contrast sliders | iOS / Android | Free / Subscription |
| CapCut Mobile | Video + photo AI fixes | Auto Adjust with intensity control | iOS / Android | Free |
| Snapseed | Advanced | Use HDR Scape to bring back details | iOS / Android | Free |
How to Fix Overexposed Photos: Step-by-Step for iPhone and Android
Let’s walk through the actual steps, whether you want a one-tap miracle or hands-on control.
The Built-In Method (iPhone)
Apple’s Photos app has become surprisingly powerful. Here’s how to use it to fix overexposed shots.
Step 1: Access the Editor
Open the photo you want to fix. Tap “Edit” in the top-right corner. You’ll see a row of adjustment tools at the bottom .
Step 2: Find the Magic Sliders
Tap the dial icon (it looks like a set of knobs). This opens the adjustment panel. Swipe through the options until you find:
- Brilliance: This is Apple’s secret weapon. It brightens shadows and darkens highlights at the same time. For overexposed photos, drag Brilliance down slightly (to the left). Watch how the washed-out parts suddenly gain texture .
- Highlights: This slider specifically targets the brightest parts of your photo. Drag it left (negative numbers) to bring back detail in white skies or shiny surfaces.
- Exposure: This adjusts the overall brightness. Use it last, and only if the whole photo is still too bright after fixing Highlights.
Step 3: The “Tap to Expose” Trick
Sometimes the problem is that your phone exposed for the wrong area. While editing, you can’t change that, but for future shots, here’s a pro tip: tap the brightest part of your subject on the screen before taking the photo. The camera will adjust exposure for that spot, preventing overexposure in the first place .
Pro Tip: For even more control, use the “AE/AF Lock” feature. Press and hold on your subject until you see “AE/AF Lock” at the top of the screen. This locks both focus and exposure, so you can recompose your shot without the brightness changing .
The Built-In Method (Android)
Android phones vary by manufacturer (Samsung, Google Pixel, OnePlus, etc.), but Google Photos provides a consistent editing experience across almost all of them.
Using Google Photos
- Open the photo in Google Photos.
- Tap “Edit” (the pencil icon) at the bottom.
- Select “Adjust” or “Light” from the tools menu.
- You’ll see several sliders:
- Brightness: Use sparingly—this affects the whole image.
- Contrast: Increase slightly to add depth.
- Highlights: Drag left to recover blown-out areas. This is your most powerful tool.
- Shadows: If your photo has dark areas, you can leave these alone or brighten them slightly after fixing the highlights.
Using Samsung Gallery
If you have a Samsung phone, the built-in Gallery app has similar tools:
- Open the photo, tap the pencil icon.
- Select “Adjust” (sometimes under “More options”).
- Use the “Highlights” slider (drag left) and “Exposure” slider (drag left) to fix overexposure.
The Selective Fix Method (Snapseed)
Sometimes only part of your photo is overexposed—like a bright window behind an otherwise perfect portrait. Snapseed, a free Google app, lets you fix just that area.
Step 1: Open in Snapseed
Download Snapseed from your app store (it’s free and works on both iPhone and Android). Open your photo and tap “Tools.”
Step 2: Use the Selective Tool
Select “Selective.” This tool lets you place “control points” on specific areas.
- Tap the overexposed area (like a bright sky or a shiny spot on someone’s face). A circle with a lightning bolt icon will appear.
- Use two fingers to pinch and expand the circle so it covers just the area you want to fix.
- Swipe up or down on the circle to choose what to adjust (Brightness, Contrast, Saturation, etc.). Select “Brightness” and swipe left to darken only that spot.
Step 3: Fine-Tune
You can add multiple control points to fix different areas. This technique keeps the rest of your photo perfectly exposed while saving the blown-out parts.
The AI One-Click Method (PixelFixer and CapCut)
For those who want instant results without learning sliders, AI tools in 2026 are game-changers.
Using PixelFixer
PixelFixer is an AI-powered app available on iOS (with Android coming soon) specifically designed to fix lighting and exposure issues automatically .
- How to use it: Open PixelFixer, import your overexposed photo, and tap “Fix” or “Enhance.” The AI analyzes the image, detects the overexposed areas, and corrects them instantly .
- What it fixes: Beyond exposure, it can also correct color balance and improve overall quality with minimal effort .
- Best for: Anyone who wants professional-looking results without learning photo editing .
Using CapCut Mobile
CapCut isn’t just for video—its photo editing features are excellent in 2026.
- Import your photo, tap “Adjust,” then “Auto Adjust.”
- The AI will immediately balance exposure, contrast, and color.
- The key is the intensity slider that appears afterward. Dial it back to 70–80% so the fix looks natural, not over-processed.
How to Fix Specific Overexposure Problems
Different situations need slightly different approaches. Here’s a quick guide.
Fixing a Washed-Out Sky
Sunsets and bright blue skies are common victims of overexposure.
- Open your photo in any editor with a “Dehaze” or “Texture” tool (Lightroom Mobile and Snapseed both have this).
- Drag the Dehaze slider slightly to the right. This adds contrast and brings back cloud definition.
- Then, drag Highlights left to recover any remaining white areas.
- Finally, increase Saturation just a touch (or better, use Vibrance) to bring back the blue.
Fixing an Overexposed Face
When someone’s face is too bright, you lose skin texture and details like eyes and smiles. This looks unflattering and fake.
- Use the Selective tool in Snapseed (as described above) to target just the face area.
- Lower Brightness on the face until skin details reappear.
- If the face looks flat, increase Contrast very slightly on that same control point.
- Use the Warmth slider if the face looks too cool (blue) after fixing exposure.
Fixing a Photo That’s Entirely Too Bright
If the whole image is washed out, not just specific areas:
- Start with the Highlights slider. Drag left until the brightest areas show detail.
- Then use Exposure or Brightness if needed, but go easy—dragging Exposure left darkens everything, including parts that might have been fine.
- Add a touch of Contrast (+10 to +20) to restore depth.
- Use Vibrance to bring colors back to life without making skin tones look orange.
Preventing Overexposure Before You Shoot
The absolute best fix is not needing one. Here are five quick tips for taking perfectly exposed photos with your phone.
1. Master the Exposure Adjustment
Before you tap the shutter, you can manually set exposure. On both iPhone and Android:
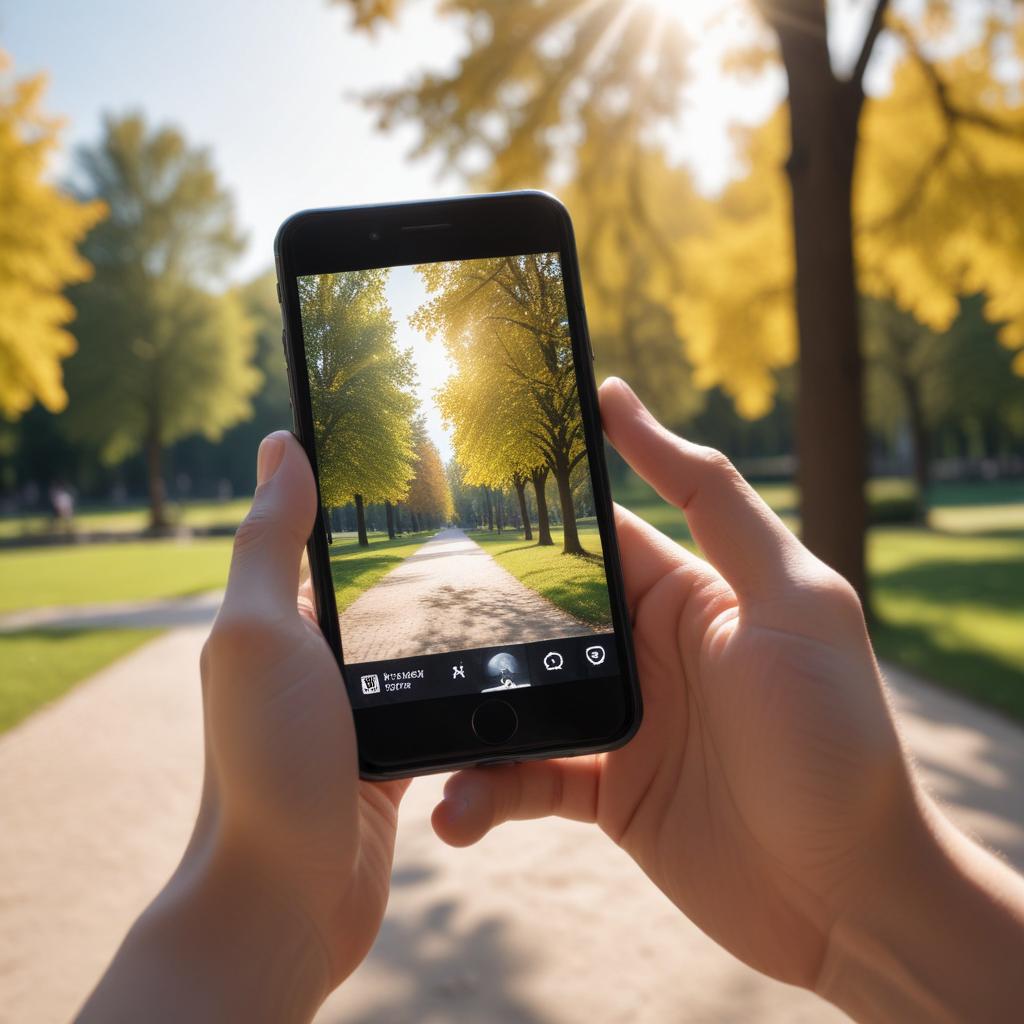
- Tap the screen where you want to focus.
- A sun icon appears next to the focus square.
- Slide your finger up or down on the screen to brighten or darken the image .
- For backlit subjects, tap directly on the subject (not the bright background) to expose properly for them .
2. Lock Exposure and Focus
For tricky lighting situations, lock both so they don’t change if you move your phone.
- iPhone: Press and hold on the screen until “AE/AF Lock” appears .
- Android: Press and hold on the screen (works on most devices; some may have a lock icon).
Now you can recompose your shot, and the exposure stays exactly where you set it.
3. Use HDR Mode
HDR (High Dynamic Range) takes multiple photos at different exposures and combines them into one perfectly exposed image. On most modern phones, HDR is automatic, but make sure it’s enabled:
- iPhone: Go to Settings > Camera and ensure “Smart HDR” is on.
- Android: In your camera app, look for “HDR” or “Scene optimizer” and set it to On or Auto.
4. Watch Your Histogram (Pro Tip)
If your phone shows a histogram (a graph of brightness levels), learn to glance at it. When the graph is smashed against the right edge, your photo is overexposed. Adjust exposure down until the graph shifts left slightly .
5. Try Night Mode in Reverse
Night Mode is for low light, but the principle applies to bright scenes too. On iPhones, Night Mode activates automatically in low light . For bright scenes, you’re essentially doing the opposite—shortening the exposure time. You can’t always control shutter speed on auto mode, but you can use a third-party camera app like Halide (iPhone) or ProShot (Android) that gives you manual controls to shorten shutter speed and prevent overexposure.
Common Mistakes to Avoid
Even experienced editors make these errors. Here’s what to watch out for.
Pushing Sliders Too Far
Dragging Highlights all the way to -100 can create an unnatural, flat look. Aim for subtlety—often -20 to -40 is plenty.
Ignoring Color After Exposure Fix
After you fix brightness, colors often look washed out or weird. Always check and adjust Vibrance or Saturation as a final step .
Saving Over the Original
Always save your edited photo as a copy. Both iPhone and Google Photos let you revert to the original anytime, but it’s good practice to keep the original untouched.
Expecting Miracles from Completely Blown Areas
If an area is pure white (255,255,255 on a color checker), there’s no data to recover. The fix is prevention—use exposure compensation next time .
Frequently Asked Questions (FAQ)
Q: What’s the absolute fastest way to fix an overexposed photo on my phone?
A: Use an AI app like PixelFixer or CapCut with Auto Adjust. One tap, and the AI fixes exposure, color, and lighting instantly . For built-in tools, Google Photos’ “Auto” button or iPhone’s “Brilliance” slider are your fastest options.
Q: Can I fix an overexposed photo for free on my phone?
A: Absolutely. Both iPhone and Android have powerful free built-in editors. Google Photos, Snapseed, and CapCut are also completely free and offer professional-level controls.
Q: My photo has a completely white sky. Can I get the blue back?
A: Sometimes yes, sometimes no. If the sky is pure white with no detail, there may be no blue to recover. However, try the Highlights slider first—you might be surprised how much cloud detail is hiding. If that fails, you can use apps like Lightroom Mobile to mask the sky and add a subtle blue gradient, but for e-commerce or professional work, it’s better to reshoot.
Q: Why do my fixed photos look good on my phone but bad when I post them?
A: Social media platforms often compress images, which can make exposure issues worse. Always edit with a little “headroom”—don’t push the exposure to the absolute limit. Also, ensure you’re editing on a medium brightness setting; editing in a dark room with max brightness often leads to under-editing.
Q: What’s the difference between “Exposure” and “Brightness” on iPhone?
A: In iPhone’s editor, Exposure affects the entire image’s light levels. Brilliance is smarter—it intelligently adjusts shadows, highlights, and contrast together . For overexposed photos, start with Brilliance and Highlights before touching Exposure.
Q: Is there an Android version of PixelFixer yet?
A: As of early 2026, PixelFixer is available on iOS through the App Store, with an Android version currently in development . Keep an eye on their social media for release announcements.
Q: Can I fix overexposed videos on my phone too?
A: Yes! CapCut Mobile and Adobe Premiere Rush both have exposure and highlight adjustments for video. The principles are the same—lower highlights and exposure to recover detail.
Final Thoughts: Your Pocket Studio Awaits
In 2026, the line between phone snapshots and professional photography is thinner than ever. With the built-in tools on your iPhone or Android, plus powerful free apps like Snapseed and PixelFixer, you have a complete photo studio right in your pocket .
The key is to remember that overexposure isn’t always a death sentence for your photos. A few thoughtful adjustments can rescue memories that once seemed lost. Start with the simple sliders—Highlights, Brilliance, and Exposure. Experiment with selective tools for tricky areas. And when you’re in a hurry, let AI do the heavy lifting.
Next time you’re shooting, try the prevention tips too: tap to adjust exposure, lock it when you have a good setting, and trust that your phone’s camera is more capable than you might think . Your future self—the one with a gallery full of beautiful, perfectly exposed photos—will thank you.
Got a favorite editing app or a before-and-after success story? Share it in the comments below—we’d love to see what you’ve rescued!