Portrait Retouching Tutorial: Natural Skin Smoothing Techniques for Perfect Photos
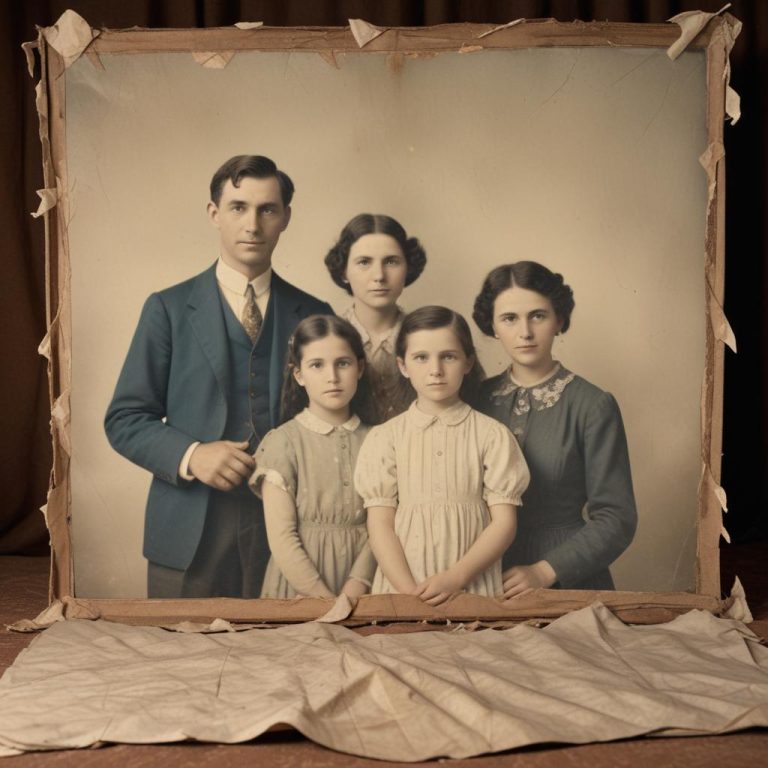
Perfect skin in photos doesn’t have to look fake or overdone. With the right portrait retouching techniques, you can smooth skin naturally while keeping that authentic, real-person look that viewers love. Whether you’re editing family photos or professional headshots, learning proper skin smoothing methods will transform your images from ordinary to amazing.
Natural skin smoothing is all about reducing blemishes and evening out skin texture without making people look like plastic dolls. The best approach combines gentle blur techniques with selective editing that preserves important skin details like pores, freckles, and natural skin patterns. This creates photos that look polished yet believable, giving subjects their best appearance while maintaining their unique character.
Understanding Natural Skin Retouching
What Makes Skin Smoothing Look Natural
The secret to realistic skin retouching lies in subtlety and preservation. When you smooth skin naturally, you’re not trying to create perfect, poreless skin. Instead, you want to:
- Reduce the appearance of temporary blemishes
- Even out skin tone variations
- Soften harsh shadows and highlights
- Keep natural skin texture visible
- Preserve unique features like freckles or moles
Many beginners make the mistake of applying too much smoothing, which creates that artificial “airbrushed” look. The goal is enhancement, not transformation.
Tools You’ll Need for Portrait Retouching
Before diving into techniques, gather these essential tools:
| Tool Category | Recommended Options | Purpose |
|---|---|---|
| Photo Editing Software | Photoshop, GIMP, Affinity Photo | Main editing platform |
| Brush Tools | Healing brush, Clone stamp, Spot removal | Blemish removal |
| Blur Filters | Gaussian blur, Surface blur, Smart blur | Skin texture smoothing |
| Selection Tools | Lasso, Magic wand, Color range | Isolating skin areas |
| Adjustment Layers | Curves, Levels, Hue/Saturation | Color and tone correction |
Step-by-Step Skin Smoothing Process
Step 1: Preparing Your Image
Start by opening your portrait in your chosen editing software. Create a duplicate layer of your original image – this gives you a safety net if something goes wrong. Name this layer “Skin Smoothing” so you can easily identify it later.
Zoom in to 100% magnification to see the skin clearly. Look for areas that need attention:
- Acne or temporary blemishes
- Uneven skin tone
- Rough texture areas
- Dark circles under eyes
- Harsh shadows
Step 2: Remove Major Blemishes First
Before smoothing overall skin texture, tackle obvious problem spots. Use the healing brush or spot removal tool to eliminate:
- Active breakouts
- Scars (only if requested)
- Temporary skin irritations
- Stray hairs on face
Work carefully around permanent features like moles, freckles, or distinctive marks that make the person unique. These should usually stay unless specifically requested for removal.
Step 3: Create a Skin Selection
This step separates skin from other facial features. Use your software’s selection tools to carefully outline all skin areas, excluding:
- Eyes and eyebrows
- Lips and mouth
- Hair
- Clothing
- Background
Many programs offer color range selection tools that can automatically select similar skin tones. Refine the selection manually to ensure accuracy.
Advanced Smoothing Techniques
The Frequency Separation Method
This professional technique separates skin texture from color information, allowing precise control over smoothing.
High-frequency layer contains fine details like pores and hair. Low-frequency layer holds color and tonal information. By working on these separately, you can:
- Smooth color variations without losing texture
- Reduce texture while preserving natural skin color
- Apply different amounts of smoothing to different areas
“Frequency separation gives you the precision to fix skin problems without creating that fake, over-processed look.” – Professional retoucher advice
Selective Blur Application
Instead of applying blur to entire faces, use layer masks to control where smoothing appears. Create a blur layer, then paint with black on the mask to hide smoothing from areas like:
- Around the eyes (preserve detail)
- Near the mouth (keep natural lines)
- Hair and eyebrows
- Sharp facial features
This selective approach maintains important facial details while smoothing problematic skin areas.
The Dodge and Burn Technique
Professional retouchers often use dodging (lightening) and burning (darkening) to even out skin tones naturally. This technique:
- Lightens dark spots and shadows
- Darkens overly bright areas
- Creates smooth tonal transitions
- Maintains natural skin dimensionality
Work with very low opacity (10-15%) and build up effects gradually.
Common Mistakes to Avoid
Over-Smoothing Warning Signs
Watch out for these red flags that indicate too much smoothing:
- Skin looks plastic or waxy
- No visible pores anywhere
- Lost facial structure and dimension
- Blurred edges around features
- Unnatural color uniformity
Preserving Skin Character
Remember that imperfections often add character. Consider keeping:
- Light freckles and natural marks
- Subtle skin texture
- Natural color variations
- Laugh lines (unless specifically requested)
- Age-appropriate skin characteristics
Technical Pitfalls
Avoid these common technical errors:
- Working on flattened images (always use layers)
- Applying effects at too high opacity
- Ignoring color temperature differences
- Smoothing non-skin areas accidentally
- Forgetting to save work-in-progress files
Color Correction for Natural Results
Matching Skin Tones
Different areas of the face often have varying colors due to:
- Blood circulation differences
- Shadow and light variations
- Natural pigmentation patterns
- Environmental lighting conditions
Use color correction layers to gently even out these differences while maintaining natural variation.
Temperature and Tint Adjustments
Skin can appear too yellow, pink, or gray depending on lighting conditions. Small adjustments to color temperature and tint can make skin look healthier and more natural.
Final Touches and Quality Check
Blending and Edge Refinement
After applying all smoothing techniques, check for:
- Hard edges where smoothed areas meet untouched regions
- Color mismatches between different face areas
- Loss of important facial details
- Overall image consistency
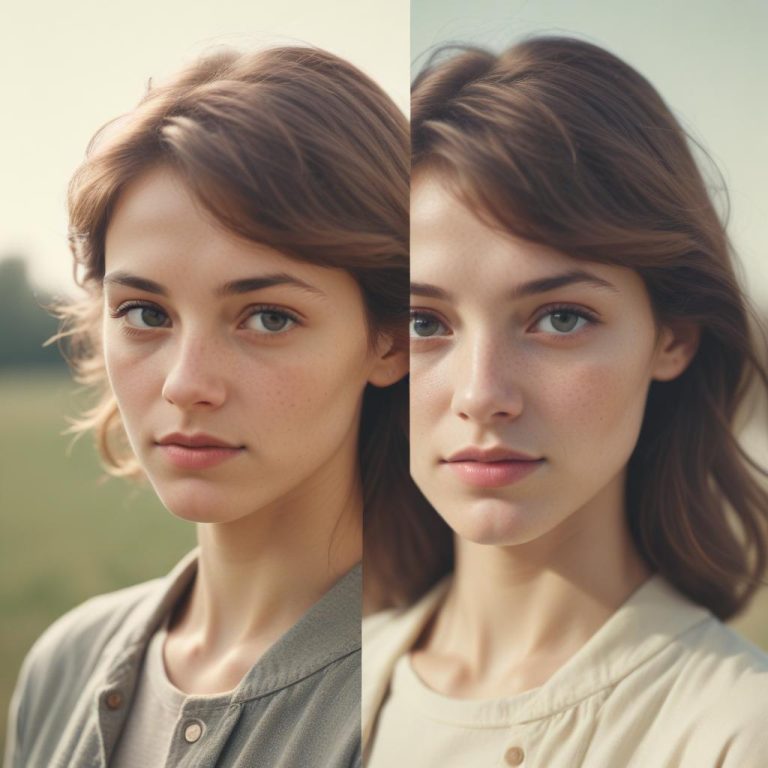
The Before-and-After Test
Toggle your edited layer on and off to compare with the original. Ask yourself:
- Does the person still look like themselves?
- Would someone notice the editing was done?
- Are the improvements subtle but effective?
- Does the skin look healthy rather than perfect?
Good retouching should be invisible to viewers while making the subject look their absolute best.
Software-Specific Tips
Photoshop Users
- Use Surface Blur for gentle overall smoothing
- Try the Mixer Brush for natural blending
- Experiment with Smart Filters for non-destructive editing
Free Alternative Options
- GIMP offers excellent healing and blur tools
- Paint.NET provides basic but effective smoothing options
- Canva includes simple skin smoothing features
Mobile Editing Apps
- Snapseed has professional-quality healing tools
- VSCO offers subtle skin smoothing filters
- Adobe Lightroom Mobile provides precise local adjustments
FAQ Section
Q: How much skin smoothing is too much? A: If the skin looks plastic, waxy, or completely poreless, you’ve gone too far. Natural skin should still show some texture and subtle imperfections.
Q: Should I remove all blemishes and marks? A: Remove temporary blemishes like acne, but keep permanent features like moles and freckles unless specifically asked to remove them. These add character and authenticity.
Q: What’s the best software for beginners? A: Start with user-friendly options like Canva or mobile apps like Snapseed. As you improve, move to more advanced software like GIMP (free) or Photoshop.
Q: How do I smooth skin without losing facial structure? A: Use layer masks to protect important areas like eye details, lip edges, and facial contours. Apply smoothing selectively rather than to entire faces.
Q: Can I fix skin smoothing that looks too artificial? A: Yes! Reduce the opacity of your smoothing layer or use layer masks to bring back some original texture. You can also add subtle noise to recreate natural skin texture.
Q: How long should skin retouching take? A: For basic smoothing, expect 15-30 minutes per portrait. Professional-level retouching with frequency separation might take 1-2 hours depending on the image complexity.
Q: What’s the difference between skin smoothing and skin softening? A: Smoothing reduces texture and blemishes, while softening typically refers to gentle blur effects. Both techniques work together for natural-looking results.
Q: Should skin tone be the same color everywhere on the face? A: No! Natural faces have color variation – slightly pinker cheeks, different undertones around the eyes, etc. Maintain these subtle differences for realistic results.