Common Cropping Mistakes and How to Avoid Them
Picture this: you take what seems like the perfect photo, but when you crop it for Instagram or your website, something just looks off. Maybe the subject feels cramped, or important details got chopped out, or the whole composition feels unbalanced. Cropping mistakes are among the most common photography errors, yet they’re also some of the easiest to fix once you know what to look for. Whether you’re a beginner trying to improve your social media game or someone who wants to make their family photos look more professional, understanding proper cropping techniques will instantly upgrade your images. The best part? You don’t need expensive software or years of training – just a few key principles that’ll transform how you approach every single photo you edit.
Why Cropping Makes or Breaks Your Photos
The Psychology Behind Perfect Crops
Your brain processes visual information incredibly quickly, making snap judgments about photos in less than 100 milliseconds. Poor cropping immediately signals “amateur” to viewers, even if they can’t pinpoint exactly what’s wrong.
Good cropping guides the viewer’s eye exactly where you want it to go. It eliminates distractions, enhances the main subject, and creates emotional impact through careful composition choices.
The Technical Side of Cropping
Cropping isn’t just about making photos smaller or fitting them into specific dimensions. It’s about optimizing visual weight, balance, and storytelling within a frame.
“Cropping is the difference between taking a picture and making a picture” – a principle that separates casual snapshots from compelling visual stories.
When you crop effectively, you’re essentially redesigning your photo’s composition after the fact. This gives you a second chance to fix composition mistakes made during shooting.
The Most Devastating Cropping Mistakes (And How to Spot Them)
| Mistake Type | What It Looks Like | Why It Happens | Quick Fix |
|---|---|---|---|
| Joint Cutting | Cropping at wrists, ankles, knees | Following tight dimension requirements | Crop above or below joints |
| Center Subject Syndrome | Subject dead center in every crop | Fear of off-center compositions | Use rule of thirds placement |
| Headroom Disasters | Too much or too little space above heads | Not considering visual weight | Leave 10-20% headroom for portraits |
| Background Blindness | Ignoring distracting background elements | Focusing only on main subject | Check entire frame before cropping |
| Aspect Ratio Accidents | Stretching or squashing images | Forcing photos into wrong dimensions | Maintain original proportions |
| Edge Element Errors | Important details cut off at edges | Rushing through cropping process | Always check photo boundaries |
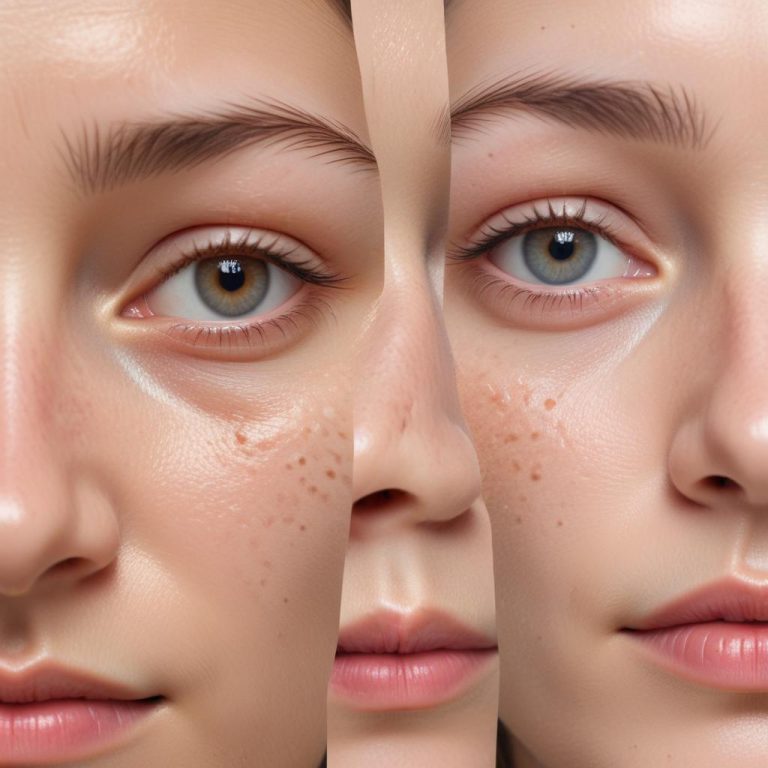
Portrait Cropping – Getting Human Subjects Right
The Joint-Cutting Cardinal Sin
Nothing makes a photo look more awkward than cropping directly through someone’s joints. Cutting at wrists, elbows, knees, or ankles creates an uncomfortable visual amputation effect.
Safe cropping zones for portraits:
- Mid-torso (between waist and chest)
- Mid-thigh (avoiding the knee area)
- Above the wrist but below the elbow
- Just above or below the shoulder line
Think of joints as visual “danger zones” – always crop well clear of them to maintain natural, comfortable-looking portraits.
Headroom Mathematics
Too little headroom makes subjects look cramped and claustrophobic. Too much headroom makes them seem insignificant or lost in the frame.
The golden headroom formula:
- Portrait orientation: Leave about 10-15% of frame height above the head
- Landscape orientation: Leave about 15-20% of frame height above the head
- Close-up headshots: Just enough space to avoid touching the frame edge
Eye Placement Strategies
In portrait photography, eyes are magnets for attention. Where you place them within your crop dramatically affects the photo’s impact and emotional connection.
Effective eye positioning:
- Place eyes on the upper third line for most portraits
- For dramatic effect, position eyes even higher in the frame
- In profile shots, leave more space in the direction the subject is looking
- For group photos, align eyes at roughly the same horizontal level
Landscape and Nature Photography Cropping Wisdom
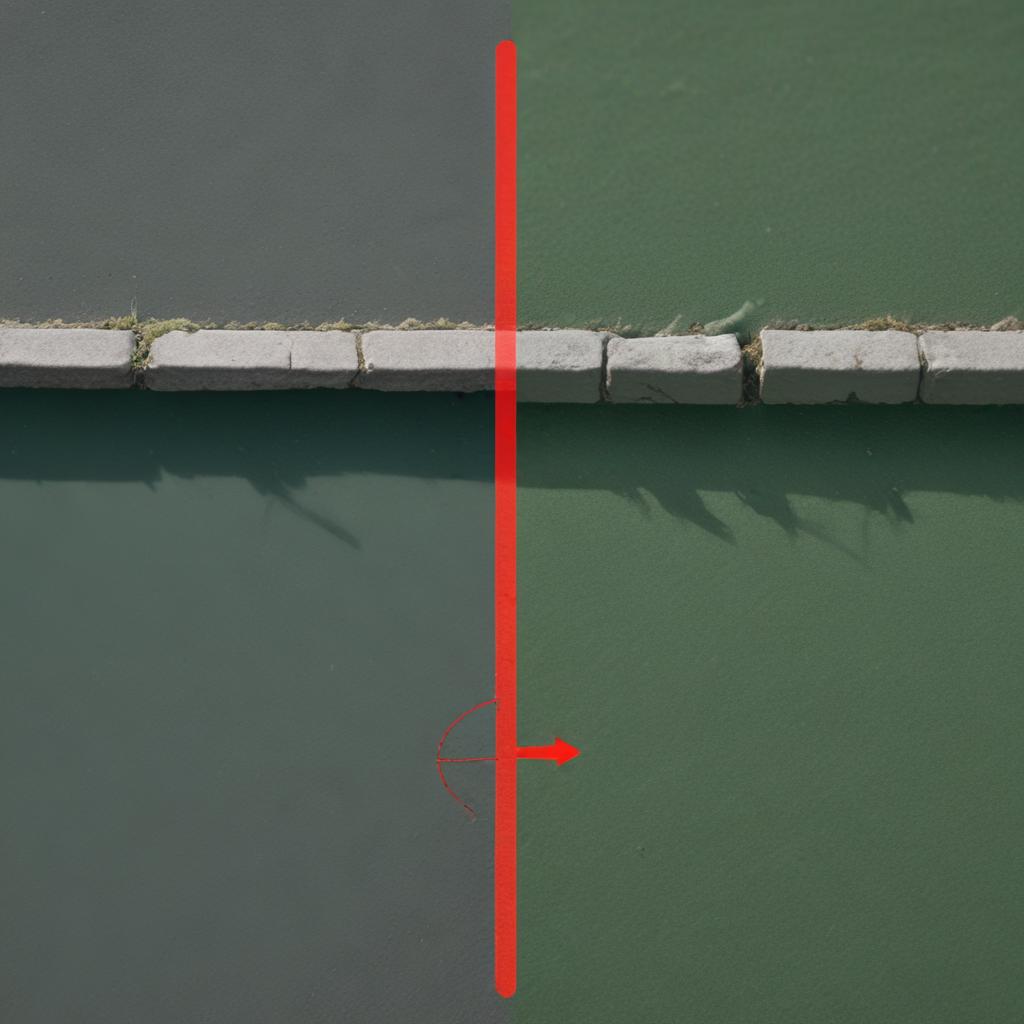
Horizon Line Placement That Actually Works
The biggest mistake in landscape cropping? Putting the horizon line dead center in every single photo. This creates static, boring compositions that lack visual interest.
Dynamic horizon strategies:
- Lower third placement: Emphasizes dramatic skies, clouds, or sunsets
- Upper third placement: Highlights foreground details, reflections, or terrain
- Slight angles: A barely tilted horizon can add energy (but don’t overdo it)
- No horizon rule: Sometimes completely excluding the horizon creates stronger compositions
Foreground, Middle Ground, and Background Balance
Great landscape crops create depth by thoughtfully including elements at different distances from the camera.
Depth creation techniques:
- Include interesting foreground objects (rocks, flowers, driftwood)
- Use middle ground elements to bridge foreground and background
- Ensure background elements don’t compete with your main subject
- Crop out distracting elements that break the depth illusion
The Rule of Thirds (And When to Break It)
Understanding the Grid System
The rule of thirds divides your frame into nine equal sections with two horizontal and two vertical lines. Placing important elements along these lines or at their intersections typically creates more dynamic, interesting compositions.
Rule of thirds applications:
- Position horizons on the upper or lower third line
- Place vertical elements (trees, buildings, people) on the left or right third line
- Put key focal points at grid intersections
- Use the grid to balance multiple elements within the frame
Strategic Rule Breaking
Sometimes the most powerful crops completely ignore traditional composition rules. Center-weighted compositions can create strong, symmetrical impacts when used intentionally.
When to break the rules:
- Perfectly symmetrical subjects (architecture, reflections)
- Creating formal, balanced portraits
- Emphasizing isolation or solitude
- Building tension through unusual placement
Technology-Specific Cropping Challenges
Social Media Platform Requirements
Each social platform has different optimal dimensions, and blindly forcing photos into these formats often destroys their visual impact.
Platform-smart cropping strategies:
- Instagram squares (1:1): Focus on central subjects, eliminate excess background
- Instagram stories (9:16): Embrace vertical compositions, use negative space creatively
- Facebook covers (16:9): Consider text overlay areas, maintain focal points
- Pinterest pins (2:3): Optimize for mobile viewing, use clear subjects
Print vs. Digital Considerations
What looks perfect on your phone screen might look terrible when printed, and vice versa. Different output mediums require different cropping approaches.
Print-specific considerations:
- Leave extra margin space for potential trimming variations
- Consider how crop ratios translate to standard print sizes (4×6, 5×7, 8×10)
- Account for color and contrast differences between screen and print
- Test crops at actual print sizes before finalizing
Advanced Cropping Techniques for Better Storytelling
Leading Lines and Visual Flow
Strategic cropping can enhance or create leading lines that guide viewers through your image toward the main subject.
Leading line enhancement:
- Use diagonal crops to strengthen existing lines
- Eliminate competing lines that distract from your main flow
- Create implied lines through careful element placement
- Use frame edges as leading line terminators
Negative Space as a Creative Tool
Empty space isn’t wasted space – it’s a powerful composition element that can dramatically improve your photos when used intentionally.
Negative space strategies:
- Use empty areas to create breathing room around subjects
- Let negative space tell part of your story (isolation, vastness, minimalism)
- Balance busy areas with calm, empty regions
- Crop to eliminate unnecessary clutter while preserving meaningful emptiness
Emotional Impact Through Crop Choices
Different cropping approaches trigger different emotional responses in viewers. Understanding these psychological effects lets you craft more powerful images.
Emotional cropping techniques:
- Tight crops: Create intimacy and intensity
- Wide crops: Convey context and environment
- Asymmetrical crops: Build tension and energy
- Symmetrical crops: Establish calm and balance
Tools and Software for Perfect Cropping
Adobe Lightroom – The Professional Standard
Lightroom’s cropping tools offer precision and flexibility that most other programs can’t match. The overlay guides help visualize different composition options in real-time.
Lightroom cropping advantages:
- Multiple overlay guides (thirds, golden ratio, diagonal)
- Aspect ratio locking and custom ratios
- Non-destructive editing (original files remain unchanged)
- Batch cropping for consistent results across multiple images
Free Alternatives That Actually Work
You don’t need expensive software to crop photos effectively. Several free options provide professional-quality results.
Top free cropping tools:
- GIMP: Full-featured editing with precise cropping controls
- Canva: Simple interface with preset social media dimensions
- Photopea: Browser-based Photoshop alternative
- Snapseed (mobile): Excellent on-the-go cropping capabilities
Mobile Cropping Apps Worth Your Time
Sometimes you need to crop photos immediately after taking them. These mobile apps provide powerful editing capabilities right on your phone.
Essential mobile features to look for:
- Grid overlays for composition guidance
- Aspect ratio presets for different platforms
- Fine-tuning controls for precise adjustments
- Batch processing capabilities for multiple photos
Common Cropping Scenarios and Solutions
Wedding and Event Photography
Event photos often need cropping to remove unwanted background elements or improve compositions that couldn’t be perfected during shooting.
Event cropping strategies:
- Remove distracting guests from backgrounds
- Crop to emphasize emotional moments and expressions
- Eliminate cluttered venues or unflattering lighting equipment
- Create consistent aspect ratios for album layouts
Product Photography for E-commerce
Product photos need cropping that showcases items clearly while meeting platform requirements and maintaining professional appearance.
E-commerce cropping best practices:
- Center products with adequate white space around edges
- Maintain consistent product sizes across different items
- Crop to eliminate distracting shadows or background elements
- Consider zoom-in crops for detail shots
Travel Photography Enhancement
Travel photos often benefit from cropping that removes tourists, enhances landmarks, or creates more dramatic compositions.
Travel photo improvements:
- Crop out crowds to focus on architecture or landscapes
- Enhance dramatic skies by adjusting horizon placement
- Remove modern elements that detract from historical subjects
- Create panoramic effects through wide crops
Developing Your Cropping Eye
Practice Exercises That Build Skills
Like any creative skill, cropping improves with deliberate practice. These exercises help develop your compositional instincts.
Daily practice routines:
- Take the same photo with 5 different crops
- Practice cropping old photos with fresh perspectives
- Study cropping choices in professional photography
- Experiment with extreme crops (very tight or very wide)
Learning from Professional Work
Professional photographers and editors make cropping decisions based on decades of experience. Study their work to accelerate your own learning.
What to analyze in professional photos:
- How they balance positive and negative space
- Where they place subjects within the frame
- How they handle background elements
- Their approach to aspect ratio selection
FAQs
Q: Is it better to crop in-camera or during editing? A: Ideally, get your composition as close as possible in-camera, then use cropping during editing for fine-tuning. This approach maximizes image quality while giving you flexibility to perfect your composition.
Q: How much can I crop a photo before losing too much quality? A: This depends on your original image resolution and intended use. Generally, you can crop up to 50% of your photo and still maintain good quality for web use. For prints, be more conservative – around 25-30% maximum cropping.
Q: Should I always follow the rule of thirds when cropping? A: The rule of thirds is a helpful guideline, not a law. Use it as a starting point, but don’t be afraid to break it when center composition or other arrangements create stronger visual impact.
Q: What’s the difference between cropping and resizing? A: Cropping removes parts of your image, changing the composition. Resizing changes the overall dimensions without removing content. You often need to do both – crop for composition, then resize for your intended use.
Q: How do I crop for multiple social media platforms without ruining my composition? A: Start with the most restrictive format (usually Instagram square), ensure your composition works there, then you can usually adapt it successfully to other formats by adding more background or adjusting slightly.
Q: Can bad cropping ruin a good photo? A: Absolutely! Poor cropping can destroy even technically perfect photos by creating awkward compositions, cutting off important elements, or eliminating the emotional impact. However, good cropping can also save mediocre photos by improving their composition and focus.