Step-by-Step: How to Blur Background in a Photo Online – Easy Tutorial for Stunning Portrait Effects
Creating professional-looking photos with blurred backgrounds used to require expensive cameras and hours of complicated editing. Now you can achieve the same stunning results in just a few minutes using free online tools that work on any device with internet access.
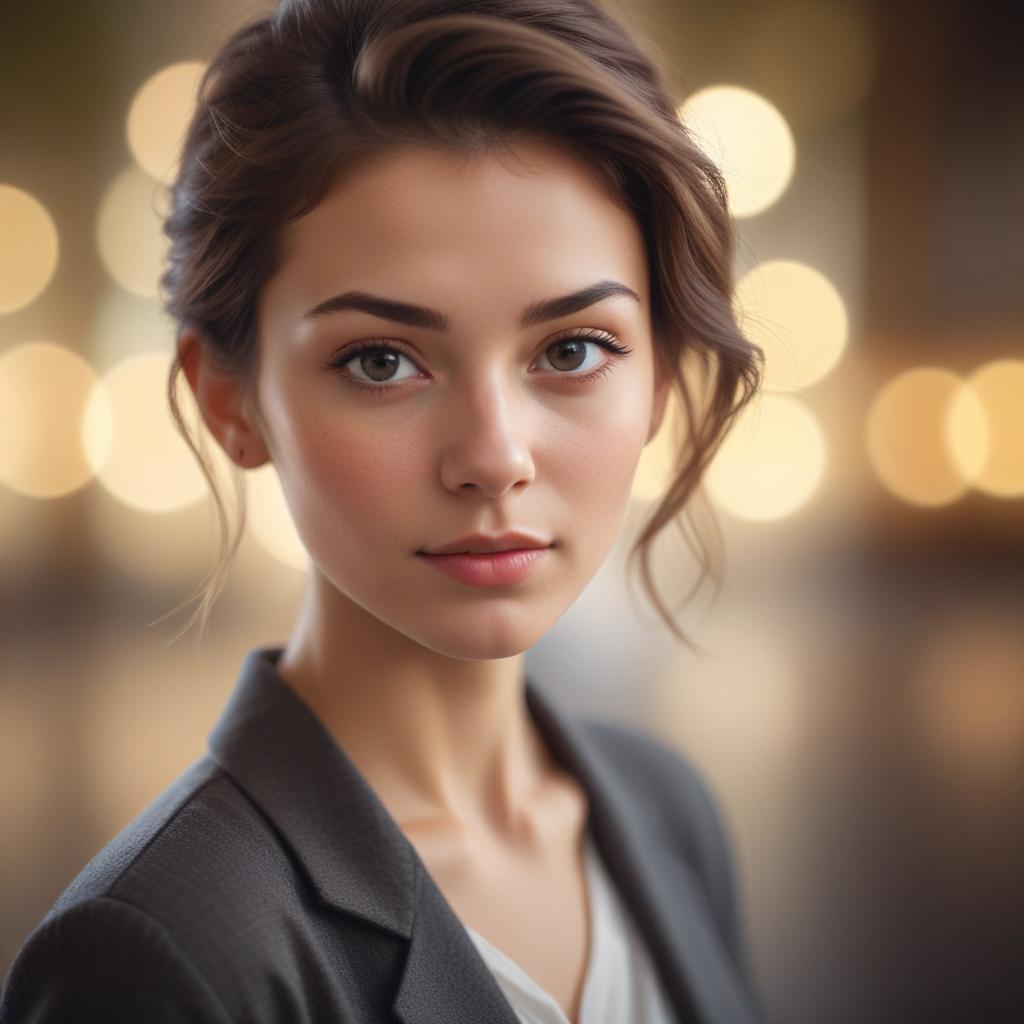
Blurring your photo’s background, also called the “bokeh effect,” makes your subject stand out dramatically while hiding distracting elements behind them. This simple technique transforms ordinary snapshots into professional-quality portraits that grab attention on social media, dating profiles, business headshots, and family albums. The best part? You don’t need any special skills or software downloads to get amazing results.
Why Background Blur Makes Photos Look Professional
Background blur creates what photographers call “depth of field” – the artistic separation between your main subject and everything else in the frame. When done correctly, this effect draws viewers’ eyes directly to what matters most while making busy, cluttered backgrounds disappear into soft, pleasant shapes.
Professional photographers spend thousands of dollars on fast lenses and full-frame cameras to achieve natural background blur. However, modern AI-powered online tools can recreate this effect digitally with surprising accuracy. The key is choosing the right tool and applying the effect thoughtfully rather than going overboard.
Smart background blurring also helps fix common photography problems like distracting people walking behind your subject, messy rooms during family photos, or ugly buildings ruining your outdoor portraits. Instead of retaking the shot, you can simply blur away these problems in minutes.
Online Tools Comparison for Background Blur
| Tool Name | Cost | Ease of Use | Quality | Processing Time | File Size Limit | Best For |
|---|---|---|---|---|---|---|
| Canva | Free/Premium | Very Easy | Good | 10-30 seconds | 25MB | Social media posts |
| Photopea | Free | Moderate | Excellent | 2-5 minutes | 500MB | Professional editing |
| Remove.bg | Free/Premium | Very Easy | Excellent | 5-15 seconds | 12MB | Quick portraits |
| Fotor | Free/Premium | Easy | Good | 15-45 seconds | 40MB | Batch processing |
| GIMP Online | Free | Difficult | Excellent | 5-10 minutes | 200MB | Advanced users |
| Pixlr | Free/Premium | Easy | Good | 20-60 seconds | 7MB | Mobile-friendly |
| Adobe Express | Free/Premium | Easy | Very Good | 15-30 seconds | 100MB | Creative projects |
Step-by-Step Tutorial: Blur Background Using Canva
Getting Started with Your Photo
First, choose a photo where your main subject is clearly separated from the background. Portrait photos work best, but you can also blur backgrounds in full-body shots, pet photos, or product images. The key is having good contrast between your subject and what’s behind them.
Visit Canva’s website and create a free account if you don’t already have one. Click on “Create a design” and select “Custom size” to match your photo’s dimensions. This prevents unwanted cropping or stretching that might ruin your final result.
Upload your photo by clicking the “Uploads” tab in the left sidebar, then drag your image file into the upload area. Canva supports JPEG, PNG, and most other common photo formats up to 25MB per file.
1. Upload and Position Your Image
Once your photo uploads successfully, drag it onto your blank canvas. Resize the image to fill the entire canvas by dragging the corner handles while holding the Shift key. This maintains the original proportions and prevents distortion.
Take a moment to examine your photo and identify the main subject you want to keep in sharp focus. This might be a person’s face, a pet, a flower, or any other important element. Everything else will become beautifully blurred background.
If your photo appears rotated incorrectly, use Canva’s rotation tools to fix the orientation before proceeding. Proper alignment makes the next steps much easier and more accurate.
2. Duplicate Your Image Layer
Right-click on your photo and select “Duplicate” from the menu. This creates an identical copy directly on top of your original image. Having two layers is essential for the masking technique that creates professional-looking background blur.
The duplicated layer should be selected automatically, but double-check by looking for the selection outline around your image. If you don’t see the outline, click once on the top image to select it.
Important: Never skip the duplication step. Working with two identical layers gives you much better control and lets you fix mistakes without starting over.
3. Apply Background Blur Effect
With your top layer selected, click on “Effects” in the toolbar above your canvas. Scroll through the available effects until you find “Background Remover” or “Auto Focus.” These AI-powered tools automatically detect your main subject and separate it from the background.
Click “Apply” and wait for Canva’s artificial intelligence to analyze your photo. This usually takes 10-30 seconds depending on image complexity and server load. The tool will attempt to identify your subject and make the background transparent.
Don’t worry if the automatic selection isn’t perfect – you’ll fine-tune it in the next steps. The AI works best with clear portraits but sometimes struggles with complex scenes or similar colors between subject and background.
4. Refine the Subject Selection
After the automatic background removal, you’ll likely need to make manual adjustments. Look carefully at the edges of your subject for areas where the AI incorrectly included or excluded parts of the image.
Use the “Erase” tool to remove unwanted parts of your subject that should be blurred. Use the “Restore” tool to bring back important details that were accidentally removed. Work slowly with a small brush size for the most accurate results.
Pay special attention to areas like hair, fur, or intricate clothing details. These complex edges often need manual correction to look natural and professional.
5. Add Blur to the Background Layer
Now select your bottom layer (the original, unmodified image) by clicking on it. This layer will become your blurred background while the top layer remains sharp and in focus.
Click “Effects” again and look for blur options like “Blur,” “Motion Blur,” or “Gaussian Blur.” Start with a moderate blur setting – around 20-40% intensity works well for most portraits.
Apply the blur effect and observe how it affects your entire background while leaving your subject crisp and clear. This creates the coveted depth-of-field effect that makes photos look professionally shot.
6. Fine-Tune the Blur Intensity
Too little blur won’t create enough separation between subject and background. Too much blur makes the effect look obviously artificial and distracting. The sweet spot usually falls somewhere between 25-50% intensity, depending on your specific image.
Consider the original photo’s characteristics when choosing blur strength:
- Busy backgrounds need stronger blur to hide distracting details
- Simple backgrounds can use lighter blur for a more subtle effect
- Portraits benefit from medium blur that feels natural but noticeable
Preview your image at full size to judge the blur effect accurately. What looks good in the small editing window might appear different when viewed at actual size.
Alternative Method: Using Photopea for Advanced Control
Why Choose Photopea
Photopea offers more sophisticated tools for background blurring, similar to professional software like Photoshop. While the learning curve is steeper, you get much better control over the final result and can handle more complex photos that automatic tools struggle with.
This browser-based editor works entirely online without requiring downloads or installations. It supports layers, masks, and advanced selection tools that give you pixel-perfect control over which areas stay sharp and which become beautifully blurred.
1. Load Your Photo in Photopea
Navigate to Photopea.com and click “Open from computer” to upload your photo. The interface looks similar to Photoshop, with tools on the left, layers on the right, and your main workspace in the center.
Your photo will appear as the background layer. Right-click on this layer and select “Duplicate Layer” to create a working copy. This non-destructive approach lets you experiment without risking your original image.
2. Create a Precise Selection
Use the “Quick Selection Tool” or “Magic Wand Tool” to select your main subject. Start by clicking on areas of similar color and tone within your subject. The tool will automatically expand the selection to include similar adjacent pixels.
Hold Shift while clicking to add areas to your selection. Hold Alt (or Option on Mac) while clicking to subtract areas from your selection. Take your time to create an accurate outline around your subject.
For complex subjects like hair or fur, switch to the “Select and Mask” workspace for more refined edge detection. This advanced feature provides better results for challenging selections.
3. Invert and Blur the Background
Once you’ve selected your subject perfectly, go to “Select” menu and choose “Inverse.” This flips your selection so that everything except your subject is now selected – exactly what you want for background blurring.
Navigate to “Filter” > “Blur” > “Gaussian Blur” to open the blur dialog. Start with a radius of 3-8 pixels and gradually increase until you achieve the desired effect. Preview the changes in real-time to find the perfect balance.
Higher pixel values create stronger blur effects, but be careful not to make backgrounds so blurry that they become distracting or unnatural-looking.
Mobile-Friendly Options for Background Blur
Using Smartphone Apps
Several excellent mobile apps specialize in background blurring and work entirely on your phone. Snapseed (free) offers professional-grade tools including lens blur that mimics expensive camera effects. VSCO provides artistic blur options perfect for social media.
Portrait mode on newer smartphones automatically creates background blur during capture, but you can enhance or modify this effect using editing apps. This combination of in-camera and post-processing techniques often produces the best results.
Browser-Based Mobile Editing
Most online photo editors work well on mobile browsers, though the interface might feel cramped on smaller screens. Canva and Photopea both offer mobile-optimized versions that maintain most desktop functionality.
For quick edits on your phone, consider using Adobe Express or Pixlr which are specifically designed for mobile use while still offering powerful background blur capabilities.
Troubleshooting Common Problems
Subject Edges Look Artificial
Jagged or harsh edges around your subject indicate poor selection quality or over-aggressive blur settings. Fix this by refining your subject mask with smaller brush tools or reducing blur intensity slightly.
Halo effects occur when there’s too much contrast between sharp subject and blurred background. Add a subtle feather or soften the edge transition to create more natural blending.
Background Blur Looks Fake
Uniform blur across the entire background looks unnatural because real camera blur varies with distance. Some online tools offer gradient blur or depth-aware blur that creates more realistic depth-of-field effects.
Over-blurring makes backgrounds look like abstract paintings rather than recognizable spaces. Dial back the intensity until you can still identify background elements while keeping them pleasantly out of focus.
Processing Takes Too Long
Large file sizes slow down online processing significantly. Resize your image to 1920×1080 pixels or smaller before uploading. This resolution works perfectly for social media and most printing needs while speeding up editing.
Complex selections with lots of fine details take longer to process. Simplify your approach by using automatic tools first, then making minimal manual adjustments rather than trying to perfect every tiny detail.
Tips for Better Results
Choose the Right Photos
Good separation between subject and background makes blurring much easier and more convincing. Photos where your subject overlaps significantly with background elements are harder to edit successfully.
Adequate lighting on your subject helps online tools distinguish between foreground and background. Avoid photos where your subject is heavily shadowed or backlit.
Simple backgrounds blur more naturally than extremely busy or patterned backgrounds. However, don’t let this stop you from experimenting – sometimes surprising backgrounds create beautiful artistic effects.
Maintain Realistic Proportions
Study real depth-of-field photos from professional cameras to understand how natural background blur should look. Objects closer to your subject should be less blurred than objects farther away.
Preserve some detail in backgrounds rather than creating complete abstract smoothness. Real camera blur maintains subtle texture and recognizable shapes even when heavily out of focus.
Save Your Work Properly
Use high-quality export settings to preserve your editing work. JPEG quality should be set to 90-100% for final versions, though lower settings work fine for social media sharing.
Keep original files unchanged so you can return later with different blur intensities or try alternative editing approaches. Cloud storage makes this easy and protects against accidental loss.
Advanced Techniques for Professional Results
Graduated Background Blur
Instead of uniform blurring, create distance-based blur where objects farther from your subject become increasingly blurred. This mimics how expensive camera lenses naturally render out-of-focus areas.
Use multiple blur layers with different intensities, then mask them to create smooth transitions from sharp to very blurred areas. This technique requires more work but produces incredibly realistic results.
Selective Color Enhancement
After blurring your background, try slightly desaturating the blurred areas while keeping your subject’s colors vibrant. This subtle technique further emphasizes your main subject and creates more sophisticated-looking images.
Warm or cool the background colors slightly to create mood and atmosphere while keeping your subject’s colors neutral and natural-looking.
Frequently Asked Questions
Q: Can I blur backgrounds in old photos or scanned images? A: Yes, but older photos with film grain or scanning artifacts might need cleaning up first. Use noise reduction tools before applying background blur for best results.
Q: What’s the difference between bokeh and background blur? A: Bokeh refers to the quality and aesthetic of out-of-focus areas, while background blur is the general technique. True bokeh has smooth, circular light spots and pleasant rendering that’s hard to replicate digitally.
Q: How do I blur backgrounds in group photos? A: Group photos are more challenging because you need to select multiple people accurately. Start with automatic tools, then manually refine each person’s outline. Consider using lighter blur settings to avoid obvious artificial effects.
Q: Can I add blur to photos taken with portrait mode? A: Absolutely! You can enhance existing portrait mode blur or change its intensity. Sometimes combining natural camera blur with digital editing produces the most convincing results.
Q: Why do my edited photos look different on other devices? A: Color and contrast variations between screens affect how blur effects appear. Edit on a calibrated monitor when possible, and check your results on multiple devices before finalizing.
Q: Is it better to blur backgrounds during shooting or editing? A: Natural camera blur usually looks more convincing, but digital editing gives you more control and can fix photos that weren’t shot with ideal settings. The best approach combines good shooting techniques with thoughtful editing.