Best Practices to Sharpen Images Without Overdoing It
Picture this: you’ve just taken what you think is the perfect photo, but when you look at it on your computer, it seems a bit blurry or soft around the edges. This frustrating moment happens to almost everyone who takes photos! The solution is image sharpening, but here’s where things get tricky – it’s surprisingly easy to make your photos look worse instead of better. Think of sharpening like adding spice to your cooking: the right amount makes everything taste amazing, but too much can ruin the whole meal and leave a bad taste in your mouth.
Why Your Photos Need Sharpening
The Science Behind Soft Images
Most people don’t realize that cameras actually make photos a little bit soft on purpose. This might sound backwards, but there’s a smart reason for it. Digital camera sensors can sometimes create strange patterns or weird colors that don’t look natural. By making images slightly soft, cameras prevent these ugly problems from showing up.
Every time you save, resize, or share your photo, it loses a tiny bit of sharpness. This is just how digital images work. Even professional photographers deal with this issue, which is why sharpening has become such an important skill to learn.
Different Types of Image Softness
Not all blurry photos are the same. Motion blur happens when something moves while you’re taking the picture. Focus blur occurs when your camera doesn’t focus on the right spot. Digital softness is what we can actually fix with sharpening tools.
Understanding which type of blur you’re dealing with helps you decide if sharpening will actually help your photo or not.
The Dark Side of Over-Sharpening
Ugly Effects That Ruin Photos
When you sharpen too much, several nasty things can happen to your images. Halos are the most obvious problem – they look like bright or dark outlines around objects, especially noticeable around hair or buildings against the sky.
Noise amplification is another major issue. When you sharpen an image, you don’t just make the good details clearer – you also make any grain or digital noise much more visible. This creates a messy, unprofessional look that screams “amateur editing.”
Artifacts are strange textures or patterns that shouldn’t exist in your photo. They often appear as tiny squares or repeating designs, especially in smooth areas like skin or sky.
How Over-Sharpening Destroys Image Quality
Over-sharpened images look fake and processed. They lose their natural beauty and can actually hurt your eyes to look at. The goal of good sharpening is to make people forget you edited the photo at all.
Professional photographers often say that the best editing is invisible editing. If someone can tell you’ve sharpened your photo, you’ve probably done too much.
Smart Sharpening Workflow
The Three-Stage System
Professional image editors use a three-step approach that prevents over-sharpening:
Stage 1: Input sharpening fixes the natural softness that cameras add. This should be subtle and applied to the entire image.
Stage 2: Creative sharpening happens during your main editing session. This is where you might sharpen specific parts of the image to draw attention to them.
Stage 3: Output sharpening is your final step. This gets adjusted based on where you plan to show your photo – computer screen, print, or social media.
Working Smart, Not Hard
Instead of applying the same sharpening to every photo, smart editors adjust their approach based on the image type and intended use.
Remember: You can always add more sharpening later, but it’s much harder to fix over-sharpened images.
Essential Tools and Techniques
Adobe Photoshop Methods
Photoshop offers several sharpening tools, but the Unsharp Mask remains the most popular choice. Despite its confusing name, it actually does sharpen your images!
Start with these beginner-friendly settings:
- Amount: 75-125%
- Radius: 1-1.5 pixels
- Threshold: 2-6
The Amount controls how strong the effect is. The Radius determines how wide the sharpening spreads. The Threshold helps avoid sharpening noise by ignoring tiny color differences.
Smart Sharpen is another excellent tool that gives you more control over different types of details in your image.
Free Software Solutions
Don’t have Photoshop? No problem! GIMP is a powerful free alternative that includes excellent sharpening tools. Look for “Unsharp Mask” in the Filters menu.
Other free options include Paint.NET, which has simple but effective sharpening filters. Online tools like Photopea also work well for basic sharpening needs.
Mobile Photography Apps
For quick edits on your phone, apps like Snapseed, Lightroom Mobile, and VSCO all include good sharpening tools.
The key with mobile editing is restraint. Phone screens are small, so it’s easy to apply too much sharpening without noticing the problems.
Advanced Sharpening Strategies
Selective Sharpening Techniques
Instead of sharpening everything equally, smart editors use masks to sharpen different parts of an image differently. This technique is especially useful for portraits where you want sharp eyes but smooth skin.
Layer masking lets you paint sharpening exactly where you want it and avoid areas where it might cause problems.
High-Pass Sharpening Method
This advanced technique involves duplicating your image layer, applying a High Pass filter, and then blending it back with the original. It gives you more natural-looking results than traditional sharpening methods.
The High Pass method is particularly good for images with lots of fine details, like landscapes or architecture photos.
Frequency Separation for Portraits
This professional technique separates your image into two layers – one for fine details and one for colors and tones. You can then sharpen just the detail layer without affecting skin texture.
While it sounds complicated, many tutorials can walk you through this powerful method step by step.
Image-Specific Sharpening Guidelines
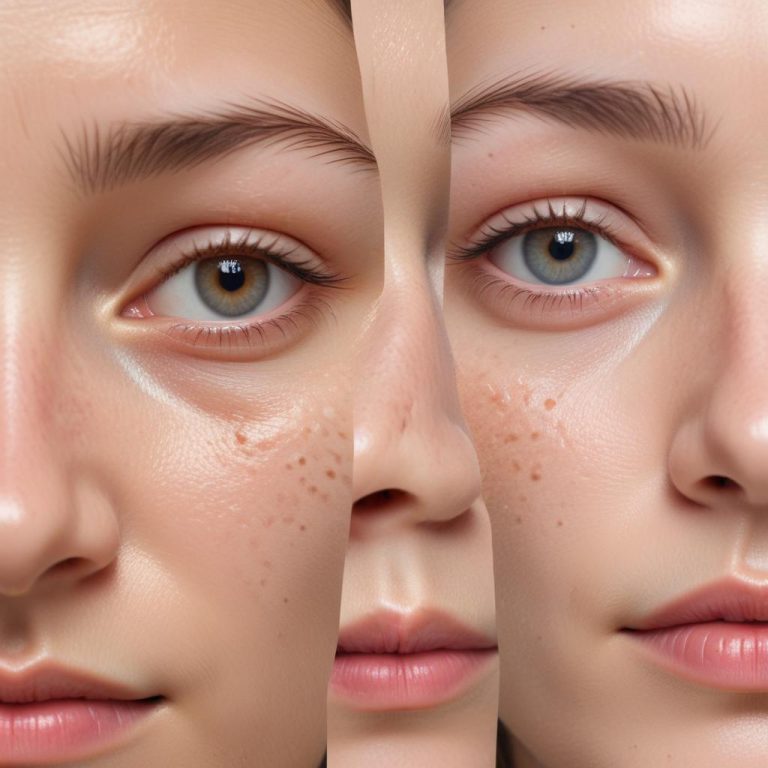
Portrait Photography
Focus areas: Eyes, eyebrows, hair, and clothing details Avoid: Over-sharpening skin, which shows every imperfection Technique: Use soft brushes to apply sharpening selectively
The eyes are the most important part of any portrait. They should be the sharpest element in your image, but don’t forget about eyelashes and eyebrows, which also benefit from careful sharpening.
Landscape Photography
Focus areas: Rocks, tree bark, water ripples, and cloud details Avoid: Sharpening smooth skies or water surfaces Technique: You can usually apply stronger sharpening to landscapes than portraits
Mountain landscapes often benefit from strong sharpening because they have lots of natural textures. Beach scenes need more careful handling to avoid making sand look unnatural.
Street and Urban Photography
Focus areas: Building details, signs, textures, and architectural elements Avoid: Creating halos around people or vehicles Technique: Medium sharpening with careful attention to edges
Street photography often includes both people and architecture, so you need to balance sharpening for both elements.
Quality Control Methods
Checking Your Work Properly
Always view your sharpened images at 100% zoom to see the real effect. This means one pixel in your image equals one pixel on your screen – it’s the only way to spot problems before they become obvious.
Also check your image at the size most people will actually see it. If you’re posting on social media, look at it phone-sized. If you’re printing it, check at print size.
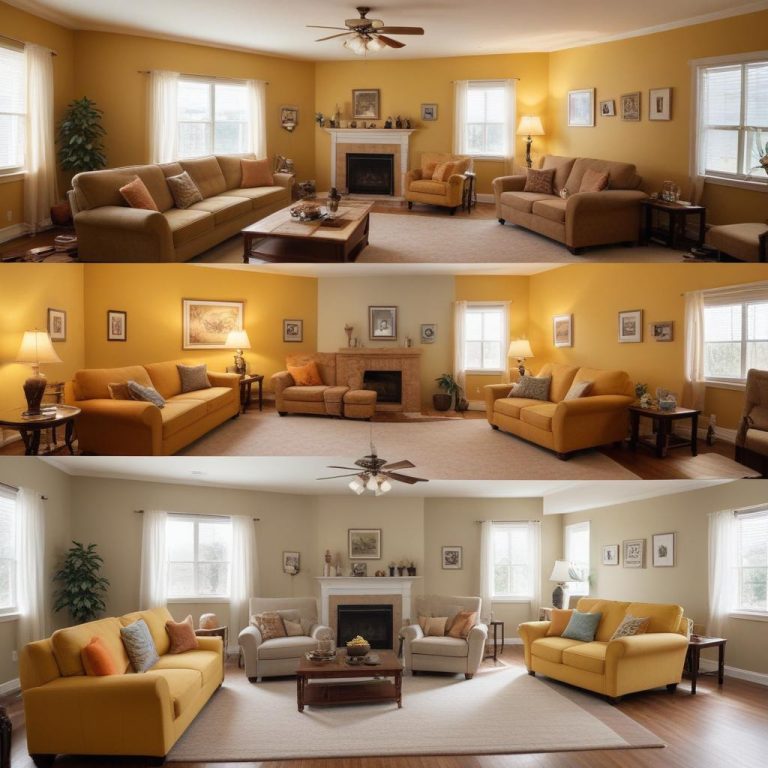
Testing Different Viewing Conditions
An image that looks perfectly sharpened on your bright computer monitor might look over-sharpened on a phone screen or in print. Always test your images under different conditions before finalizing them.
Getting Second Opinions
Sometimes you’ve been staring at an image so long that you can’t judge it objectively anymore. Ask friends, family, or online photography communities for feedback. Fresh eyes often catch over-sharpening that you’ve missed.
Common Mistakes to Avoid
The “More is Better” Trap
Many beginners think that if a little sharpening improves their photo, then a lot of sharpening will make it even better. This logic doesn’t work with image editing!
Good sharpening should be invisible. If viewers can tell you’ve sharpened your photo, you’ve probably gone too far.
Sharpening the Wrong Things
Not every part of your image needs sharpening. Smooth surfaces like skin, sky, or water often look better when left soft. Focus your sharpening on areas with natural detail and texture.
Ignoring the Final Output
Sharpening that looks perfect on your computer screen might be too much for social media or too little for large prints. Always consider where your image will be seen.
Professional Tips and Tricks
Working with RAW Files
If you shoot in RAW format, you have much more control over sharpening. RAW files start completely unsharpened, so you decide exactly how much to add.
Lightroom and Camera Raw have excellent sharpening controls that let you adjust not just the amount, but also which types of details get sharpened.
Creating Custom Sharpening Presets
Once you find sharpening settings that work well for your style of photography, save them as presets. This saves time and ensures consistent results across your images.
Batch Processing for Efficiency
When you have lots of similar images, you can apply the same sharpening settings to all of them at once. This works especially well for event photography or product shots.
Quick Reference Guide
| Photo Type | Sharpening Level | Key Areas | Avoid Sharpening |
|---|---|---|---|
| Portraits | Light to Medium | Eyes, hair, clothing | Skin, backgrounds |
| Landscapes | Medium to Strong | Rocks, trees, details | Smooth skies, water |
| Street Photos | Medium | Buildings, signs, textures | People in motion |
| Product Shots | Medium to Strong | Product edges, text | Reflective surfaces |
| Close-ups | Light | Main subject only | Background elements |
Frequently Asked Questions
Q: How can I tell if I’ve sharpened too much? A: Look for bright or dark halos around objects, increased grain or noise, and unnatural-looking textures. If the image looks “crunchy” or artificial, you’ve probably overdone it.
Q: Should I sharpen before or after other edits? A: Do basic sharpening early in your workflow, but save final output sharpening for last. This prevents you from accidentally sharpening adjustments like noise reduction or color changes.
Q: Can I rescue an over-sharpened image? A: Sometimes you can reduce the effect by lowering the sharpening layer opacity or applying a very subtle blur. However, it’s usually better to start over with the original image.
Q: Do I need expensive software for good sharpening? A: Not at all! Free programs like GIMP work very well for sharpening. The technique and restraint matter more than the software you use.
Q: How do I sharpen images for social media? A: Use light sharpening because social media platforms often compress images, which can make over-sharpening look even worse. Test your images at the size they’ll appear on phones.
Q: What’s the difference between sharpening and adding contrast? A: Sharpening affects fine details and edges. Contrast affects the difference between light and dark areas. They work together but do different things to improve image quality.
The secret to great sharpening is knowing when to stop. Your goal should be to enhance the natural beauty of your photos, not to create artificial-looking effects. Start with less sharpening than you think you need, and gradually increase it until your image looks just right. Remember, you can always add more, but removing too much sharpening is much harder. Practice with different types of images, and soon you’ll develop an instinct for the perfect amount of sharpening that makes your photos shine without crossing the line into over-processing.