Add Bokeh Effect to Any Image – No Camera Needed
Ever wished you could capture those dreamy, professional-looking photos with blurred backgrounds that make your subject pop? You know, the ones where everything behind your main focus melts into beautiful, creamy blur? That magical effect has a name – bokeh – and here’s the exciting news: you don’t need an expensive camera to create it.
Creating stunning bokeh effects has never been easier thanks to modern photo editing tools and smartphone apps. Whether you’re using free online editors, mobile applications, or professional software like Photoshop, you can transform any ordinary photo into a masterpiece with that coveted shallow depth-of-field look. The key lies in understanding which tools work best for your needs and mastering a few simple techniques that separate amateur edits from professional-grade results.
What Exactly Is Bokeh?
The word “bokeh” comes from the Japanese term meaning “blur” or “haze.” In photography, it refers to the aesthetic quality of out-of-focus areas in an image. Good bokeh creates smooth, creamy backgrounds that don’t distract from your main subject.
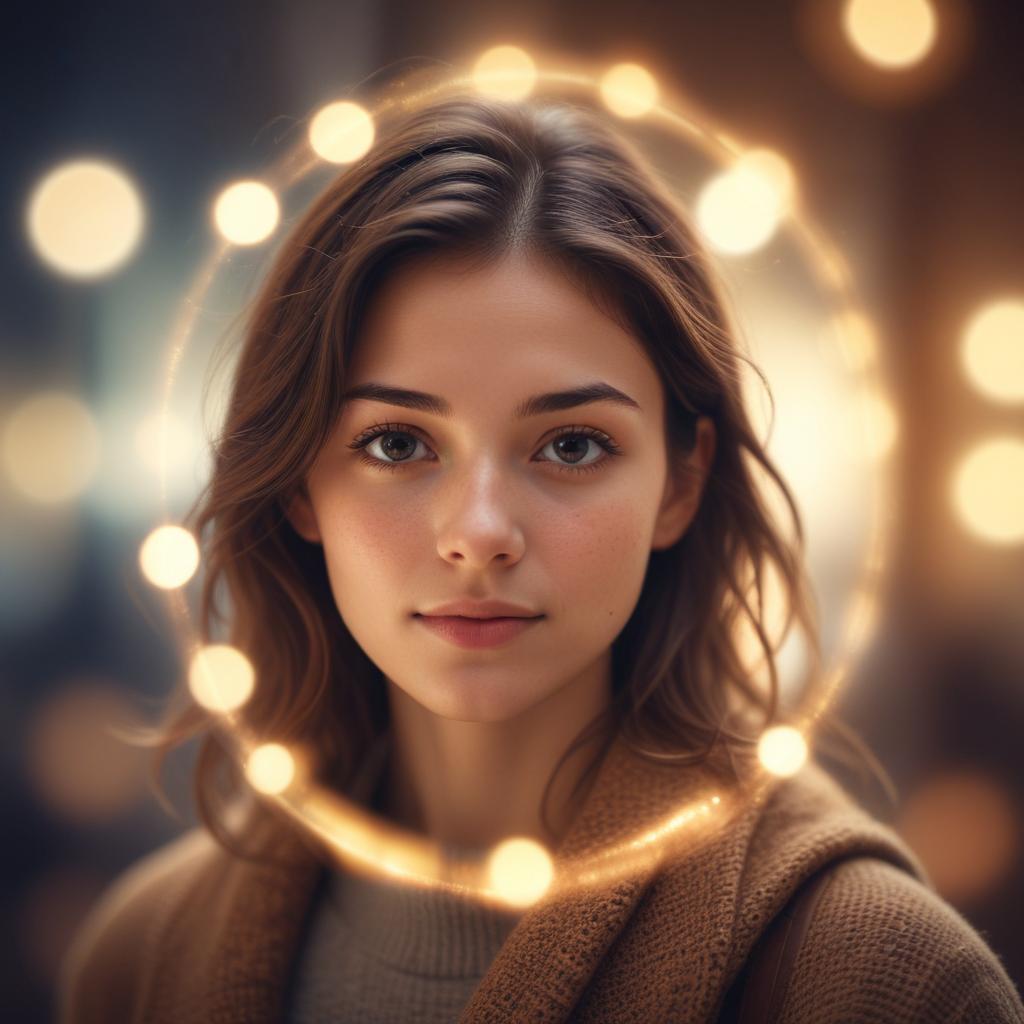
Think about those Instagram photos where a person stands sharp and clear while the city lights behind them turn into gorgeous, soft circles of light. That’s bokeh in action. Professional photographers spend thousands of dollars on special lenses to achieve this effect naturally, but you can create the same look using digital tools.
The magic happens when you separate your subject from the background by blurring everything that isn’t important. This technique draws the viewer’s eye exactly where you want it to go – straight to your main focus point.
Why Create Bokeh Digitally Instead of In-Camera?
Cost Savings
Professional camera lenses that create natural bokeh can cost anywhere from $500 to $5,000 or more. Most people don’t want to invest that much money, especially when they’re just starting their photography journey. Digital bokeh lets you experiment and learn without breaking the bank.
Complete Control
When you create bokeh in post-processing, you have total control over where the blur appears and how intense it gets. Made a mistake? No problem – just undo and try again. You can’t do that with a real camera shot.
Fix Existing Photos
Maybe you have hundreds of photos on your phone that could benefit from better backgrounds. Digital bokeh lets you go back and improve images you’ve already taken, turning ordinary snapshots into eye-catching portraits.
Best Tools for Adding Bokeh Effects
| Tool Type | Best Options | Skill Level | Cost | Platform |
|---|---|---|---|---|
| Mobile Apps | Snapseed, VSCO, Blur Photo | Beginner | Free-$10 | iOS/Android |
| Online Editors | Canva, Photopea, Remove.bg | Beginner-Intermediate | Free-$15/month | Web Browser |
| Professional Software | Photoshop, GIMP, Affinity Photo | Intermediate-Advanced | $20-$50/month | Desktop |
| AI-Powered Tools | Portrait Mode, Luminar AI | Beginner | $10-$100 | Mobile/Desktop |
Mobile Apps: Perfect for Quick Edits
Snapseed (Google’s free photo editor) offers excellent blur tools that work great for bokeh effects. The app includes both lens blur and selective focus options. You simply paint over areas you want to keep sharp, and the app blurs everything else.
VSCO provides more artistic control with its depth-of-field tools. While some features require a subscription, the basic blur tools are free and surprisingly powerful.
Online Editors: No Download Required
Photopea works almost exactly like Photoshop but runs in your web browser for free. It includes layer masks, blur filters, and all the tools needed for professional-looking bokeh effects.
Canva recently added background blur features that work well for social media posts. While not as advanced as other options, it’s perfect for beginners who want quick results.
Professional Software: Maximum Control
Adobe Photoshop remains the gold standard for bokeh creation. Its advanced masking tools and multiple blur filters give you complete creative control. The Field Blur and Iris Blur filters specifically mimic camera bokeh effects.
GIMP offers similar capabilities to Photoshop but costs nothing. While the interface feels less polished, it includes powerful blur tools and layer masking features.
Step-by-Step Guide: Creating Bokeh with Snapseed
Let’s walk through creating bokeh using Snapseed, since it’s free and available on all phones:
Step 1: Choose Your Image
Pick a photo with a clear subject in the foreground. Portrait shots work best, but landscape photos can work too if there’s an obvious focal point.
Step 2: Open Lens Blur
Launch Snapseed and load your image. Tap “Tools” then select “Lens Blur” from the menu.
Step 3: Set Your Focus Point
Tap on your main subject to set the focus point. A blue dot will appear showing where the app thinks the focus should be. You can move this dot by dragging it.
Step 4: Adjust Blur Intensity
Use the slider at the bottom to control how strong the blur effect appears. Start with a lower setting – you can always increase it later. Subtle blur often looks more natural than heavy blur.
Step 5: Fine-Tune the Transition
The transition area determines how gradually the blur fades from sharp to blurry. A wider transition looks more natural, while a narrow transition creates more dramatic separation.
Step 6: Save and Share
Once you’re happy with the result, tap the checkmark to apply the effect. Then save your edited photo to your camera roll.
Advanced Techniques for Realistic Bokeh
Understanding Depth Maps
Depth maps tell editing software which parts of your image should be in focus and which should be blurred. Some phones create these automatically, but you can also create them manually using selection tools.
The key is making smooth transitions between in-focus and out-of-focus areas. Harsh edges between sharp and blurry sections immediately give away that the effect was added digitally.
Matching Blur Types to Subject Distance
Objects closer to your camera should have less blur, while distant objects should have more blur. This mimics how real camera lenses behave and makes your edited photos look more believable.
Adding Light Bokeh Circles
Those beautiful circles of light you see in professional bokeh photos come from bright light sources in the background. You can add these manually using soft brush tools and bright colors, or find bokeh overlay images online.
Common Mistakes to Avoid
Over-Blurring Everything
“The biggest mistake beginners make is blurring too much of the image too strongly. Real camera bokeh is subtle and gradual, not dramatic and harsh.”
Start with gentle blur effects and build up gradually. You can always add more blur, but it’s harder to take it away.
Ignoring Light Direction
If your subject has strong directional lighting, the blurred background should match that same light quality. Mismatched lighting makes edited photos look fake.
Forgetting About Reflections
If your subject wears glasses or there’s a reflective surface in the photo, remember that these should show the blurred background, not the original sharp version.
Mobile vs Desktop: Which Approach Works Better?
Mobile editing works great for social media posts and casual photography. The tools are getting more sophisticated every year, and the convenience factor can’t be beat. You can edit photos immediately after taking them and share them right away.
Desktop editing provides more precise control and better quality results. If you’re serious about photography or need the highest quality output, desktop software offers more advanced masking tools and blur algorithms.
For most people, mobile apps provide enough quality for their needs. Only switch to desktop software if you’re consistently frustrated by mobile limitations.
Making Your Bokeh Look Natural
The secret to convincing digital bokeh lies in the details. Study how real camera bokeh behaves:
- Closer objects blur less than distant objects
- Bright spots become soft circles, not sharp points
- The transition from sharp to blurry happens gradually
- Colors shift slightly in heavily blurred areas
Pay attention to these details, and your edited photos will fool even experienced photographers.
FAQ Section
Q: Can I add bokeh to any photo? A: While you can technically add blur to any image, photos with clear foreground subjects work best. Complex scenes with multiple depth levels are harder to edit convincingly.
Q: Which phone cameras have the best built-in bokeh modes? A: iPhones with Portrait Mode, Google Pixel phones, and Samsung Galaxy devices all offer excellent computational bokeh. However, you’ll still get better control by editing manually.
Q: How do I know if my bokeh effect looks realistic? A: Show your edited photos to friends without mentioning the editing. If they don’t notice anything unusual, you’ve succeeded. Also, compare your results to professional photography for reference.
Q: Can I remove bokeh effects after applying them? A: This depends on your editing app. Non-destructive editors like Lightroom let you adjust or remove effects later. Apps that permanently change your image file make reversal much harder.
Q: What’s the difference between bokeh and regular background blur? A: Bokeh specifically refers to the aesthetic quality of the blur, especially how it renders bright spots and out-of-focus areas. Regular blur just makes things less sharp without considering the artistic quality.
Q: Do I need to understand photography to create good digital bokeh? A: Basic photography knowledge helps, but it’s not required. Understanding concepts like depth of field and focus points will improve your results, but you can learn these through practice.
Creating professional-looking bokeh effects without expensive camera equipment opens up endless creative possibilities. Whether you’re enhancing family photos, improving your social media presence, or exploring photography as a hobby, these digital tools put the power of professional-grade effects right in your pocket. Start with simple edits using free apps, then gradually experiment with more advanced techniques as your skills develop.


