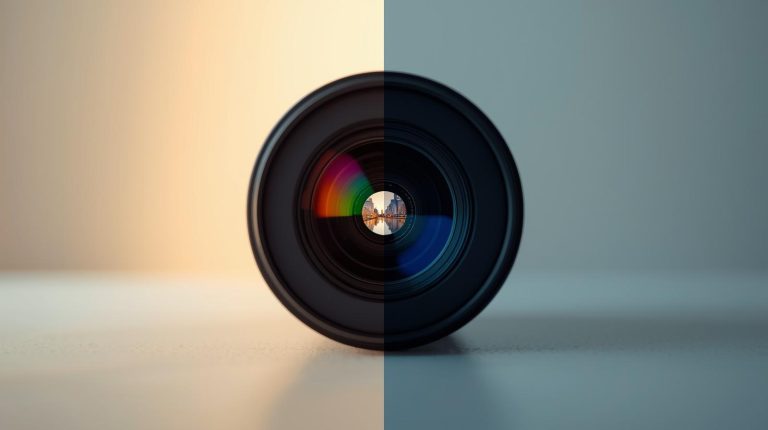
The Best Filters for Travel Photos (With Before/After)
Travel photos capture memories that last forever. But sometimes, your pictures don’t look as amazing as what you saw with your own eyes. The lighting might be off, colors could look dull, or the sky might appear boring. That’s where photo filters come in handy. They’re like magic tools that can turn an ordinary travel photo into something spectacular.
The best filters for travel photos include HDR for balanced lighting, vibrant filters for enhanced colors, black and white for timeless appeal, vintage filters for nostalgic feels, and polarizing effects for clearer skies. Each filter serves different purposes – from making sunsets pop to creating moody cityscapes. The key is choosing the right filter that matches your photo’s story and enhances its natural beauty without overdoing it.
Why Filters Matter for Travel Photography
When you’re exploring new places, you want every photo to tell a story. Sometimes the camera doesn’t capture what your eyes see. Maybe the sunset looked incredible, but your photo seems flat. Or perhaps that mountain landscape appeared more dramatic in person. Filters help bridge that gap between reality and your camera’s limitations.
Think of filters as your photo’s makeup. Just like makeup enhances natural features without completely changing someone’s appearance, good filters enhance your travel photos while keeping them looking real. They can brighten dark areas, make colors more vivid, or add mood to your shots.
Many travelers make the mistake of either not using filters at all or going overboard with them. The secret is finding the sweet spot where your photos look enhanced but still natural.
Top 5 Essential Filters for Travel Photos
HDR (High Dynamic Range) Filter
HDR filters are perfect when you’re dealing with tricky lighting situations. Picture this: you’re standing in front of a beautiful temple, but the building is dark while the sky behind it is super bright. Your camera can’t capture both perfectly at the same time.
Before: The temple looks like a dark silhouette against a washed-out sky. After: You can see all the details in the temple’s architecture, and the sky shows beautiful blue tones with fluffy white clouds.
HDR filters work by combining different exposures of the same photo. They brighten the dark parts and tone down the overly bright areas. This creates a balanced image where you can see details everywhere.
Best for: Architecture photos, landscape shots with bright skies, indoor photos near windows, sunset and sunrise scenes.
Vibrant Color Enhancement Filter
Travel is all about experiencing vibrant cultures, foods, and landscapes. Sometimes your photos need a little boost to show off those amazing colors you remember seeing.
Before: A photo of a colorful market in Morocco looks washed out and dull. After: The spices glow with warm oranges and reds, the fabrics show rich blues and purples, and the whole scene comes alive.
These filters don’t just make everything brighter. They selectively enhance certain colors while keeping others natural. This means your skin tones stay normal while that sunset gets the punch it deserves.
Best for: Food photography, market scenes, flower gardens, coastal waters, cultural festivals.
Classic Black and White Filter
Sometimes removing all color creates the most powerful travel photo. Black and white filters help you focus on emotions, textures, and compositions without the distraction of colors.
Before: A busy street scene in Tokyo with lots of neon signs and colorful elements competing for attention. After: A striking image that highlights the contrast between old and new architecture, the movement of people, and the dramatic lighting.
Modern black and white filters aren’t just about removing color. They let you adjust how different colors translate to gray tones. You can make blue skies darker for more drama or keep skin tones lighter for better portraits.
Best for: Street photography, portraits of locals, architectural details, rainy day scenes, dramatic landscapes.
Vintage Film Filter
There’s something magical about photos that look like they were taken decades ago. Vintage filters add character and nostalgia to your travel memories, making them feel timeless.
Before: A digital photo of an old European street that looks too clean and modern. After: The same street now has a warm, slightly faded look with subtle film grain that makes it feel like a discovered treasure from the 1970s.
Good vintage filters don’t just slap a sepia tone on everything. They carefully adjust colors, add realistic film grain, and sometimes include subtle light leaks or vignetting around the edges.
Best for: Historic locations, countryside scenes, portraits with locals, old vehicles or transportation, traditional markets.
Polarizing Sky Filter
Clear, dramatic skies can make or break a landscape photo. Polarizing filters help reduce glare and make skies pop with deeper blue colors and more defined clouds.
Before: A mountain landscape photo where the sky looks pale and the clouds barely show up. After: The sky becomes a rich blue backdrop with fluffy, well-defined clouds that create depth and interest.
These filters also help with reflections on water and can make colors appear more saturated throughout your image. It’s like cleaning a window – suddenly everything looks clearer and more vibrant.
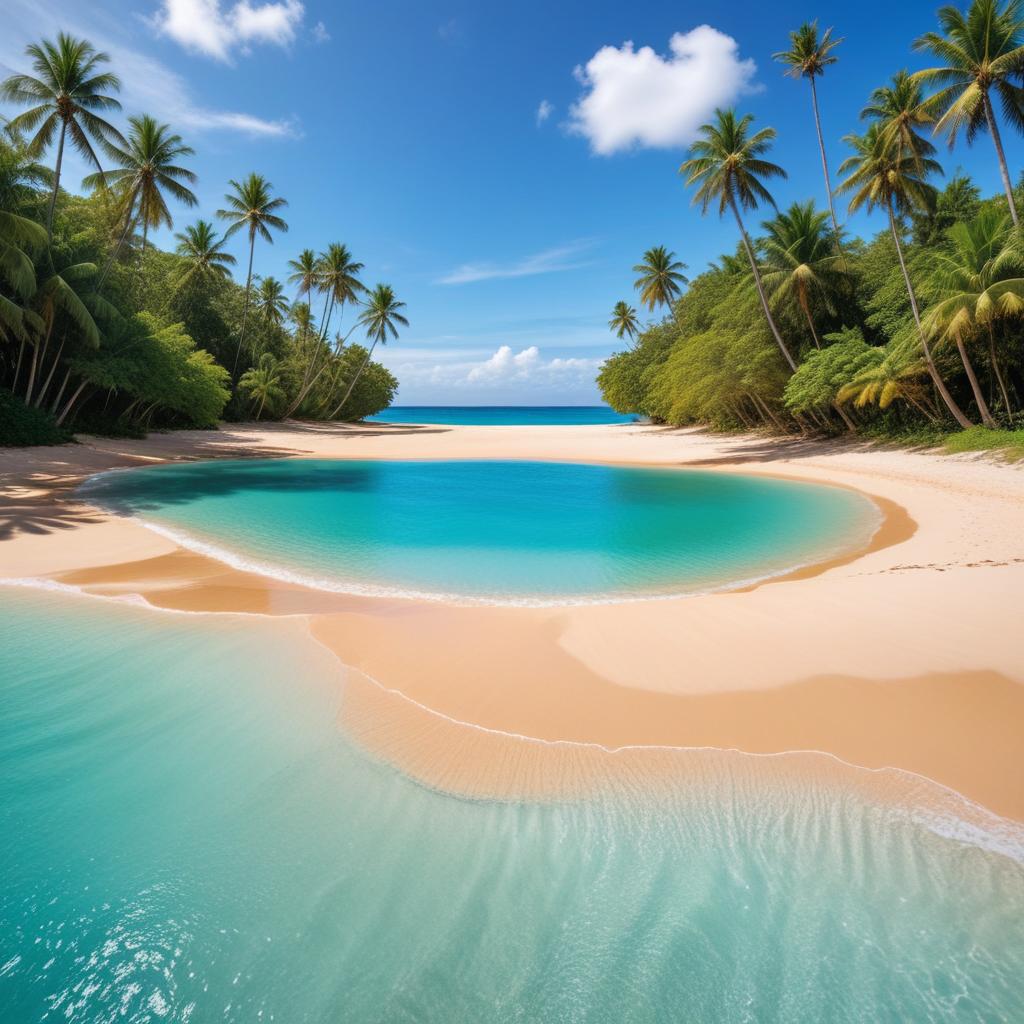
Best for: Mountain landscapes, beach scenes, photos with water reflections, any outdoor shot with sky visible.
Filter Comparison Table
| Filter Type | Best Used For | Lighting Conditions | Effect Level | Processing Time |
|---|---|---|---|---|
| HDR | Architecture, mixed lighting | Bright contrasts | Medium-High | 2-3 seconds |
| Vibrant Color | Markets, food, festivals | Good natural light | Medium | 1-2 seconds |
| Black & White | Street scenes, portraits | Any lighting | High impact | 1 second |
| Vintage Film | Historic sites, countryside | Soft/golden light | Medium | 2 seconds |
| Polarizing Sky | Landscapes, beaches | Outdoor daylight | Medium | 1-2 seconds |
Tips for Using Filters Effectively
Start Subtle, Then Adjust
The biggest mistake travelers make is cranking filters up to maximum strength. Start with a light touch – maybe 30-40% filter strength – then gradually increase if needed. Your goal is enhancement, not transformation.
Consider Your Photo’s Story
Ask yourself what story your photo tells. A peaceful temple might benefit from a gentle vintage filter, while an energetic street market could shine with vibrant color enhancement. Match your filter choice to the mood you want to convey.
Don’t Filter Every Photo the Same Way
Variety keeps your travel album interesting. Mix filtered and unfiltered photos. Use different filters for different types of scenes. This creates a more dynamic and engaging collection of memories.
Pay Attention to Skin Tones
If your travel photos include people, always check how filters affect skin tones. Some filters can make people look unnaturally orange or pale. Adjust the filter strength or choose a different one if skin tones look off.
Common Mistakes to Avoid
Many travelers go overboard with over-saturation. Yes, that sunset was incredible, but if your photo looks like a rainbow exploded, you’ve gone too far. Real sunsets have subtle color gradations, not neon intensity.
Another mistake is using the wrong filter for the situation. A vintage filter might look cool, but it could clash with modern city scenes. Similarly, heavy HDR effects can make natural landscapes look artificial.
Ignoring the original photo quality is also problematic. Filters can enhance good photos, but they can’t fix fundamental issues like blur, poor composition, or extreme over-exposure. Start with the best possible original photo.
Mobile Apps vs. Professional Software
For most travelers, mobile apps offer plenty of power and convenience. Apps like VSCO, Lightroom Mobile, and Snapseed provide professional-quality filters that you can apply right after taking your photos.
Professional software like Adobe Lightroom or Photoshop offers more control and customization options. However, they require more time and skill to use effectively. For casual travel photography, mobile apps usually provide everything you need.
The key advantage of mobile apps is immediate gratification. You can edit and share your travel photos while you’re still experiencing the adventure. This real-time sharing helps you stay connected with friends and family back home.
“The best camera is the one you have with you, and the best filter is the one that enhances your story without overwhelming it.” – Professional travel photographer
Seasonal Filter Considerations
Different seasons call for different filter approaches. Summer travel often benefits from vibrant color filters that enhance blue skies and green landscapes. Winter scenes might look better with subtle HDR to balance snow brightness with darker elements.
Fall photography loves warm vintage filters that complement natural autumn colors. Spring scenes with lots of flowers and fresh growth pair well with gentle color enhancement that doesn’t overpower delicate pastels.
Consider your destination’s climate and typical lighting conditions when planning your filter approach. Desert locations might need different treatment than coastal or mountain regions.
FAQ
Q: Can I use multiple filters on the same photo? A: Yes, but be careful not to overdo it. Start with one primary filter, then add subtle secondary effects if needed. Too many filters can make photos look artificial and over-processed.
Q: Should I always edit my travel photos with filters? A: Not necessarily. Some photos look great straight from the camera. Use filters to enhance photos that need improvement or to create a specific mood, but don’t feel obligated to filter everything.
Q: What’s the difference between filters and presets? A: Filters are individual effects like color enhancement or black and white conversion. Presets are complete editing recipes that might include multiple adjustments. Both serve similar purposes but presets offer more comprehensive changes.
Q: Can filters fix poorly lit travel photos? A: Filters can improve lighting issues to some extent, especially HDR filters. However, they work best on photos that have decent original exposure. Extremely dark or overexposed photos might need more extensive editing.
Q: Are expensive editing apps worth it for travel photography? A: It depends on your needs. Free or low-cost apps often provide excellent filters for casual travel photography. Premium apps offer more control and professional features, but they’re only worth it if you’ll use those advanced capabilities.
Q: How do I know if I’ve over-edited a photo? A: If your photo looks dramatically different from what you remember seeing, you’ve probably gone too far. Good editing enhances reality rather than creating a fantasy version of your travels.