AI-Powered Selective Editing: Focus on What Matters, Not the Mask
Remember the last time you tried to brighten just a person’s face in a backlit photo? You spent 20 minutes carefully—and frustratingly—drawing around their hair, only for the edit to look obvious and messy.
That painstaking process of “masking” is what held creative editing back. But now, AI has changed the game. AI-powered selective editing lets you tell the software what you want to adjust using simple language or a single click, and it handles the incredibly complex “how.” It’s like having a brilliant assistant who instantly knows the difference between a subject’s sweater, their skin, and the sky behind them. This guide will show you how this technology lets you focus purely on your creative vision.
From Manual Labor to Intelligent Selection: How AI “Sees” Your Photo
Traditional selective editing required you to be a digital cartographer, manually mapping out the areas you wanted to change. AI flips this dynamic. Instead of you telling the computer where to edit, you tell it what to edit, and it finds the “where” for you.
The AI does this by understanding the content and depth of your image on a near-human level:
- Object & Scene Recognition: It doesn’t just see colors and shapes; it identifies them as “person,” “sky,” “foliage,” “building,” or “animal.”
- Depth and Layer Awareness: It can distinguish between a foreground subject and a background, understanding which objects are in front of others.
- Material and Texture Understanding: It knows the difference between skin, fabric, metal, glass, and water, allowing for nuanced adjustments.
“The best selective edits are invisible. They don’t look like you ‘did’ something to the photo; they simply make the subject feel more present and the story more compelling.”
Your New Toolkit: The AI Selectors Changing the Game
Modern photo editors are integrating these AI selection tools as core features. Here’s what you can now do in seconds.
1. Subject & Sky Selection: The Instant Foundation
These are the most common and powerful starting points.
- Select Subject: A single click that perfectly outlines the main subject—a person, a car, a pet. It’s eerily accurate, even with complex edges like frizzy hair or fur. Once selected, you can adjust exposure, color, or apply filters to just that subject.
- Select Sky: Instantly masks the entire sky, regardless of gaps from trees or buildings. This is the gateway to non-destructive sky replacements or simply enhancing a sunset’s colors.
2. AI Masks: The Precision Artists
This is where the real magic happens for nuanced control. Tools like those in Adobe Lightroom and Photoshop now offer a suite of AI masks that detect specific elements:
- People Masks: Break down selections further into Face Skin, Body Skin, Clothing, and even Irises and Teeth. Want to brighten eyes and subtly smooth skin without affecting hair color? Done in two clicks.
- Object & Material Masks: Select “Vehicles,” “Buildings,” “Foliage,” or “Water” directly. Cool down the blue tones in a body of water or boost the vibrancy of grass without affecting the flowers.
- Depth-Based Masks: Create selections based on how far away objects are. Blur the background, brighten the mid-ground, and add contrast to the foreground to create stunning depth.
3. The Brush That Knows: AI-Powered Brushing Tools
Even manual brushes have gotten smarter. When you brush roughly over an area, the AI refines the edge, sticking to similar textures and colors. Want to darken a specific rock in a landscape? Brush over it roughly, and the AI confines the effect to just that rock, not the surrounding dirt.
The table below shows how these intelligent tools solve specific creative problems that were once technical hurdles.
| What You Want to Achieve | The Old Manual Way | The New AI-Powered Way |
|---|---|---|
| Make a subject pop from the background. | Manually lasso the subject, refine edge for hair, adjust. | Click “Select Subject”, then adjust sliders. |
| Warm up skin tones without affecting clothing. | Create a hue/saturation layer, mask the skin painstakingly. | Apply an AI “Face Skin” or “Body Skin” mask, adjust temperature. |
| Replace a dull, overcast sky. | Select sky, refine edge around intricate tree branches. | Click “Select Sky”, hit “Replace,” choose a new sky. AI blends lighting. |
| Sharpen a pet’s eyes and fur subtly. | Use multiple sharpening layers with complex masks. | Apply an AI “Select Subject” mask, then use a “Brush” set to “Eyes” or manually brush with AI edge detection. |
Seeing the Difference: AI Selective Editing in Action
Let’s walk through a real-world example to see the power and speed of this workflow.
The Scenario: The Backlit Portrait
You have a beautiful portrait where the subject is in shade, but the background is a bright, sunny field. The person feels dark and flat.
The 60-Second AI Edit:
- Click “Select Subject.” The AI instantly creates a perfect mask around the person.
- Increase Exposure and Shadows. Bring your subject into the light. Because the mask is precise, the bright background remains untouched.
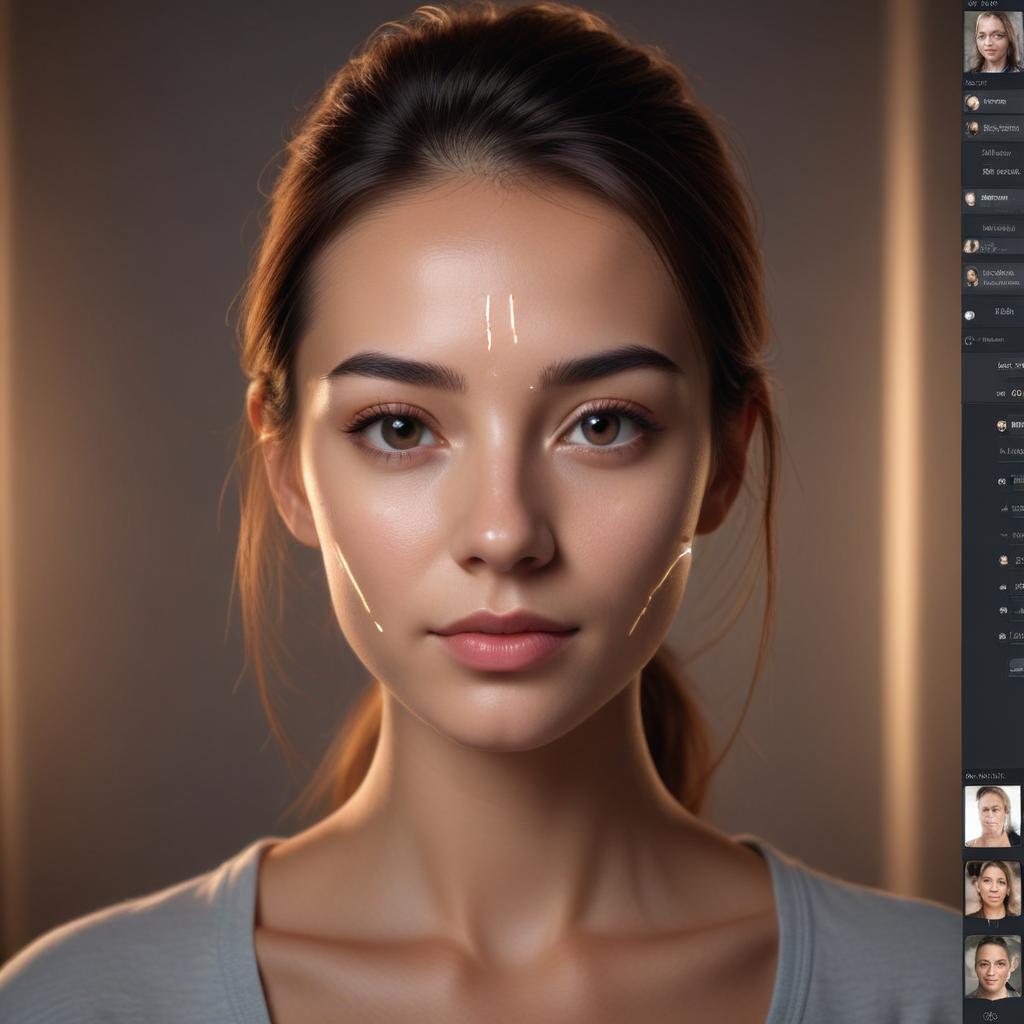
- Add an AI “Face Skin” Mask. Within the subject mask, you can add a sub-mask. Boost clarity slightly and adjust the white balance for a healthy glow.
- (Optional) Click “Select Background.” With the subject brightened, you can now subtly lower the background’s highlights or add a gentle blur to enhance depth.
What used to be a 15-minute detailed masking job is now a polished edit achieved in under a minute, with far superior, natural-looking results.
Building Your Efficient AI Editing Workflow
To integrate this seamlessly into your process, follow this mindset:
- Start with the Big Idea: Ask, “What is the one thing I want to change about this photo?” (e.g., “The person is too dark,” “The sky is boring,” “The colors are flat”).
- Choose Your AI Selector: Match your goal to the tool. “Person too dark” = Select Subject. “Sky boring” = Select Sky. “Colors flat” = maybe Select Foliage and Select Sky separately.
- Make the Global Adjustment First: Before diving into masks, use the basic sliders (Exposure, Contrast, White Balance) to get the overall photo to a good baseline. This often reduces the amount of selective work needed.
- Use AI Masks for Refinement: Now, use your AI selections to fine-tune. This is where you direct the viewer’s eye and add polish.
- Remember the Power of Subtlety: The goal of a great selective edit is often to subtract a problem (a shadow, a color cast) rather than add an obvious effect. Use low opacity and feathering even with AI masks.
Frequently Asked Questions
Will AI selections always be perfect?
They are remarkably accurate about 95% of the time. For the 5%—like very fine hair against a similar-colored background—you may need to use the “Add to” or “Subtract from” brush to manually refine the mask. It’s still 95% less work than starting from scratch.
Do I need an internet connection for this?
It depends on the software. Some apps, like Adobe Lightroom Classic, perform AI processing locally on your computer. Many mobile and web-based editors require an internet connection to use their cloud-based AI models.
Is this only in expensive professional software?
No! While the most advanced suites offer the most controls, the core technology is trickling down. Canva, Luminar Neo, and even updated mobile apps now offer one-click background removal and subject selection features.
What’s the biggest mistake beginners make with this power?
Over-editing. Because it’s so easy to select and change everything, beginners often do just that. The result can be a chaotic image where everything is competing for attention. Use selective editing to guide the viewer, not to confuse them.
What should I learn next after mastering AI selections?
Master the adjustment sliders themselves. Understanding how to use Texture vs. Clarity, the Tone Curve, and Color Grading will let you do far more creative and impactful work with the perfect masks AI provides you.
Reclaim Your Creative Focus
AI-powered selective editing represents a fundamental shift. It removes the largest technical barrier between your creative intention and your final image. You are no longer an editor spending hours on meticulous selection; you are a director, telling your smart tools what emotion to evoke and what story to tell.
The technology handles the tedious physics of light and edges, freeing you to focus on the art.
What’s the first photo you’ll open to try one-click subject selection on? Share your ‘before and after’ story or your favorite AI masking trick in the comments!