Batch Editing Made Easy: Supercharge Your Photos with AI Tools
Ever felt that sinking feeling when you realize you have 200 vacation photos to edit, and they all need the same fix?
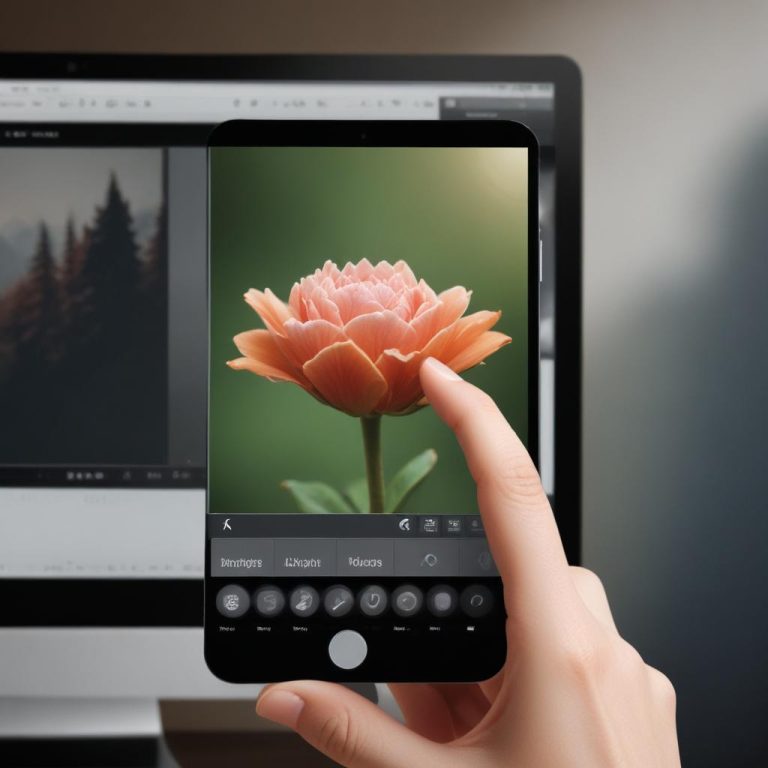
Gone are the days of opening every single picture, one by one, and painstakingly making the same adjustments. Today, artificial intelligence (AI) has given us a superpower for our digital darkroom: batch editing. It’s like having a helpful assistant who learns exactly what you want and applies it to your entire photo collection in minutes.
What Is Batch Editing and Why Should You Care?
Think of batch editing like making a giant batch of cookies. You don’t mix each cookie’s dough separately, right? You make one master recipe and then scoop it out for all of them. Batch editing works the same way. You tell your software the “recipe” for your edit—like “make skies bluer” or “brighten faces”—and it applies that recipe to every photo you choose.
How AI Transforms the Tedious into the Automatic
AI photo tools don’t just blindly apply a filter. They understand your image. When you adjust one photo, the AI learns the specific changes. It then intelligently applies them to other photos, accounting for differences in each shot.
For example, if you brighten the subject in one portrait, the AI won’t mistakenly over-brighten the sky in a landscape photo in the same batch. It identifies subjects, recognizes colors, and adjusts settings like exposure, contrast, and color balance on a photo-by-photo basis to get consistent, beautiful results.
Real-World Magic: From Social Media to Family Albums
Imagine you’re a social media manager for a small cafe. You just took 50 photos of new pastries. The lighting was decent, but every picture looks a little yellow from the warm interior lights. With AI batch editing:
- You open one photo and use an AI tool to correct the white balance, making the whites look truly white.
- You then tell the software to apply that same color correction to all 49 other photos.
- In under a minute, you have a cohesive, professional-looking gallery ready to post.
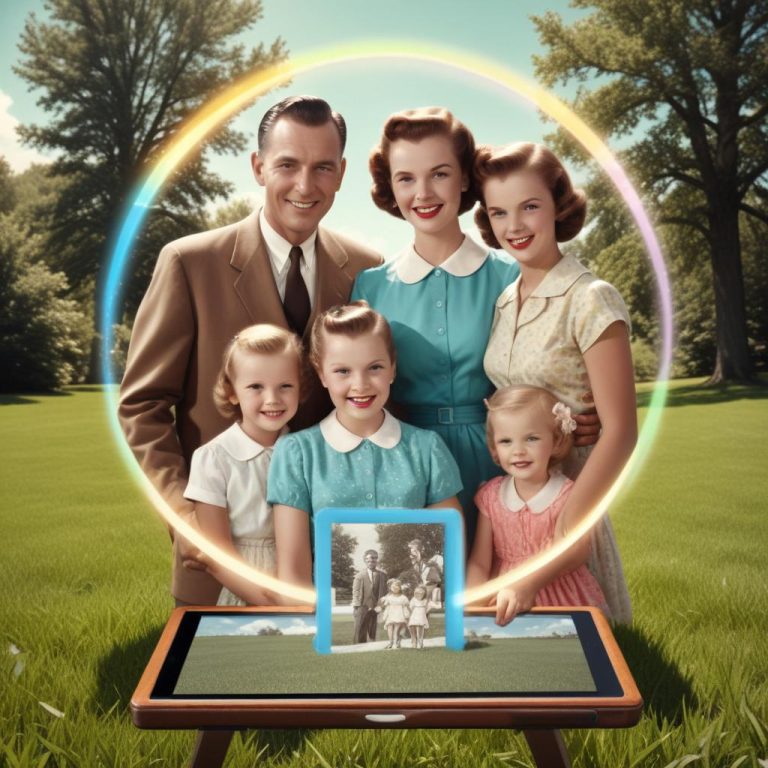
The same magic works for fixing a whole set of family reunion pictures that came out too dark, or applying your favorite vintage look to an entire series of street photography.
Your AI Batch Editing Toolbox: A Quick Guide
Not all software is created equal. Here’s a simple breakdown of some popular options that make batch editing a breeze.
| Tool/Technique | Best For | Difficulty Level | Cost |
|---|---|---|---|
| Adobe Lightroom Classic | Serious hobbyists & pros; deep organization & editing. | Intermediate | Subscription |
| Skylum Luminar Neo | Beginners & creatives; one-click AI tools & unique looks. | Beginner | One-time purchase |
| Canva Pro | Social media managers & small businesses; quick online edits. | Beginner | Subscription |
| Apple Photos (Mac) | Apple users; simple, system-integrated basic corrections. | Beginner | Free (with device) |
| Adobe Photoshop Express | Quick fixes on the go; basic batch resizing & filters. | Beginner | Freemium |
How Much Time Can You Really Save?
We all know batch editing is faster, but seeing the numbers really drives it home. The chart below shows a comparison of the estimated time it would take to edit 100 similar photos individually versus using an AI batch process. The individual edit time assumes a modest 2 minutes per photo for basic corrections.
Time Comparison: Editing 100 Photos
The difference is staggering. That’s over 3 hours saved, which you can spend taking more photos instead!
Getting Started: Your First AI Batch Edit
Ready to try it? Here’s a simple, universal workflow you can follow in most AI-powered software:
- Gather Your Photos. Put all the photos from one event or shoot into a single folder on your computer.
- Pick Your Champion. Open the best photo in the set—the one that needs the most typical correction.
- Make Your Master Edit. Adjust the exposure, colors, and cropping until it looks perfect. This is where you create your “recipe.”
- Find the Batch Command. Look for buttons like “Sync,” “Copy Settings,” “Paste Edit,” or “Apply to All.”
- Select and Apply. Select all the other photos, then apply your master edit. The AI will work its magic.
- Do a Quick Scan. Flip through the batch to make sure every photo looks good. You might need to tweak one or two individually, but 95% of the work is done!
Pro Tip: “The goal of batch editing isn’t robotically identical photos. It’s about achieving a harmonious, consistent feel so your album tells one beautiful story.”
Always work on copies of your originals. Most good software does this automatically in a “catalog,” but it’s a safety habit worth having.
Frequently Asked Questions
Do I need expensive software to batch edit?
Not at all! Many free tools like Apple Photos, Google Photos, and basic versions of online editors offer simple batch actions like resizing or applying filters.
Will batch editing make all my photos look the same?
A basic batch edit applies the same settings, but AI-powered tools are smarter. They adapt to each image, preserving uniqueness while creating consistency.
Can I fix different problems (like some dark photos, some blurry) in one batch?
For majorly different issues, it’s better to split them into separate batches. AI is great for consistent corrections like color and exposure, but it can’t automatically fix a blurry photo.
Is my data safe in online AI photo editors?
Always check the privacy policy. Reputable services like Adobe or Canva use secure cloud storage and often delete your uploaded files after a short period for processing.
What’s the most common batch edit people should use?
White balance correction. Fixing the color cast from indoor lighting is the single biggest improvement for most beginner photo sets.
Give It a Spin!
The beauty of AI in photo retouching is that it handles the technical, boring stuff. This frees you up for the fun, creative part: seeing your vision come to life. You don’t need to be an expert to make your pictures pop.
Start small. Pick 10 photos from your phone that could use a little brightness boost, and see if your favorite editing app has a “copy and paste edit” feature. You might just unlock hours of your time.
What’s the first big batch of photos you’re going to tackle? Share your before-and-after stories in the comments below!