Travel Photography Editing: The Complete Mobile Workflow for Stunning Photos
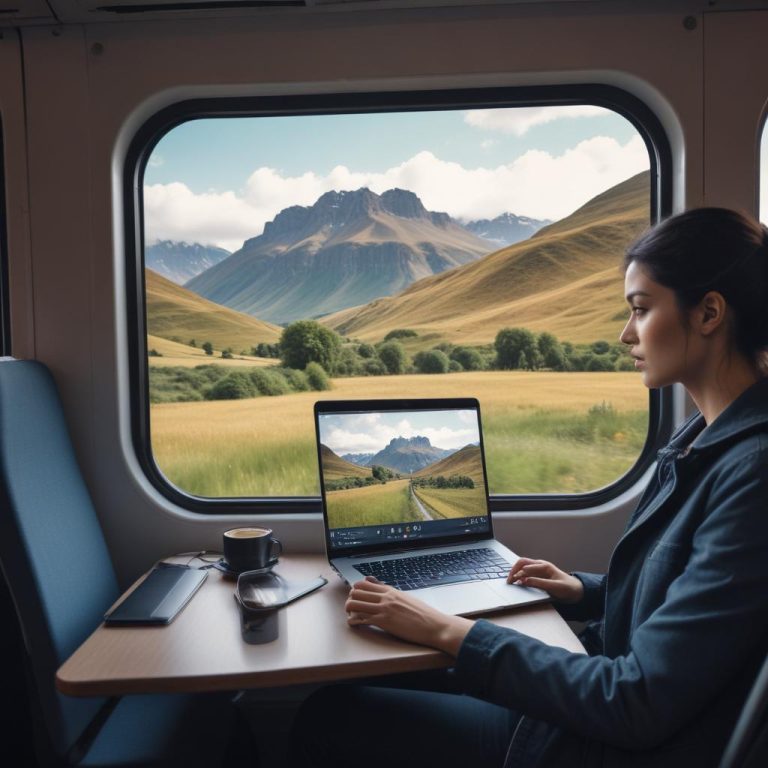
Taking amazing travel photos is just half the battle. The real magic happens when you edit those shots to bring out their true potential. With today’s powerful mobile editing apps and smartphones, you can transform your travel memories into breathtaking masterpieces without carrying heavy laptop equipment around the world.
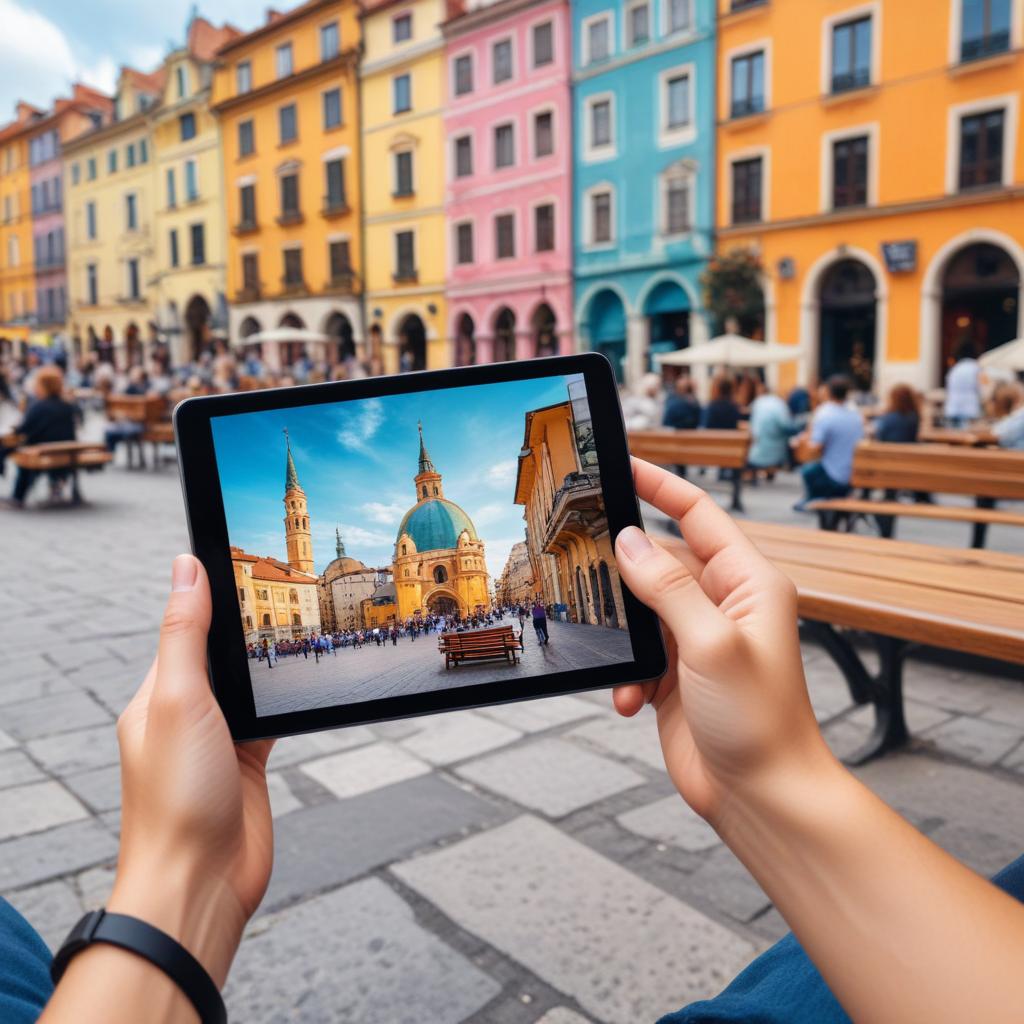
A solid mobile photo editing workflow lets you process, enhance, and share your travel photos instantly while you’re still on the road. This approach saves time, keeps your photos organized, and helps you create stunning images using nothing more than your smartphone or tablet. Whether you’re hiking through mountains or exploring busy city streets, having the right mobile editing system can turn good photos into unforgettable ones.
Why Mobile Editing Works Perfect for Travel Photography
Travel photography presents unique challenges that make mobile editing not just convenient, but often necessary. When you’re constantly moving between locations, dealing with different lighting conditions, and wanting to share memories quickly with friends and family, your smartphone becomes your best editing companion.
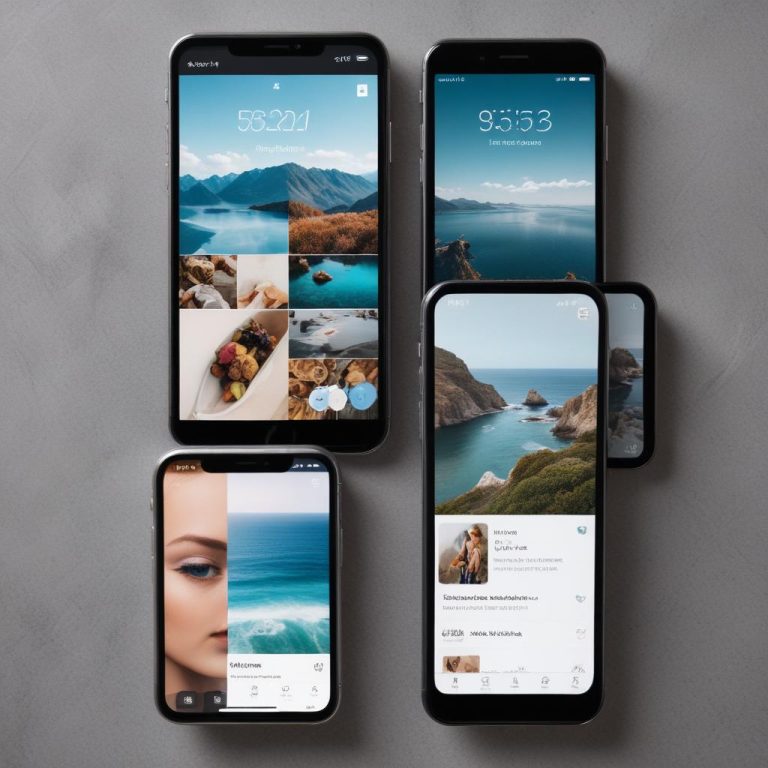
Mobile editing apps have reached professional-quality levels in recent years. Apps like Lightroom Mobile, VSCO, and Snapseed offer features that were once only available on desktop computers. You can now adjust exposure, work with RAW files, apply selective edits, and even remove unwanted objects – all from your phone.
The biggest advantage? Instant workflow integration. You can shoot, edit, backup, and share your photos without ever transferring files between devices. This seamless process keeps your creative momentum going and ensures you never lose those perfect moments due to technical delays.
Essential Mobile Apps for Travel Photo Editing
Primary Editing Apps
Adobe Lightroom Mobile stands as the gold standard for travel photographers. Its RAW processing capabilities, cloud sync, and professional-grade tools make it indispensable. The free version offers impressive features, while the premium subscription unlocks advanced tools like selective masking and cloud storage.
VSCO excels at creating that film-inspired aesthetic that many travel photographers love. Its preset filters can instantly transform ordinary shots into artistic masterpieces. The app’s simple interface makes quick edits effortless, perfect when you’re editing multiple photos from a day of sightseeing.
Snapseed by Google provides powerful editing tools completely free. Its healing tool, perspective correction, and HDR effects can fix common travel photography problems. The app’s selective adjust feature lets you enhance specific parts of your image with pinpoint accuracy.
Supporting Apps for Complete Workflow
Beyond your main editor, several supporting apps complete your mobile workflow. Google Photos or Amazon Photos handle automatic backup, ensuring your memories stay safe even if something happens to your device. Canva or Unfold help create engaging social media posts and stories from your travel photos.
Building Your Mobile Editing Workflow
Step 1: Organization and Backup
Before touching any editing tools, establish a solid organization system. Create albums or folders by date, location, or trip segment. This structure saves countless hours when looking for specific photos later.
Set up automatic cloud backup immediately after shooting. Services like Google Photos, iCloud, or Adobe Creative Cloud keep your originals safe while you experiment with edits. Never edit your only copy of a photo – always work from duplicates or versions.
Step 2: Initial Photo Selection
Not every photo deserves editing time. Develop a quick selection process to identify your best shots. Look for proper focus, interesting composition, and good lighting conditions. Delete obvious mistakes and blurry shots to keep your library manageable.
Use your phone’s built-in rating or favoriting system to mark photos worth editing. This preliminary sorting prevents overwhelming yourself with hundreds of photos and helps focus your energy on the most promising images.
Step 3: Basic Adjustments
Start every edit with fundamental corrections before moving to creative enhancements. Adjust exposure to recover highlights and shadows, correct white balance for accurate colors, and straighten crooked horizons. These basic fixes often improve photos dramatically with minimal effort.
Check for distracting elements that mobile editing can easily remove. Small spots, dust, or unwanted objects in the corner of your frame can be quickly fixed with healing tools available in most editing apps.
Advanced Mobile Editing Techniques
Working with RAW Files
Shooting in RAW format gives you maximum editing flexibility. Most modern smartphones can capture RAW files, and apps like Lightroom Mobile handle them beautifully. RAW files contain more image data, allowing you to recover details from shadows and highlights that would be lost in JPEG files.
When editing RAW travel photos, push adjustments further than you would with JPEGs. The extra image data prevents quality loss and maintains smooth gradations even with extreme corrections.
Selective Editing Magic
Modern mobile apps offer sophisticated selective editing tools that rival desktop software. Lightroom’s masking features let you adjust specific areas without affecting the entire image. You can brighten faces in shadow, enhance sunset colors in the sky, or add contrast to foreground elements.
Practice using gradient masks for landscapes and radial masks for portraits. These tools help create professional-looking results by directing viewer attention exactly where you want it.
Color Grading for Mood
Color grading transforms the emotional impact of your travel photos. Warm tones create inviting, comfortable feelings perfect for golden hour shots or cozy café scenes. Cool tones work well for modern architecture or dramatic landscapes.
Most mobile editors now include color wheels or split-toning controls. Start with subtle adjustments – a little color grading goes a long way in creating compelling travel imagery.
Time-Saving Mobile Workflow Tips
| Workflow Stage | Time-Saving Tip | Benefit |
|---|---|---|
| Shooting | Use burst mode for action shots | More chances to get perfect timing |
| Organization | Create albums during shoot | Prevents overwhelming backlogs |
| Basic Edits | Apply presets first | Consistent look across photos |
| Advanced Edits | Copy settings between similar photos | Maintains style coherency |
| Sharing | Use templates for social posts | Professional, consistent presentation |
| Backup | Enable automatic sync | Never lose important memories |
Batch Processing Strategies
When you have multiple photos from the same location with similar lighting, edit one perfectly, then copy those settings to other images. This technique maintains consistency while dramatically reducing editing time.
Create custom presets for different scenarios – sunny beaches, cloudy mountains, urban architecture. Having these ready-made starting points speeds up your editing process significantly.
Keyboard Shortcuts and Gestures
Learn your editing app’s gesture controls and shortcuts. Most mobile editors support pinch-to-zoom, two-finger rotation, and swipe gestures that make editing faster and more intuitive than desktop editing in many situations.
Sharing and Portfolio Management
Social Media Optimization
Different platforms require different approaches to photo editing. Instagram favors vibrant, high-contrast images, while Facebook displays photos at lower resolution where subtle edits might get lost. Edit with your intended platform in mind.
Create multiple versions of your best travel photos – one for print, one optimized for web sharing, and perhaps a cropped version for Instagram stories. This preparation ensures your photos always look their best regardless of where they’re displayed.
Building Your Travel Photography Portfolio
Use mobile apps to create professional presentations of your work. Adobe Portfolio integrates seamlessly with Lightroom Mobile, automatically showcasing your edited photos in beautiful website layouts. This integration eliminates the need for manual file transfers and keeps your online portfolio constantly updated.
Consider creating themed collections from your travels – street photography from European cities, landscape shots from national parks, or cultural portraits from various countries. These focused galleries demonstrate your range while maintaining viewer interest.
Troubleshooting Common Mobile Editing Issues
Performance and Storage Management
Mobile editing can drain battery quickly and consume significant storage space. Close unnecessary background apps while editing, reduce screen brightness when possible, and consider carrying a portable battery pack for long editing sessions.
Regularly clean out your photo library by deleting obvious mistakes and backing up finished edits to cloud storage. Most phones slow down when storage gets full, affecting editing performance.
Quality Preservation
Always edit non-destructively when possible. Apps like Lightroom Mobile save your edits as instructions rather than applying them permanently to your image file. This approach lets you revisit and modify edits later without quality loss.
Export high-resolution versions of your best photos for printing or future use, but share compressed versions for social media to save bandwidth and upload time.
FAQ
Q: Can mobile editing really match desktop photo editing quality? A: Yes, for most travel photography needs. Modern mobile apps offer professional-grade tools including RAW processing, selective adjustments, and advanced color correction. The main limitations are screen size and processing power for extremely complex edits.
Q: How much phone storage do I need for serious mobile photo editing? A: At minimum, 128GB with cloud storage backup. RAW files and high-resolution photos consume significant space. Consider phones with 256GB or more if you plan extensive mobile editing without frequent cloud uploads.
Q: Should I edit every travel photo I take? A: No, focus on your best shots. Develop a quick selection process to identify photos worth editing time. Quality over quantity creates better results and prevents editing burnout during long trips.
Q: What’s the best mobile editing app for beginners? A: Snapseed offers powerful tools with an intuitive interface, completely free. VSCO provides beautiful presets for quick results. Lightroom Mobile gives professional control but has a steeper learning curve.
Q: How do I maintain consistent editing style across my travel photos? A: Create and save custom presets in your editing app. Apply these as starting points for photos from similar conditions. Batch editing similar photos with copied settings also maintains consistency.
Q: Can I edit photos offline while traveling? A: Yes, most mobile editing apps work offline. However, cloud sync, preset downloads, and some AI features require internet connection. Download necessary resources before traveling to remote areas.
Q: How do I backup my edited photos safely while traveling? A: Use multiple cloud services – Google Photos for unlimited compressed storage, plus a premium service like iCloud or Adobe Creative Cloud for full-resolution backups. Never rely on just one backup method.