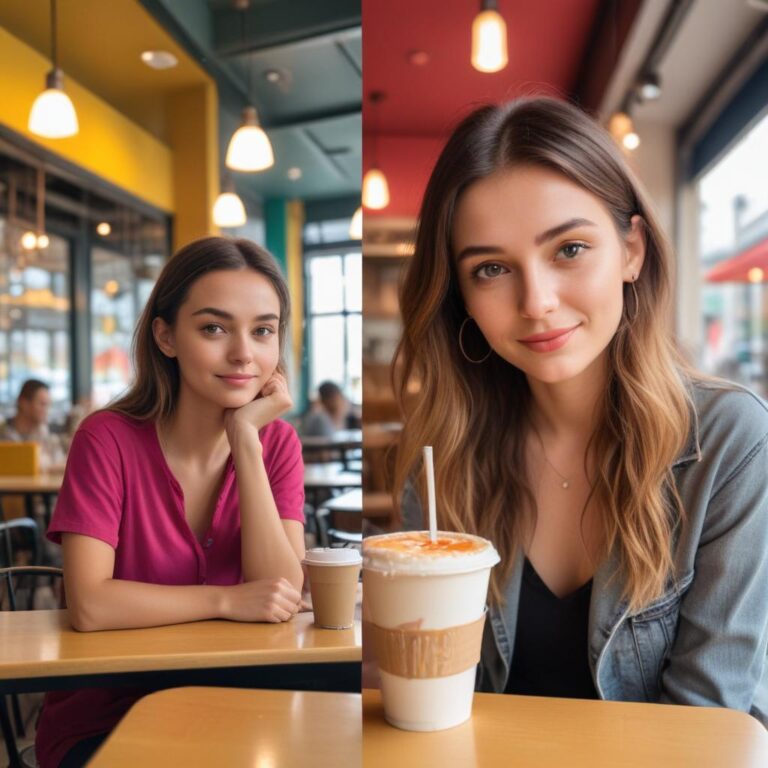
Quick Tips to Make Your Social Media Photos Pop
Are you tired of your social media photos getting lost in the endless scroll? You’re not alone! Every day, millions of pictures flood our feeds, but only the best ones catch our eye and make us stop scrolling. The good news is that you don’t need fancy equipment or years of training to make your photos stand out. With just a few simple tricks and some practice, you can turn your ordinary snapshots into eye-catching images that get more likes, comments, and shares. Let’s dive into these game-changing tips that will transform your social media presence!
Understanding Light – Your Best Friend
Natural Light is Magic
The most important secret to great photos is understanding light. Natural light from windows or outdoors almost always looks better than artificial lighting. Try to take your photos during what photographers call the “golden hour” – that’s the hour after sunrise or before sunset when the light is soft and warm.
If you’re shooting indoors, position yourself near a large window. The light should hit your subject from the side or front, not from behind. Avoid taking photos directly under harsh ceiling lights – they create unflattering shadows and make colors look dull.
Working with Shadows
Don’t be afraid of shadows! They add depth and interest to your photos. But make sure the shadows enhance your subject instead of hiding it. On bright sunny days, look for open shade under trees or buildings. This gives you soft, even lighting that makes everyone look their best.
Composition Secrets That Work Every Time
The Rule of Thirds
Here’s a simple trick that professional photographers use: imagine your photo is divided into nine equal squares, like a tic-tac-toe board. Place your main subject along these lines or where they cross. This creates more interesting and balanced photos than putting everything right in the center.
Most phone cameras have a grid option in their settings. Turn it on and use it as your guide. Your followers will notice the difference, even if they can’t explain why your photos look better.
Leading Lines and Frames
Look for lines in your environment – roads, fences, shadows, or even the edge of a table. These lines can guide the viewer’s eye to your main subject. You can also use natural frames like doorways, windows, or tree branches to create a “frame within a frame” effect.
Fill the Frame
Don’t be shy about getting close to your subject. Fill the frame with what matters most. If you’re taking a photo of food, get close enough to see the textures. If it’s a person, focus on their face or hands. Empty space around your subject can make your photo feel boring.
Color Theory Made Simple
Understanding Color Harmony
Colors that work well together make your photos more pleasing to look at. Here are three easy color combinations to remember:
- Complementary colors: Colors opposite each other on the color wheel (like blue and orange)
- Analogous colors: Colors next to each other (like green, yellow, and orange)
- Monochromatic: Different shades of the same color
Making Colors Pop
To make colors look more vibrant, try these tricks:
- Shoot against neutral backgrounds (white, gray, or black)
- Use the contrast between warm and cool colors
- Avoid mixing too many bright colors in one photo
- Consider the color of your outfit against your background
Phone Camera Tricks You Need to Know
Clean Your Lens
This sounds obvious, but it’s amazing how many people forget to clean their phone camera lens. A smudged lens makes even the best composition look fuzzy. Give it a quick wipe with a soft cloth before shooting.
Use Portrait Mode Wisely
Portrait mode creates that blurry background effect that makes your subject stand out. But don’t overuse it! It works best for people, pets, and single objects. ~~It doesn’t work well for group shots or landscapes.~~
Tap to Focus
Always tap on your screen where you want the camera to focus. This ensures your main subject is sharp and properly exposed. You can also slide your finger up or down after tapping to adjust the brightness.
Editing Apps and Basic Adjustments
Essential Editing Tools
You don’t need expensive software to edit your photos. Here are some free apps that work great:
- VSCO: Great filters and basic editing tools
- Snapseed: Powerful editing with precise controls
- Lightroom Mobile: Professional-grade editing (free version available)
- Canva: Perfect for adding text and graphics
Basic Adjustments That Make a Difference
Focus on these five basic adjustments:
- Brightness: Make sure your photo isn’t too dark or too bright
- Contrast: Adds punch to your images
- Saturation: Makes colors more vivid (but don’t overdo it!)
- Sharpness: Brings out details
- Crop: Remove distractions and improve composition
Remember: Less is more when it comes to editing. Your goal is to enhance what’s already there, not create something fake.
Planning Your Content Strategy
Know Your Platform
Different social media platforms favor different types of photos:
- Instagram: Square or vertical photos work best
- Facebook: Horizontal photos get more engagement
- TikTok: Vertical videos and photos are king
- Twitter: Simple, clear images that tell a story quickly
Consistency is Key
Try to develop your own style. This might mean using similar filters, colors, or types of shots. When people scroll through their feed, they should be able to recognize your photos instantly.
Quick Reference Guide
| Element | Best Practice | Common Mistake |
|---|---|---|
| Lighting | Use natural light when possible | Shooting in harsh artificial light |
| Composition | Follow rule of thirds | Centering everything |
| Colors | Use harmonious color combinations | Too many competing colors |
| Focus | Tap to focus on main subject | Letting camera auto-focus everywhere |
| Editing | Make subtle adjustments | Over-editing and filters |
| Background | Keep it simple and uncluttered | Ignoring distracting elements |
| Timing | Post when your audience is active | Random posting schedule |
| Engagement | Respond to comments quickly | Ignoring your community |
Advanced Tips for Better Engagement
Tell a Story
The best social media photos tell a story or make people feel something. Before you take a photo, ask yourself: “What story am I trying to tell?” This could be about your day, a product you love, or a moment you want to share.
Use Props and Accessories
Small props can make your photos more interesting. For food photos, try adding utensils, napkins, or ingredients. For fashion shots, accessories like jewelry, bags, or shoes can add visual interest.
Experiment with Angles
Don’t always shoot from eye level. Try taking photos from above (great for food and flat lay shots), below (makes subjects look more powerful), or from the side (good for profiles and action shots).
Create Depth
Flat photos are boring. Add depth by including foreground, middle ground, and background elements. This makes your photos more three-dimensional and engaging.
FAQ Section
Q: What’s the best time to post photos on social media? A: It depends on your audience, but generally, weekdays between 1-3 PM and evenings around 7-9 PM tend to get good engagement. Check your analytics to see when your followers are most active.
Q: Should I always use filters on my photos? A: Not necessarily. Filters can enhance your photos, but they’re not required. If you do use them, choose ones that complement your photo rather than completely changing it. Consistency with your filter choice helps create a cohesive look.
Q: How can I make my photos look professional without expensive equipment? A: Focus on good lighting, clean composition, and thoughtful editing. Most phones today have excellent cameras. The key is learning to use them well, not having the most expensive gear.
Q: What’s the biggest mistake people make with social media photos? A: Posting blurry, poorly lit, or cluttered photos. Taking an extra moment to check your focus, lighting, and background can make a huge difference in how your photos perform.
Q: How often should I post photos? A: Quality is more important than quantity. It’s better to post one great photo than five mediocre ones. Aim for consistency rather than frequency – whether that’s daily, every other day, or weekly.
Q: Can I reuse old photos? A: Yes, but make sure they still represent you well. You can also re-edit old photos with new techniques you’ve learned or create different crops for different platforms.
Q: How do I deal with negative comments on my photos? A: Stay positive and professional. You can delete truly harmful comments, but constructive criticism can actually help you improve. Remember, you can’t please everyone, so focus on your supportive community.
Remember, the best camera is the one you have with you, and the best photo is the one that makes you and your audience happy. Keep practicing these tips, and you’ll see your social media photos get better and better. Most importantly, have fun with it! Your enthusiasm and personality will shine through your photos, and that’s what really makes them pop.