Automated Photo Editing Batch Processing: Edit Hundreds of Photos in Minutes Instead of Hours
Picture this: you just returned from a wedding shoot with 500 photos, or maybe you’re a business owner who needs to process product images for your online store. The thought of editing each photo individually makes your head spin. Hours of repetitive work stretch ahead, and you haven’t even started sorting through everything yet.
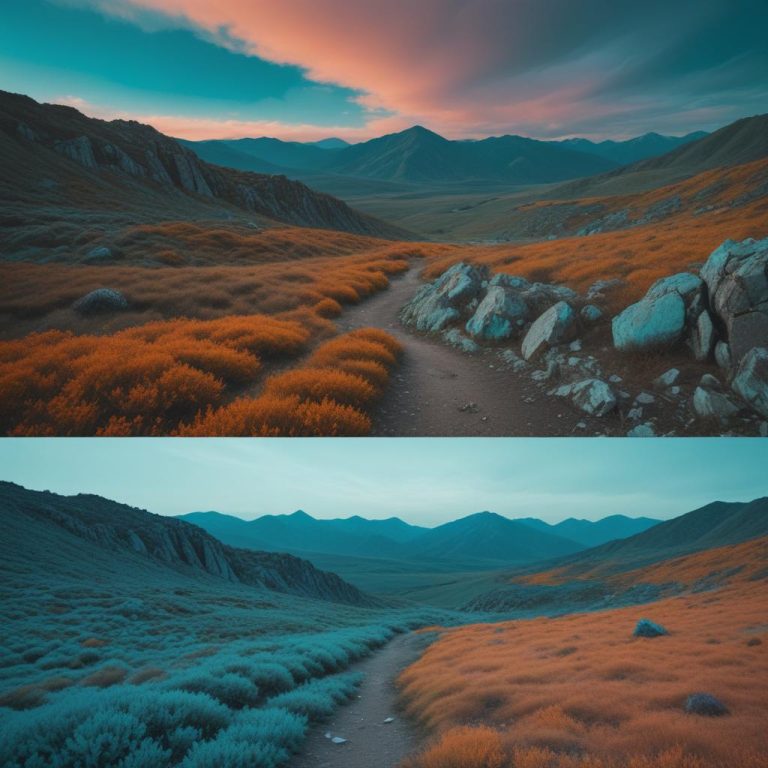
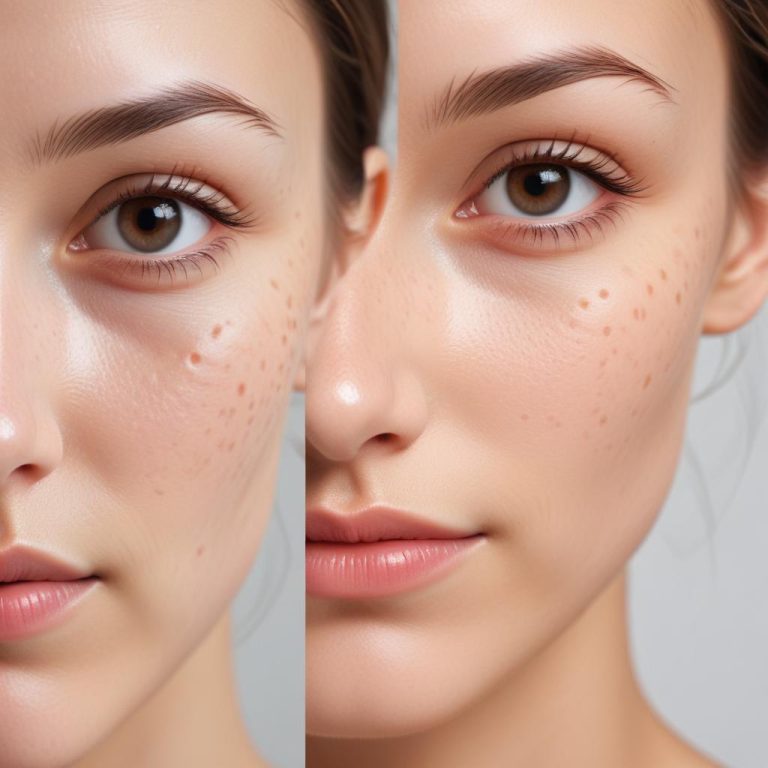
Automated photo editing batch processing solves this exact problem by applying the same edits to multiple photos at once. Instead of spending your weekend clicking through individual images, smart software handles the repetitive work while you focus on creative decisions. Modern batch processing tools can adjust lighting, colors, sizes, and formats across hundreds of photos in the time it used to take to edit just one.
Understanding Automated Photo Editing Batch Processing
Batch processing transforms how photographers and content creators handle large photo collections. This technology takes a single set of editing instructions and applies them to numerous images simultaneously.
How Batch Processing Actually Works
The system starts by analyzing your chosen edits on a sample photo. Maybe you brighten the shadows, increase contrast, and add a warm color tone. The software records these exact changes as a preset or action sequence.
When you apply this preset to a folder of photos, the program opens each image, performs the identical adjustments, and saves the result. What makes this powerful is the speed – processing that might take 30 minutes per photo manually happens in seconds automatically.
“Batch processing isn’t just about speed – it creates consistency across your entire photo collection that’s impossible to achieve manually.”
The Technology Behind Smart Automation
Modern batch processing combines several technologies:
Script-Based Actions: Pre-programmed sequences that repeat complex editing steps AI-Powered Adjustments: Smart tools that adapt basic edits to each image’s unique characteristics Conditional Processing: Rules that apply different edits based on image properties like brightness or color temperature
Benefits of Batch Processing for Photo Workflows
The advantages extend far beyond just saving time. Professional photographers and casual users alike discover multiple ways batch processing improves their photo management.
Massive Time Savings
A wedding photographer editing 400 photos manually might spend 20-30 hours on basic adjustments. Batch processing reduces this to 2-3 hours, including setup time. That’s a 90% time reduction that frees you for more creative work.
Perfect Consistency Across Collections
When you edit photos individually, slight variations creep in. Maybe you adjust one image slightly brighter than another, or colors shift between similar shots. Batch processing ensures every photo in a series matches perfectly.
Reduced Decision Fatigue
Making hundreds of small editing decisions exhausts your creative energy. Batch processing handles routine adjustments automatically, preserving your mental energy for important creative choices.
Professional Quality Standards
Consistency creates a professional look that clients notice. Whether you’re preparing photos for a portfolio, website, or client delivery, batch processing helps maintain quality standards across all images.
Types of Automated Photo Editing Tasks
Different situations call for different types of batch processing. Understanding these categories helps you choose the right approach for your needs.
Basic Adjustments and Corrections
These fundamental edits form the foundation of most batch processing workflows:
Exposure and Brightness: Correct underexposed or overexposed images Color Balance: Fix color casts from different lighting conditions Contrast Enhancement: Add punch and definition to flat images Saturation Adjustments: Boost or reduce color intensity uniformly
Format and Size Conversions
Essential for web publishing and client delivery:
- Resolution Changes: Create web-friendly versions of high-resolution originals
- File Format Conversion: Convert RAW files to JPEG, PNG to JPEG, etc.
- Compression Optimization: Balance file size with image quality for specific uses
- Aspect Ratio Adjustments: Crop images to standard dimensions
Advanced Creative Effects
More sophisticated processing for stylistic consistency:
Preset Application: Apply signature looks like vintage, black and white, or specific color grading Selective Adjustments: Target specific areas like skies, skin tones, or backgrounds Noise Reduction: Remove grain from high-ISO images automatically Sharpening: Enhance details consistently across all images
| Processing Type | Time Saved | Complexity Level | Best For |
|---|---|---|---|
| Basic Adjustments | 80-90% | Beginner | Event photography, product shots |
| Format Conversion | 95% | Easy | Web publishing, client delivery |
| Creative Presets | 70-80% | Intermediate | Social media, portfolio work |
| Advanced Effects | 60-70% | Advanced | Commercial work, artistic projects |
| Combination Workflows | 85% | Variable | Professional studios, agencies |
Popular Batch Processing Software and Tools
The market offers numerous solutions, from free options to professional-grade software. Each has strengths depending on your specific needs.
Adobe Lightroom: The Industry Standard
Lightroom excels at batch processing RAW files and offers powerful preset systems. Its sync feature applies adjustments from one photo to hundreds of others instantly.
Strengths:
- Excellent RAW processing
- Sophisticated preset system
- Non-destructive editing
- Cloud synchronization
Best For: Professional photographers, serious enthusiasts
Adobe Photoshop Actions
Photoshop’s action system records complex editing sequences and replays them on multiple files.
Capabilities:
- Record virtually any editing sequence
- Conditional logic for different image types
- Integration with Bridge for file management
- Droplet creation for drag-and-drop processing
Free Alternatives That Work
GIMP with Scripts: Open-source option with batch processing capabilities IrfanView: Lightweight tool excellent for format conversion and basic adjustments Paint.NET with Plugins: Simple interface with growing automation features
Specialized Batch Processing Tools
Photo Mechanic: Lightning-fast for metadata editing and file organization FastStone Image Viewer: Combines viewing with batch processing features XnConvert: Powerful free tool focused specifically on batch operations
Step-by-Step Batch Processing Workflow
Success with batch processing requires a systematic approach. Follow this proven workflow for consistent results.
Step 1: Organize Your Source Images
Start with proper file organization:
- Create dedicated folders for each batch processing session
- Separate different image types (portraits, landscapes, products)
- Back up originals before starting any automated processing
- Remove obviously bad images that don’t need processing
Step 2: Choose Your Representative Sample
Select one image that represents the typical conditions of your batch:
- Average exposure – not the brightest or darkest
- Typical color balance – represents the lighting conditions
- Standard composition – avoid unusual crops or angles
This sample becomes your template for creating the batch processing preset.
Step 3: Perfect Your Edits on the Sample
Take time to get this right, since these exact adjustments will apply to every image:
Basic Corrections:
- Adjust exposure for proper brightness
- Correct white balance for natural colors
- Set appropriate contrast levels
- Fine-tune highlights and shadows
Creative Enhancements:
- Apply desired color grading
- Add sharpening or noise reduction
- Include any stylistic effects
Step 4: Create and Test Your Preset
Most software allows you to save your adjustments as a preset or action. Before processing hundreds of images:
- Test on 5-10 additional sample images
- Check results on images with different lighting conditions
- Adjust the preset if needed based on test results
Step 5: Execute Batch Processing
Run the batch process on your full image collection:
- Monitor the first few processed images to catch any problems early
- Check available disk space – processed images often create large files
- Let the process run uninterrupted for best results
Step 6: Review and Refine Results
After processing completes:
- Spot-check random images throughout the batch
- Identify any images that need individual attention
- Note any adjustments needed for future batch sessions
Advanced Techniques for Power Users
Experienced photographers can leverage more sophisticated batch processing methods for complex workflows.
Conditional Processing Rules
Set up different processing paths based on image characteristics:
- ISO-based adjustments: Apply stronger noise reduction to high-ISO images
- Time-based processing: Different presets for morning, midday, and evening shots
- Camera-specific settings: Compensate for different camera profiles automatically
Multi-Stage Processing Chains
Complex workflows might require multiple batch processing steps:
- Stage 1: Basic exposure and color correction
- Stage 2: Creative preset application
- Stage 3: Output formatting and sizing
- Stage 4: Metadata addition and file naming
Integration with File Management
Advanced users combine batch processing with automated file organization:
- Smart folder sorting based on processing results
- Automatic backup creation during processing
- Metadata tagging for easier searching later
- Client-specific output folders for direct delivery
Common Mistakes and How to Avoid Them
Even experienced users can fall into traps that waste time or damage image quality.
Over-Processing Images
The biggest mistake: Applying dramatic adjustments that look good on one image but terrible on others.
Prevention:
- Keep initial adjustments conservative
- Test presets on diverse sample images
- Create multiple presets for different lighting conditions
Ignoring Image Variations
Not all photos in a batch have identical characteristics. Lighting changes, subjects move, and camera settings shift.
Solutions:
- Sort images into smaller, more consistent groups before processing
- Use conditional processing when available
- Plan for manual touch-ups on outlier images
Inadequate Quality Control
Rushing through results without proper review can miss problems that affect final delivery.
Quality Control Steps:
- Establish systematic checking procedures
- Review processed images at full size, not just thumbnails
- Compare before/after versions on representative samples
File Management Chaos
Poor organization during batch processing creates long-term headaches.
Organization Best Practices:
- Maintain clear folder structures
- Use consistent file naming conventions
- Keep processed and original files clearly separated
- Document your processing settings for future reference
Tips for Different Photography Genres
Different types of photography benefit from specialized batch processing approaches.
Wedding and Event Photography
Focus on speed and consistency while handling diverse lighting conditions:
- Create separate presets for ceremony, reception, and outdoor shots
- Prioritize skin tone accuracy across all lighting situations
- Plan for quick client delivery with multiple output formats
Product Photography
Emphasize uniformity and web optimization:
- Standardize backgrounds and lighting correction
- Create multiple size outputs for different platform requirements
- Maintain color accuracy for e-commerce applications
Landscape Photography
Balance dramatic enhancements with natural-looking results:
- Develop presets that enhance sky contrast and color saturation
- Create variations for different weather and lighting conditions
- Focus on maintaining detail in both shadows and highlights
Portrait Sessions
Prioritize flattering skin tones and consistent mood:
- Develop gentle presets that enhance without over-processing
- Create specific adjustments for different age groups
- Maintain natural-looking results across varying poses and expressions
Frequently Asked Questions
Q: How many photos can I process in one batch? A: This depends on your computer’s specifications and available storage space. Most systems handle 100-500 images comfortably. For larger batches, consider processing in smaller groups to avoid memory issues and maintain quality control.
Q: Will batch processing work on photos taken with different cameras? A: Yes, but results may vary between camera brands and models due to different color profiles and sensor characteristics. You might need separate presets for different camera systems for best results.
Q: Can I undo batch processing if I don’t like the results? A: If you’re working with non-destructive software like Lightroom, you can easily revert changes. For destructive processing, this is why keeping backup copies of your originals is crucial before starting any batch operation.
Q: How long should batch processing take? A: Processing time varies based on image size, number of photos, complexity of edits, and computer speed. Simple adjustments on 100 web-sized images might take 5-10 minutes, while complex processing of RAW files could take hours.
Q: Is batch processing suitable for beginner photographers? A: Absolutely! Basic batch processing like format conversion, resizing, and simple adjustments is perfect for beginners. Start with simple presets and gradually experiment with more complex workflows as you gain experience.
Q: What happens to image quality during batch processing? A: Quality depends on your processing settings and output format choices. Non-destructive processing maintains original quality, while JPEG compression and aggressive adjustments can reduce quality. Always test settings on sample images first.
Q: Can I batch process images from my smartphone? A: Yes, several mobile apps offer batch processing capabilities, though they’re typically more limited than desktop software. For extensive batch processing, desktop solutions usually provide better performance and more options.
Q: Should I shoot in RAW if I plan to batch process? A: RAW files offer much more flexibility for batch processing since they contain more image data. You can make more dramatic adjustments without quality loss, and corrections like white balance changes work much better with RAW files.